Double Tree Firewood Rack
Wood stoves are lovely in the winter time to load up and dig into a good book while toasting your feet and listening to the crackles.
However, if you don’t have a place to accumulate firewood within the house, it may result in someone needing to make all-too-frequent trips outside in the cold to fetch wood quite often, but that can be fixed with a firewood rack to sit on the hearth next to the stove!
In this case, (like many projects that have a high flexibility ceiling), what began as a house need quickly evolved into something wildly overdesigned and unnecessarily complicated, but in a way that really stuck the landing in the end.
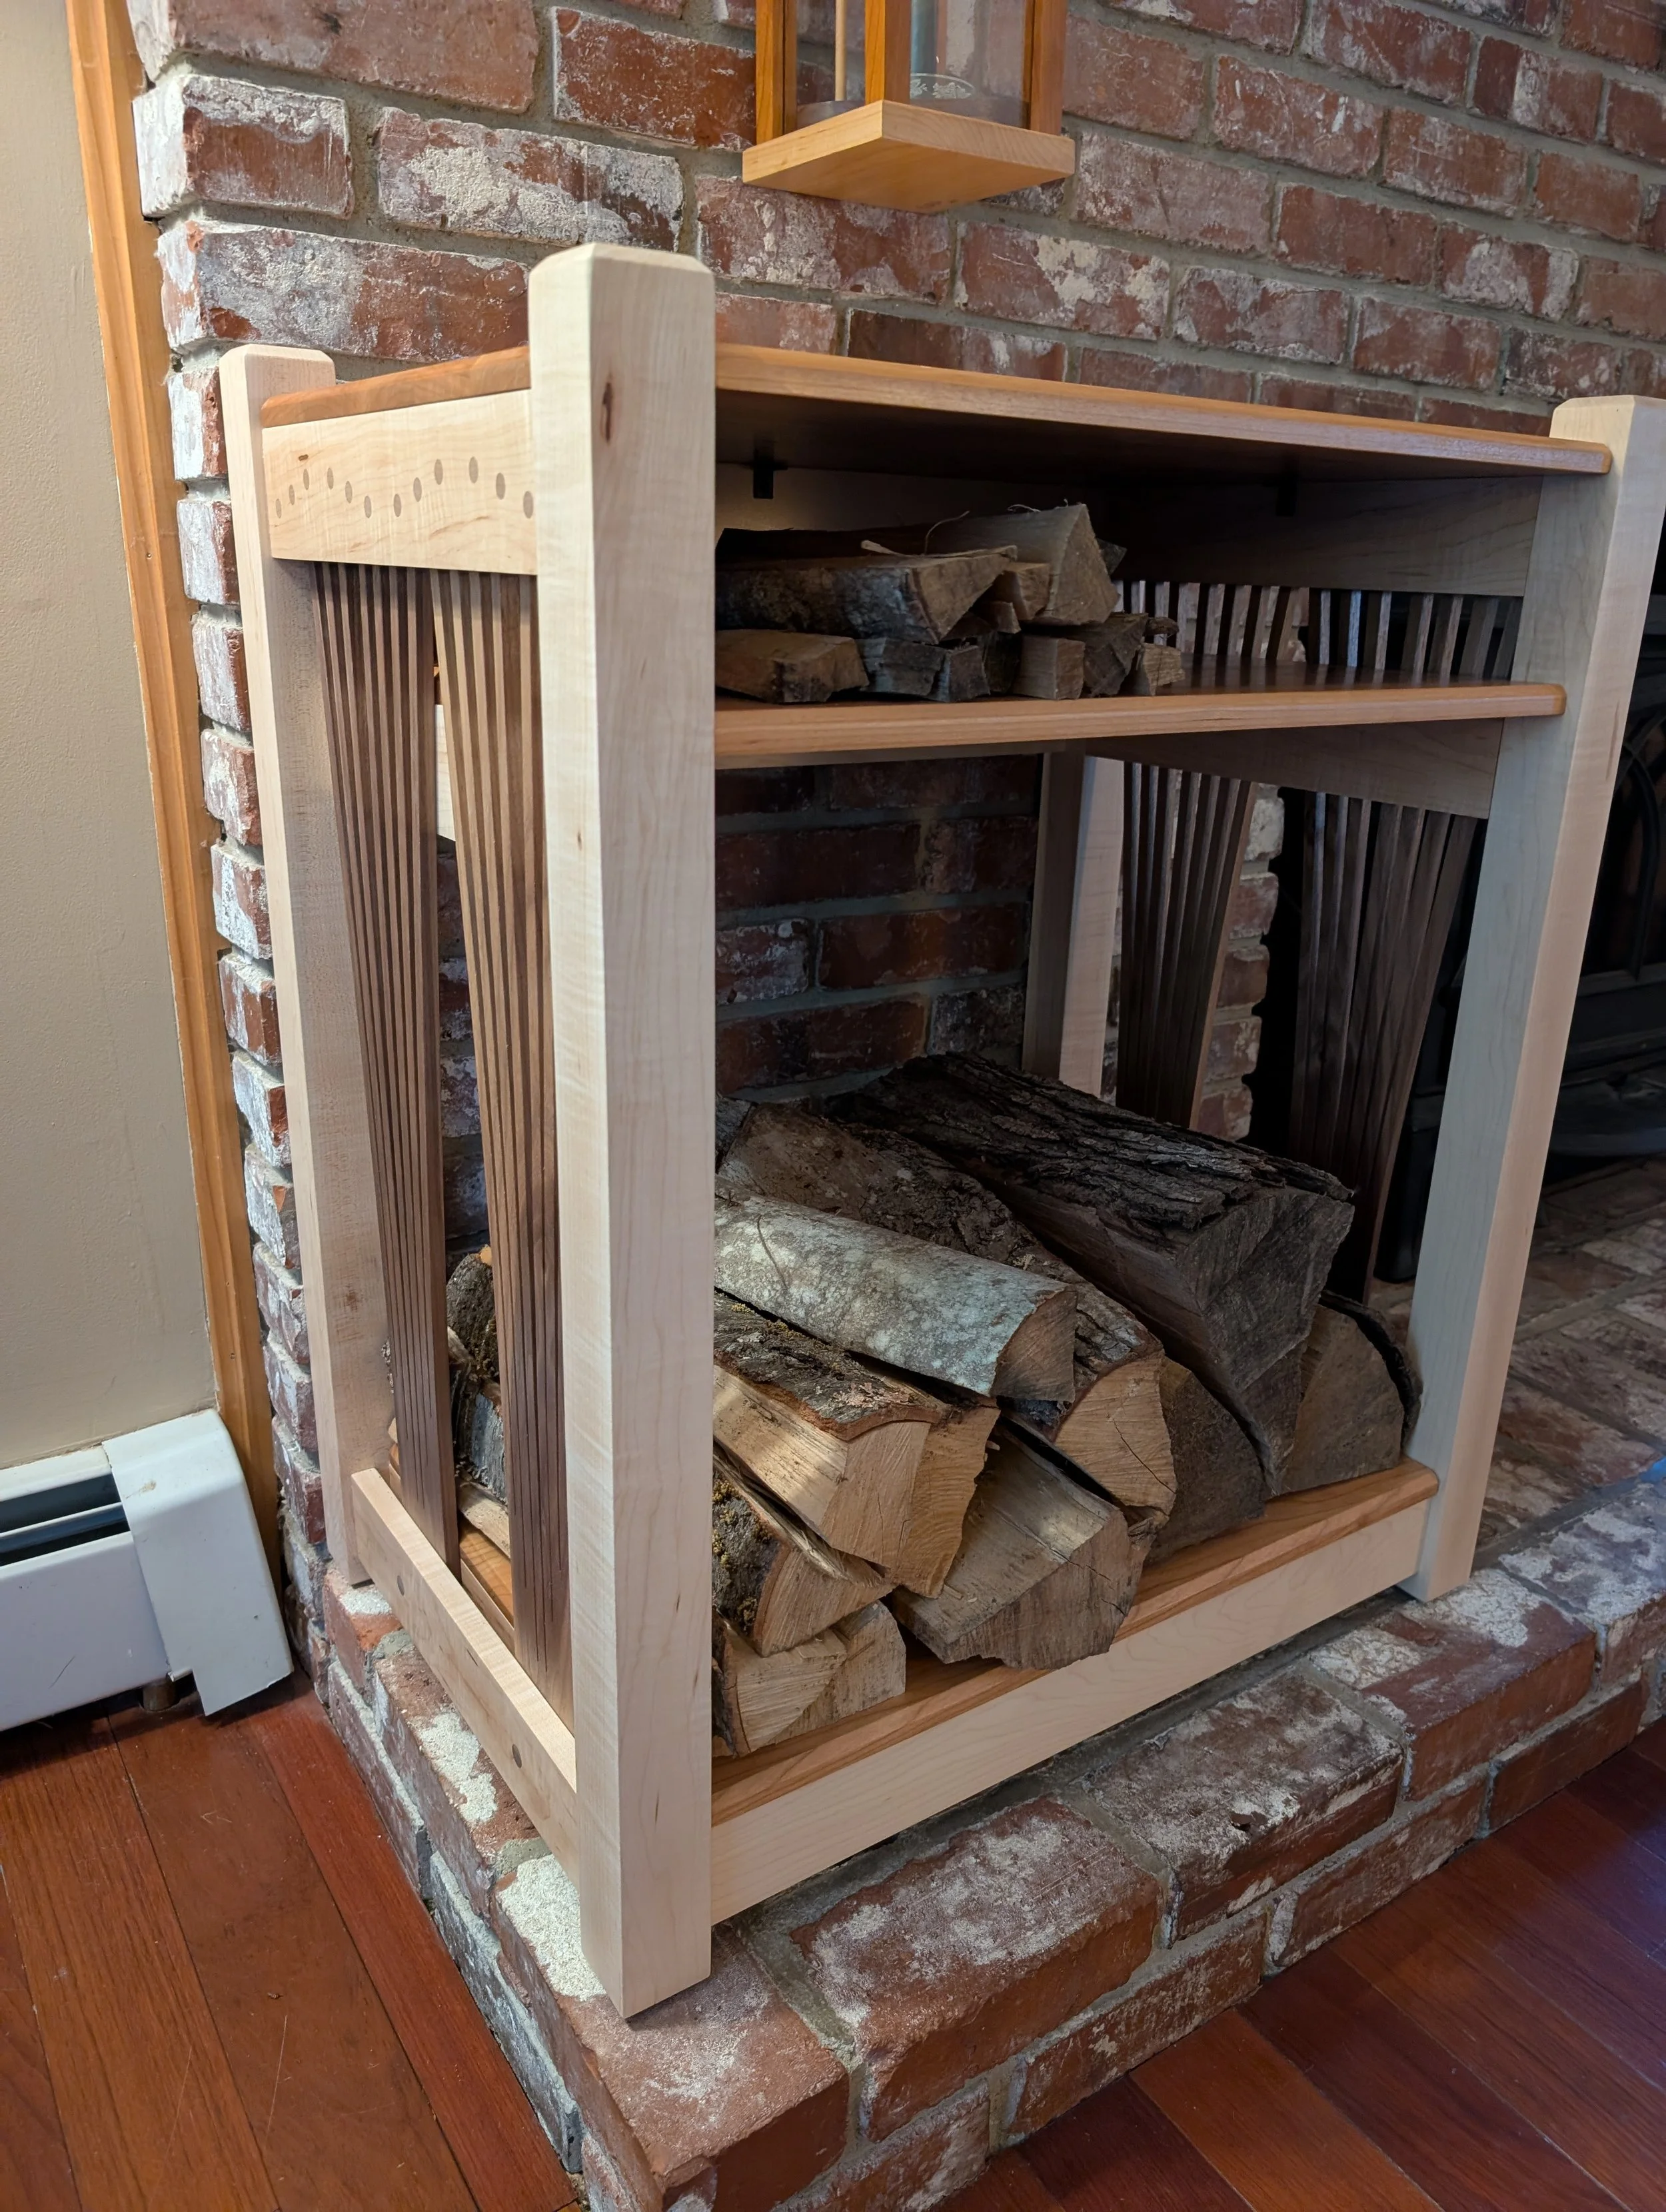
Check out some of the process pics below! More are found here:

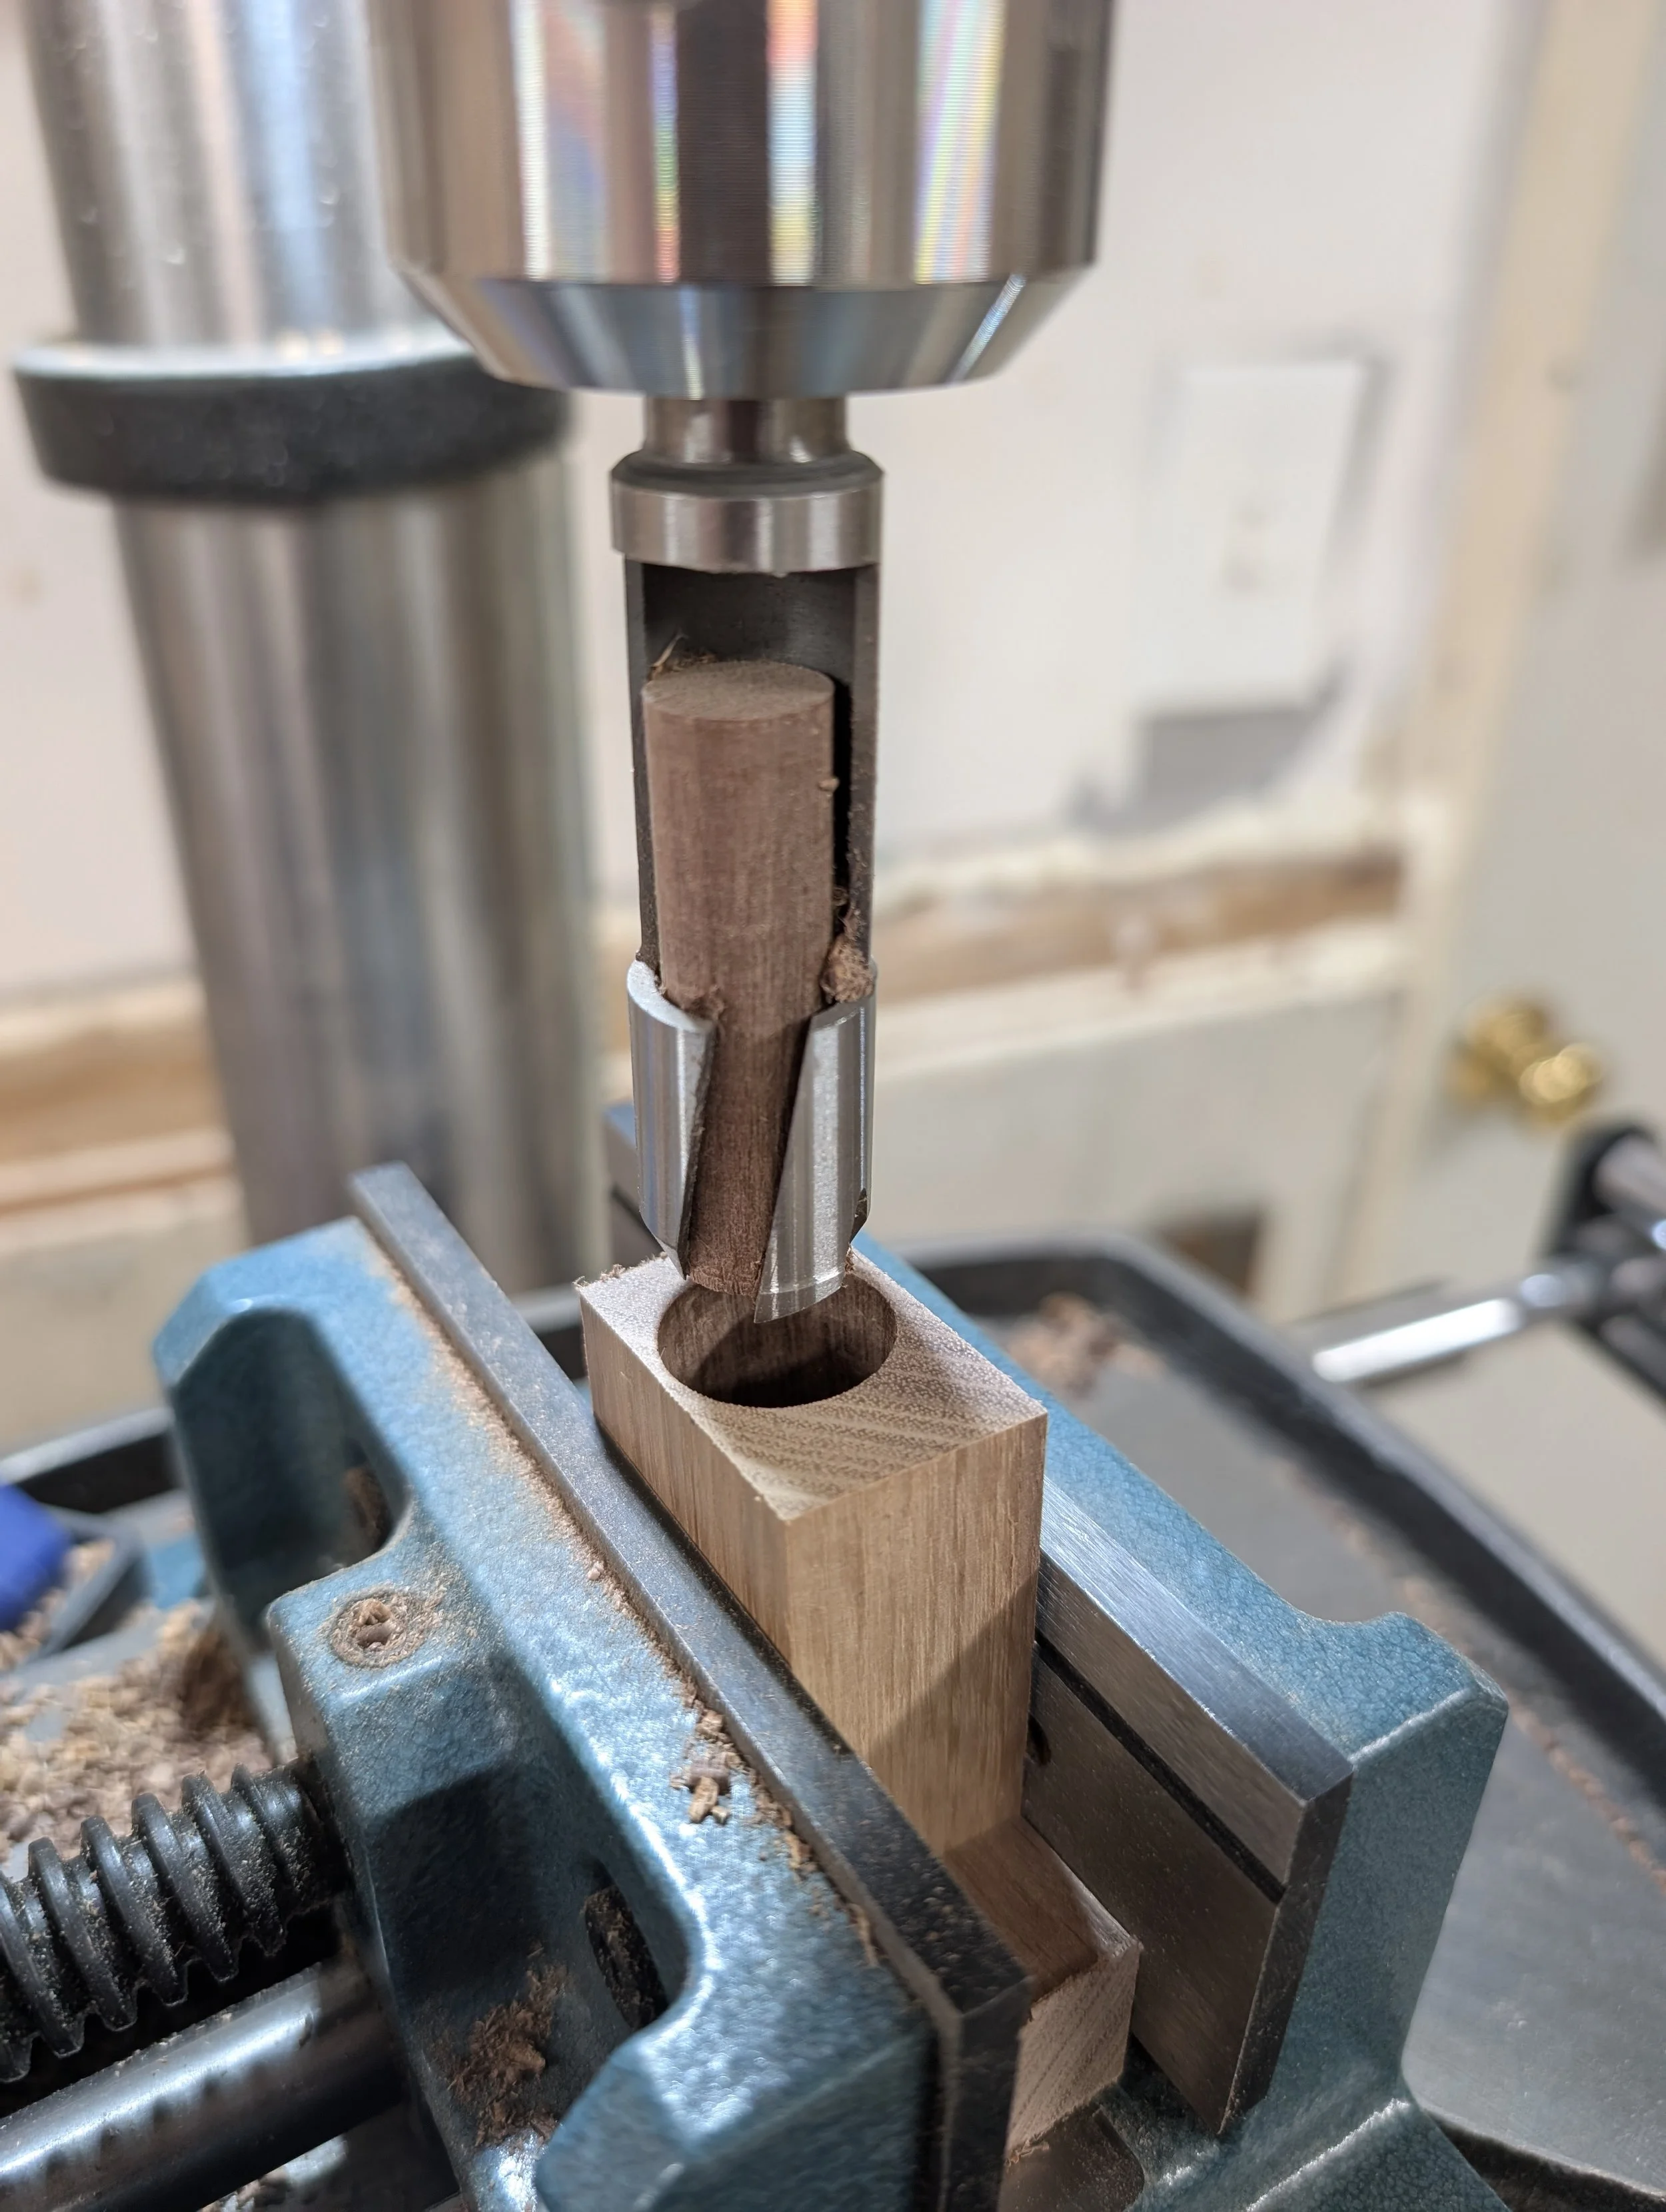
Using a plug cutter on the drill press to make Walnut dowels
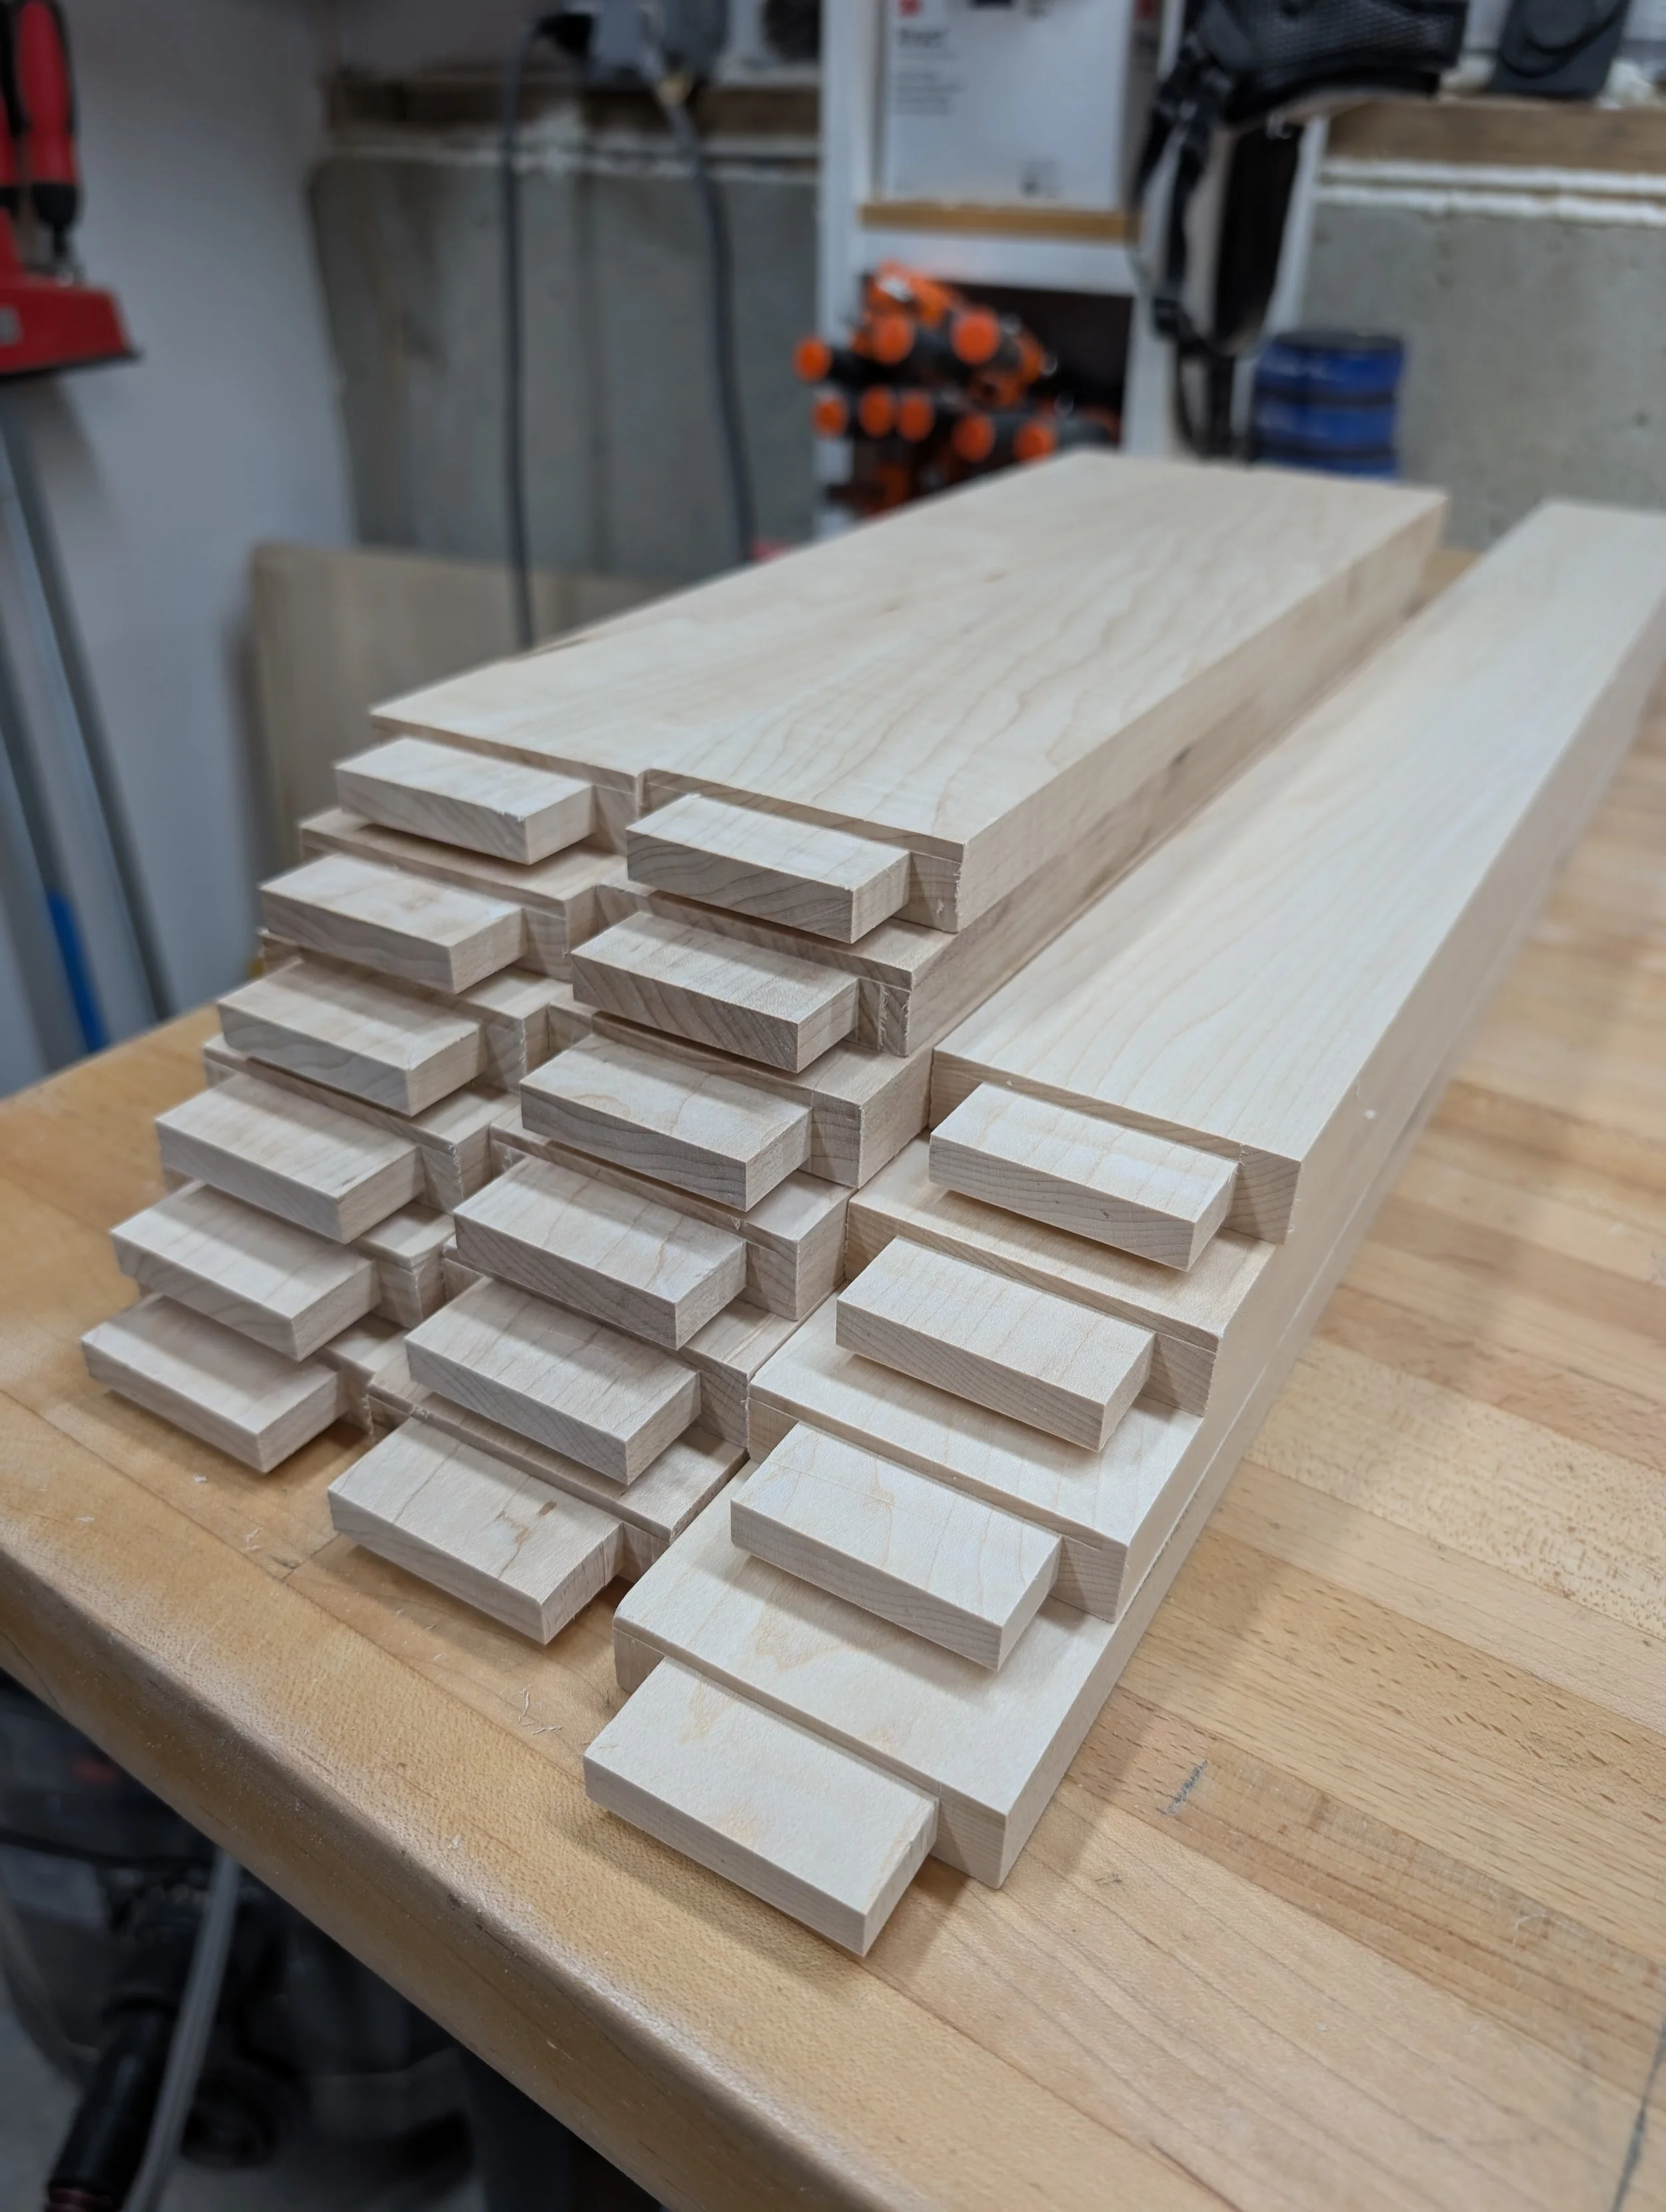
32 Tenons on all the Maple pieces to connect the posts
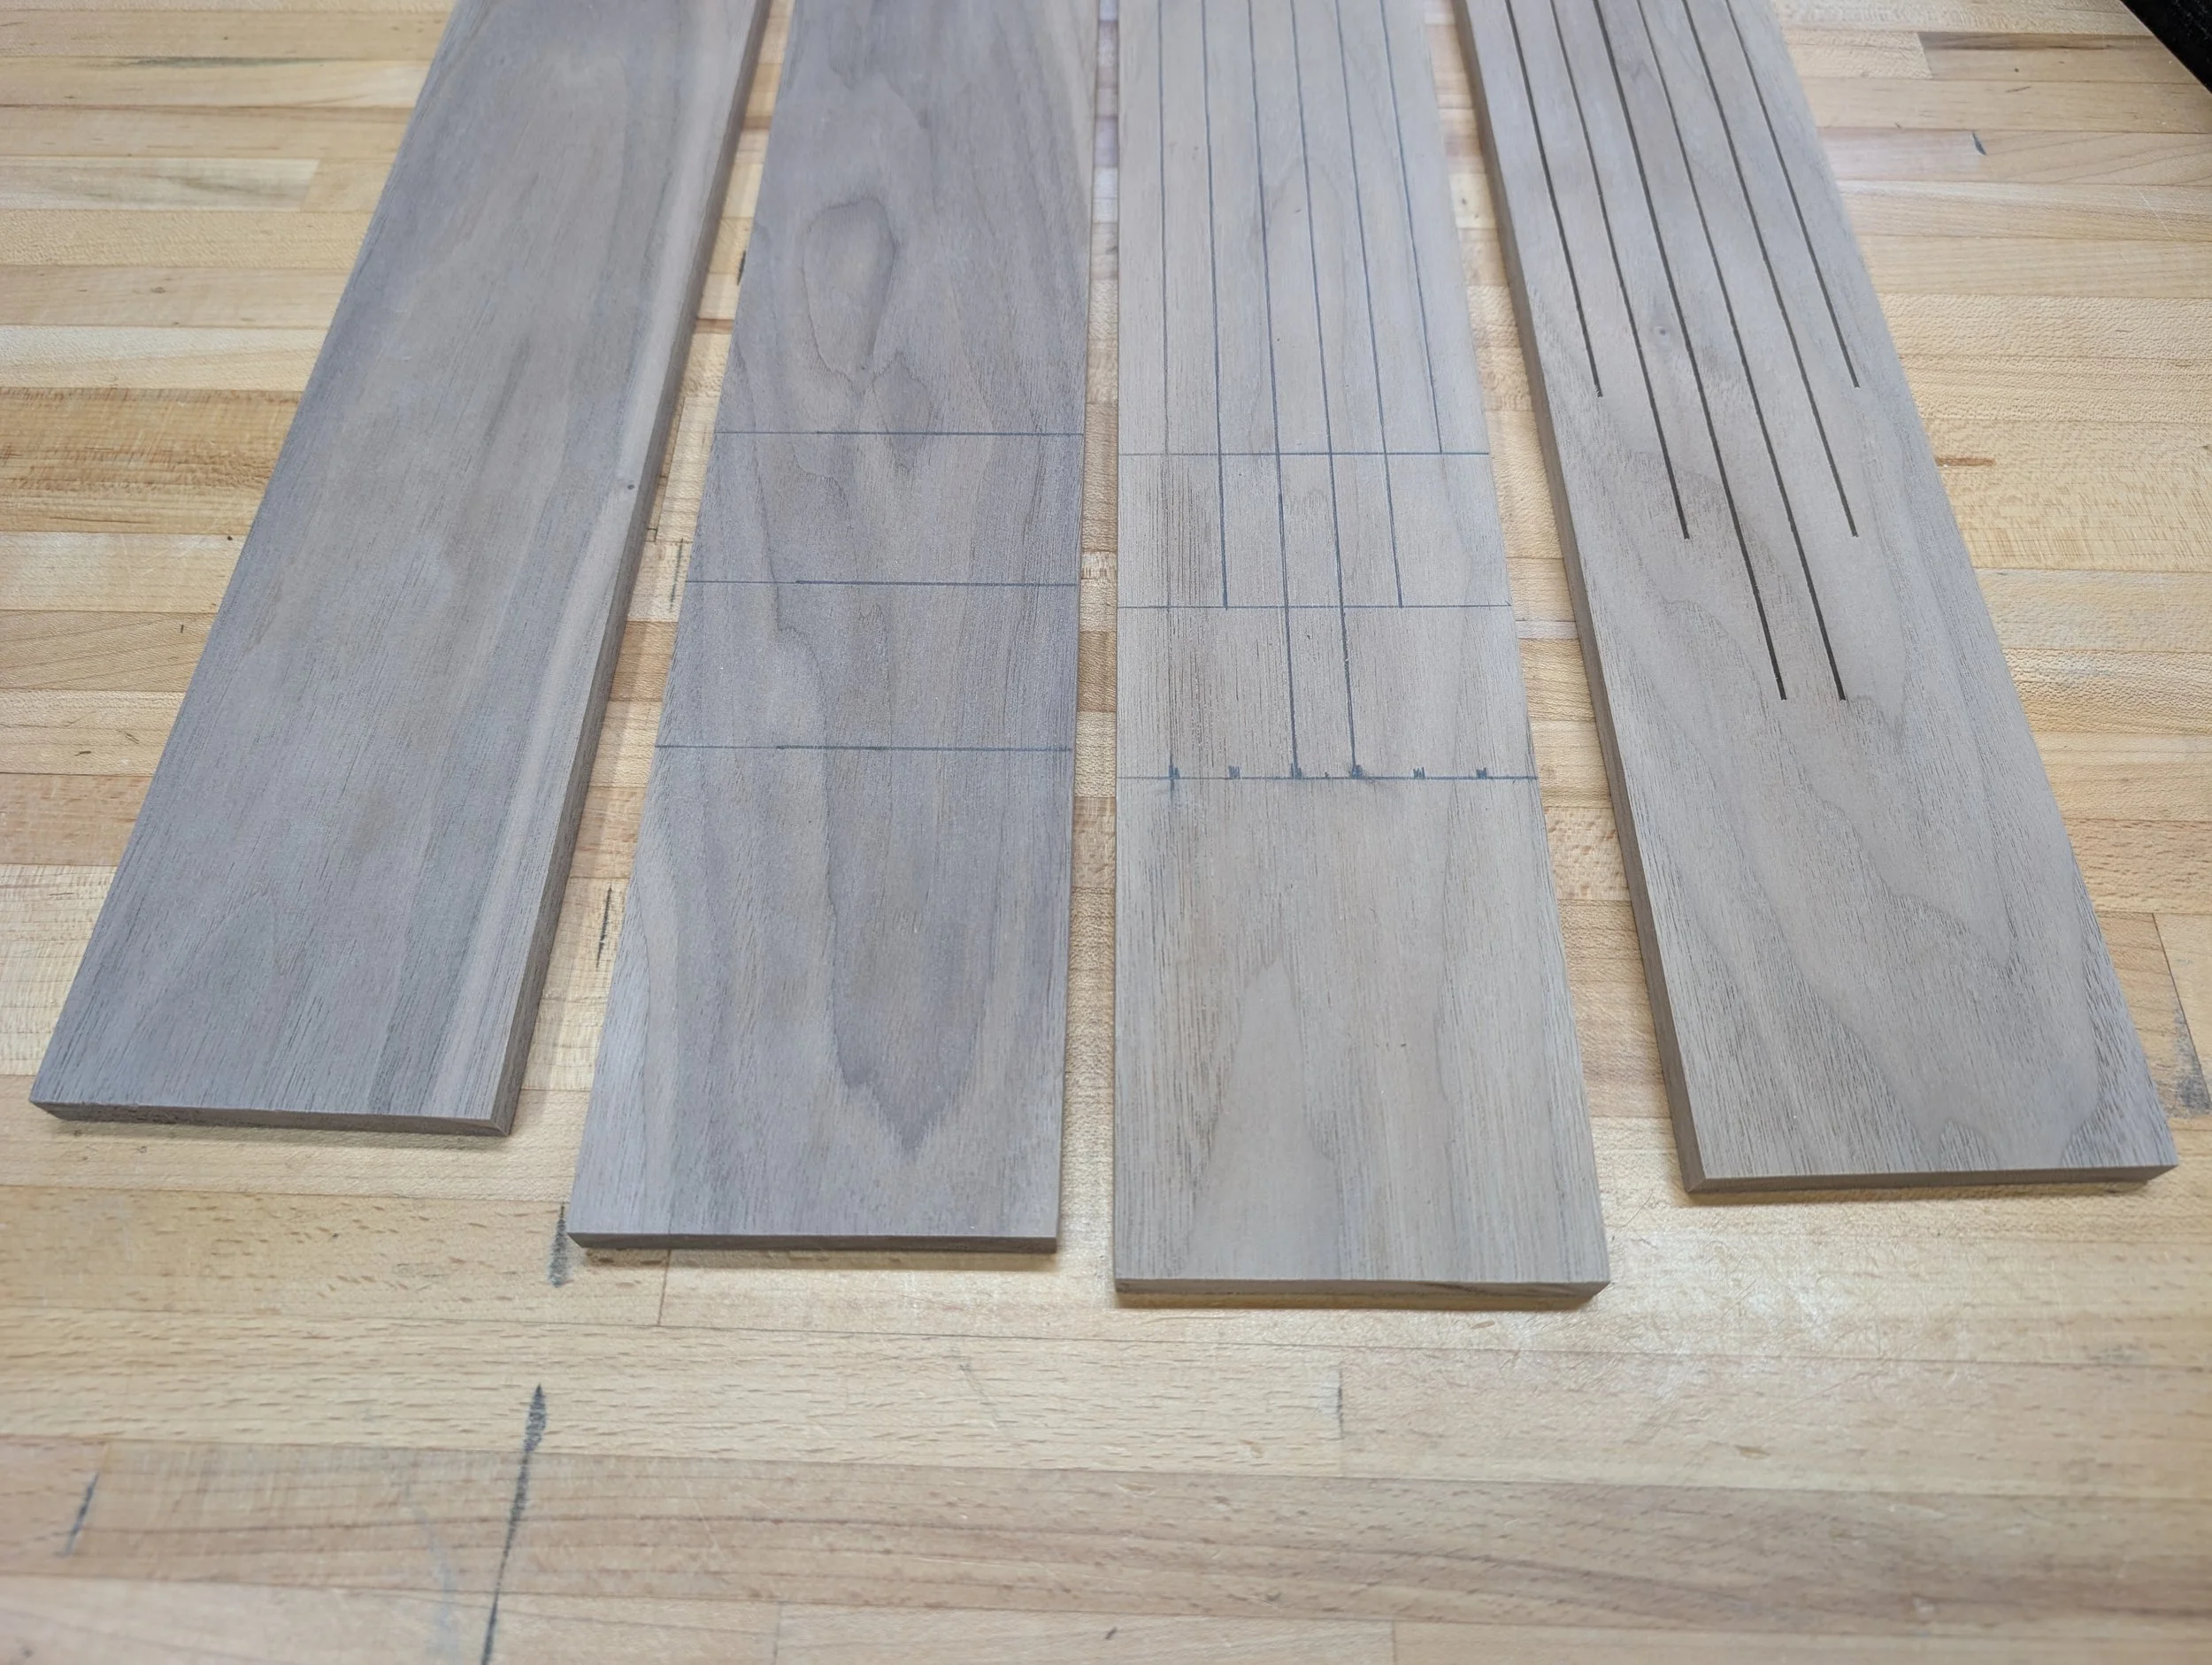
Plotting and Jigsawing the lines to form the Walnut “branches”
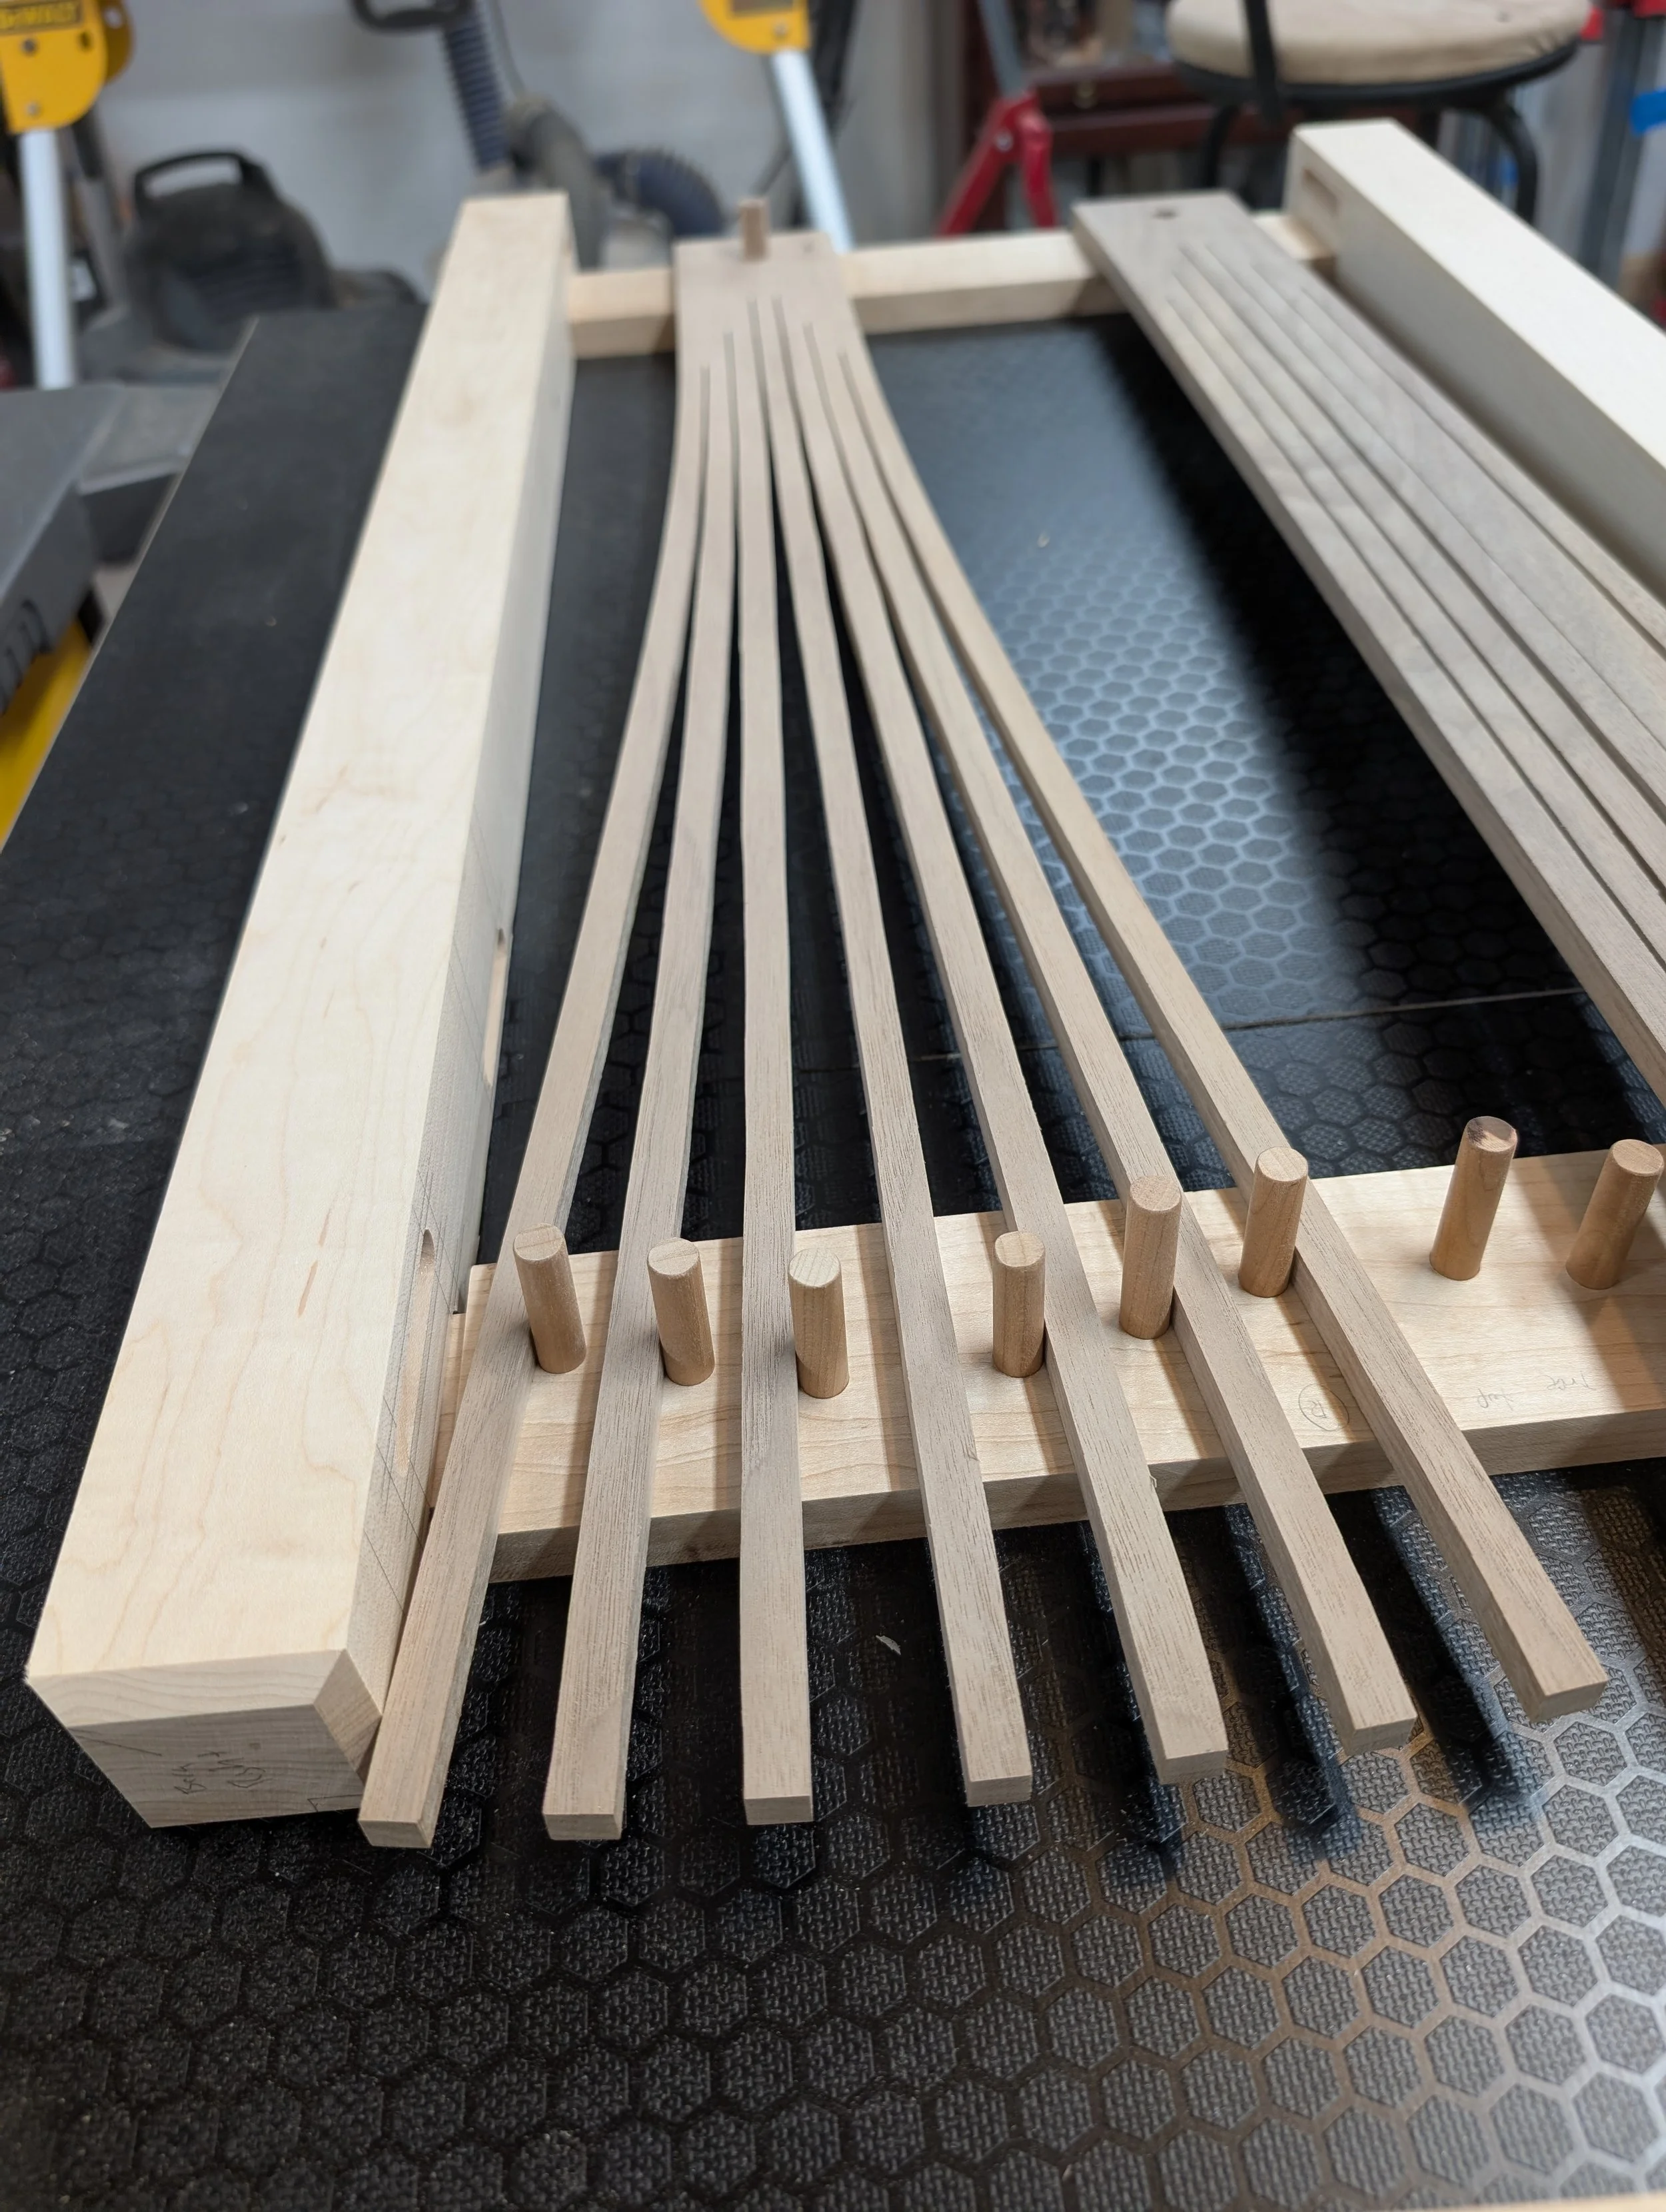
Dry fitting the Walnut “branches” with the dowels
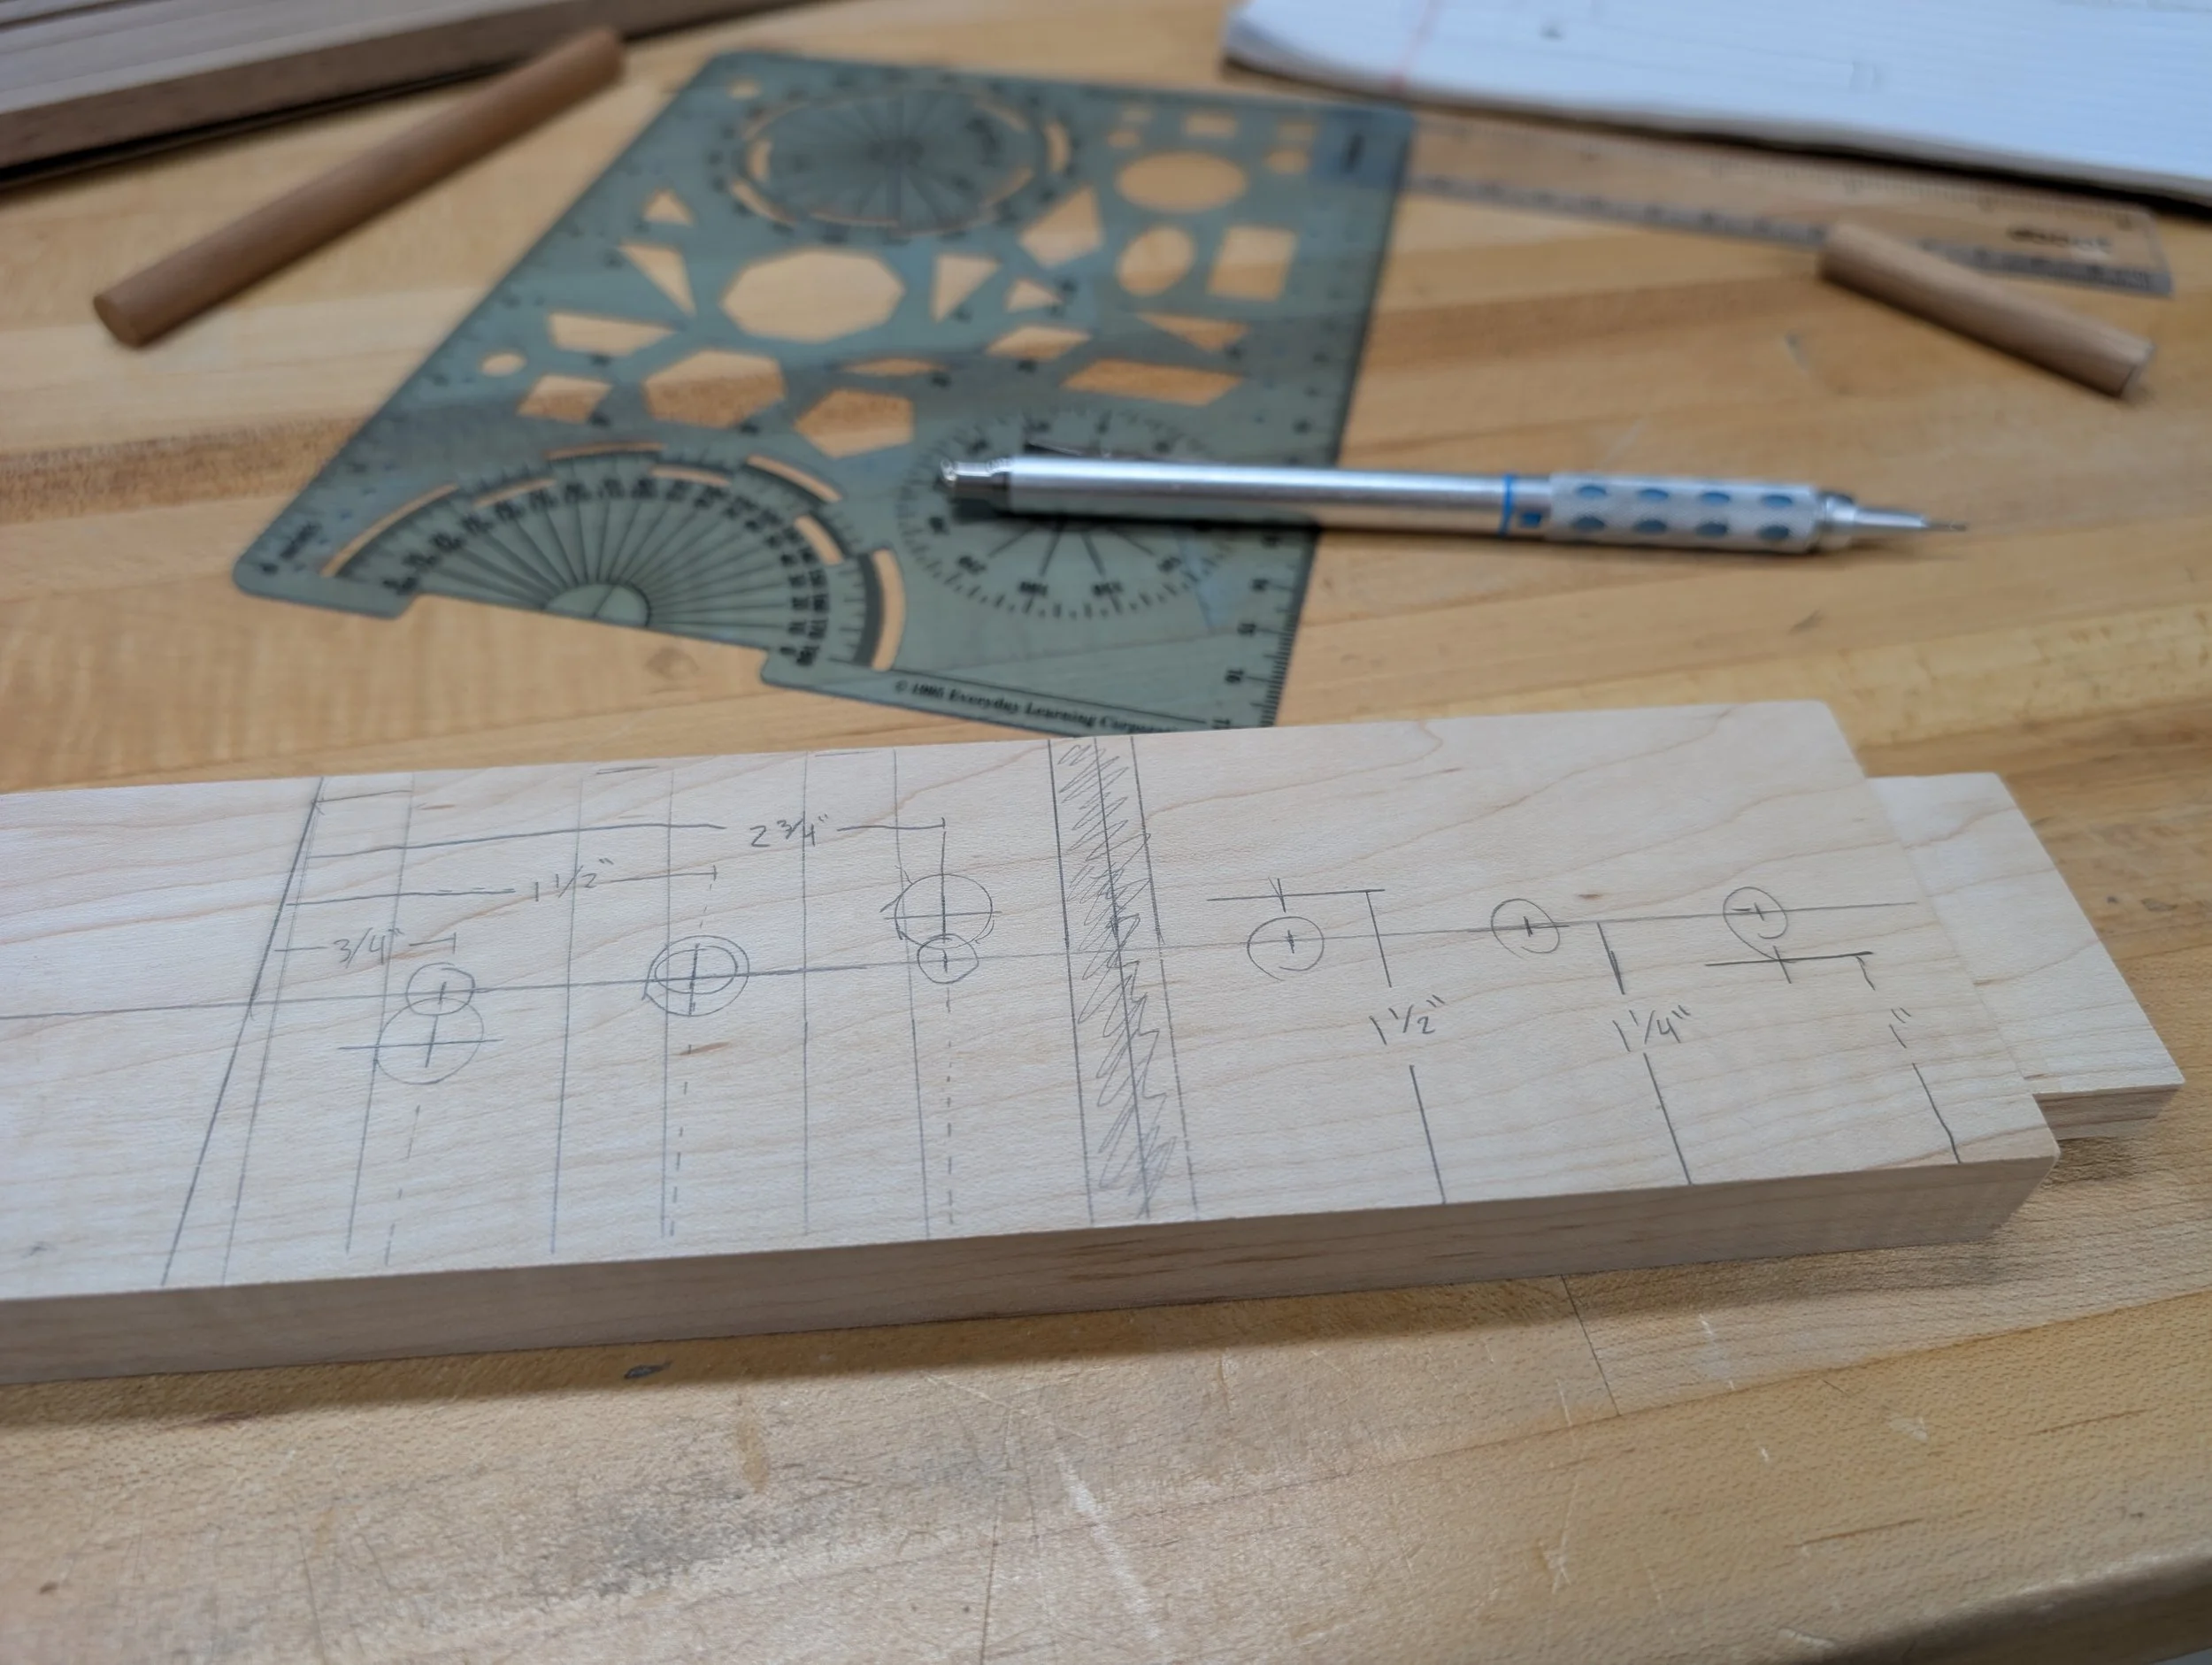
Plotting out where all of the holes would go for the “branches”
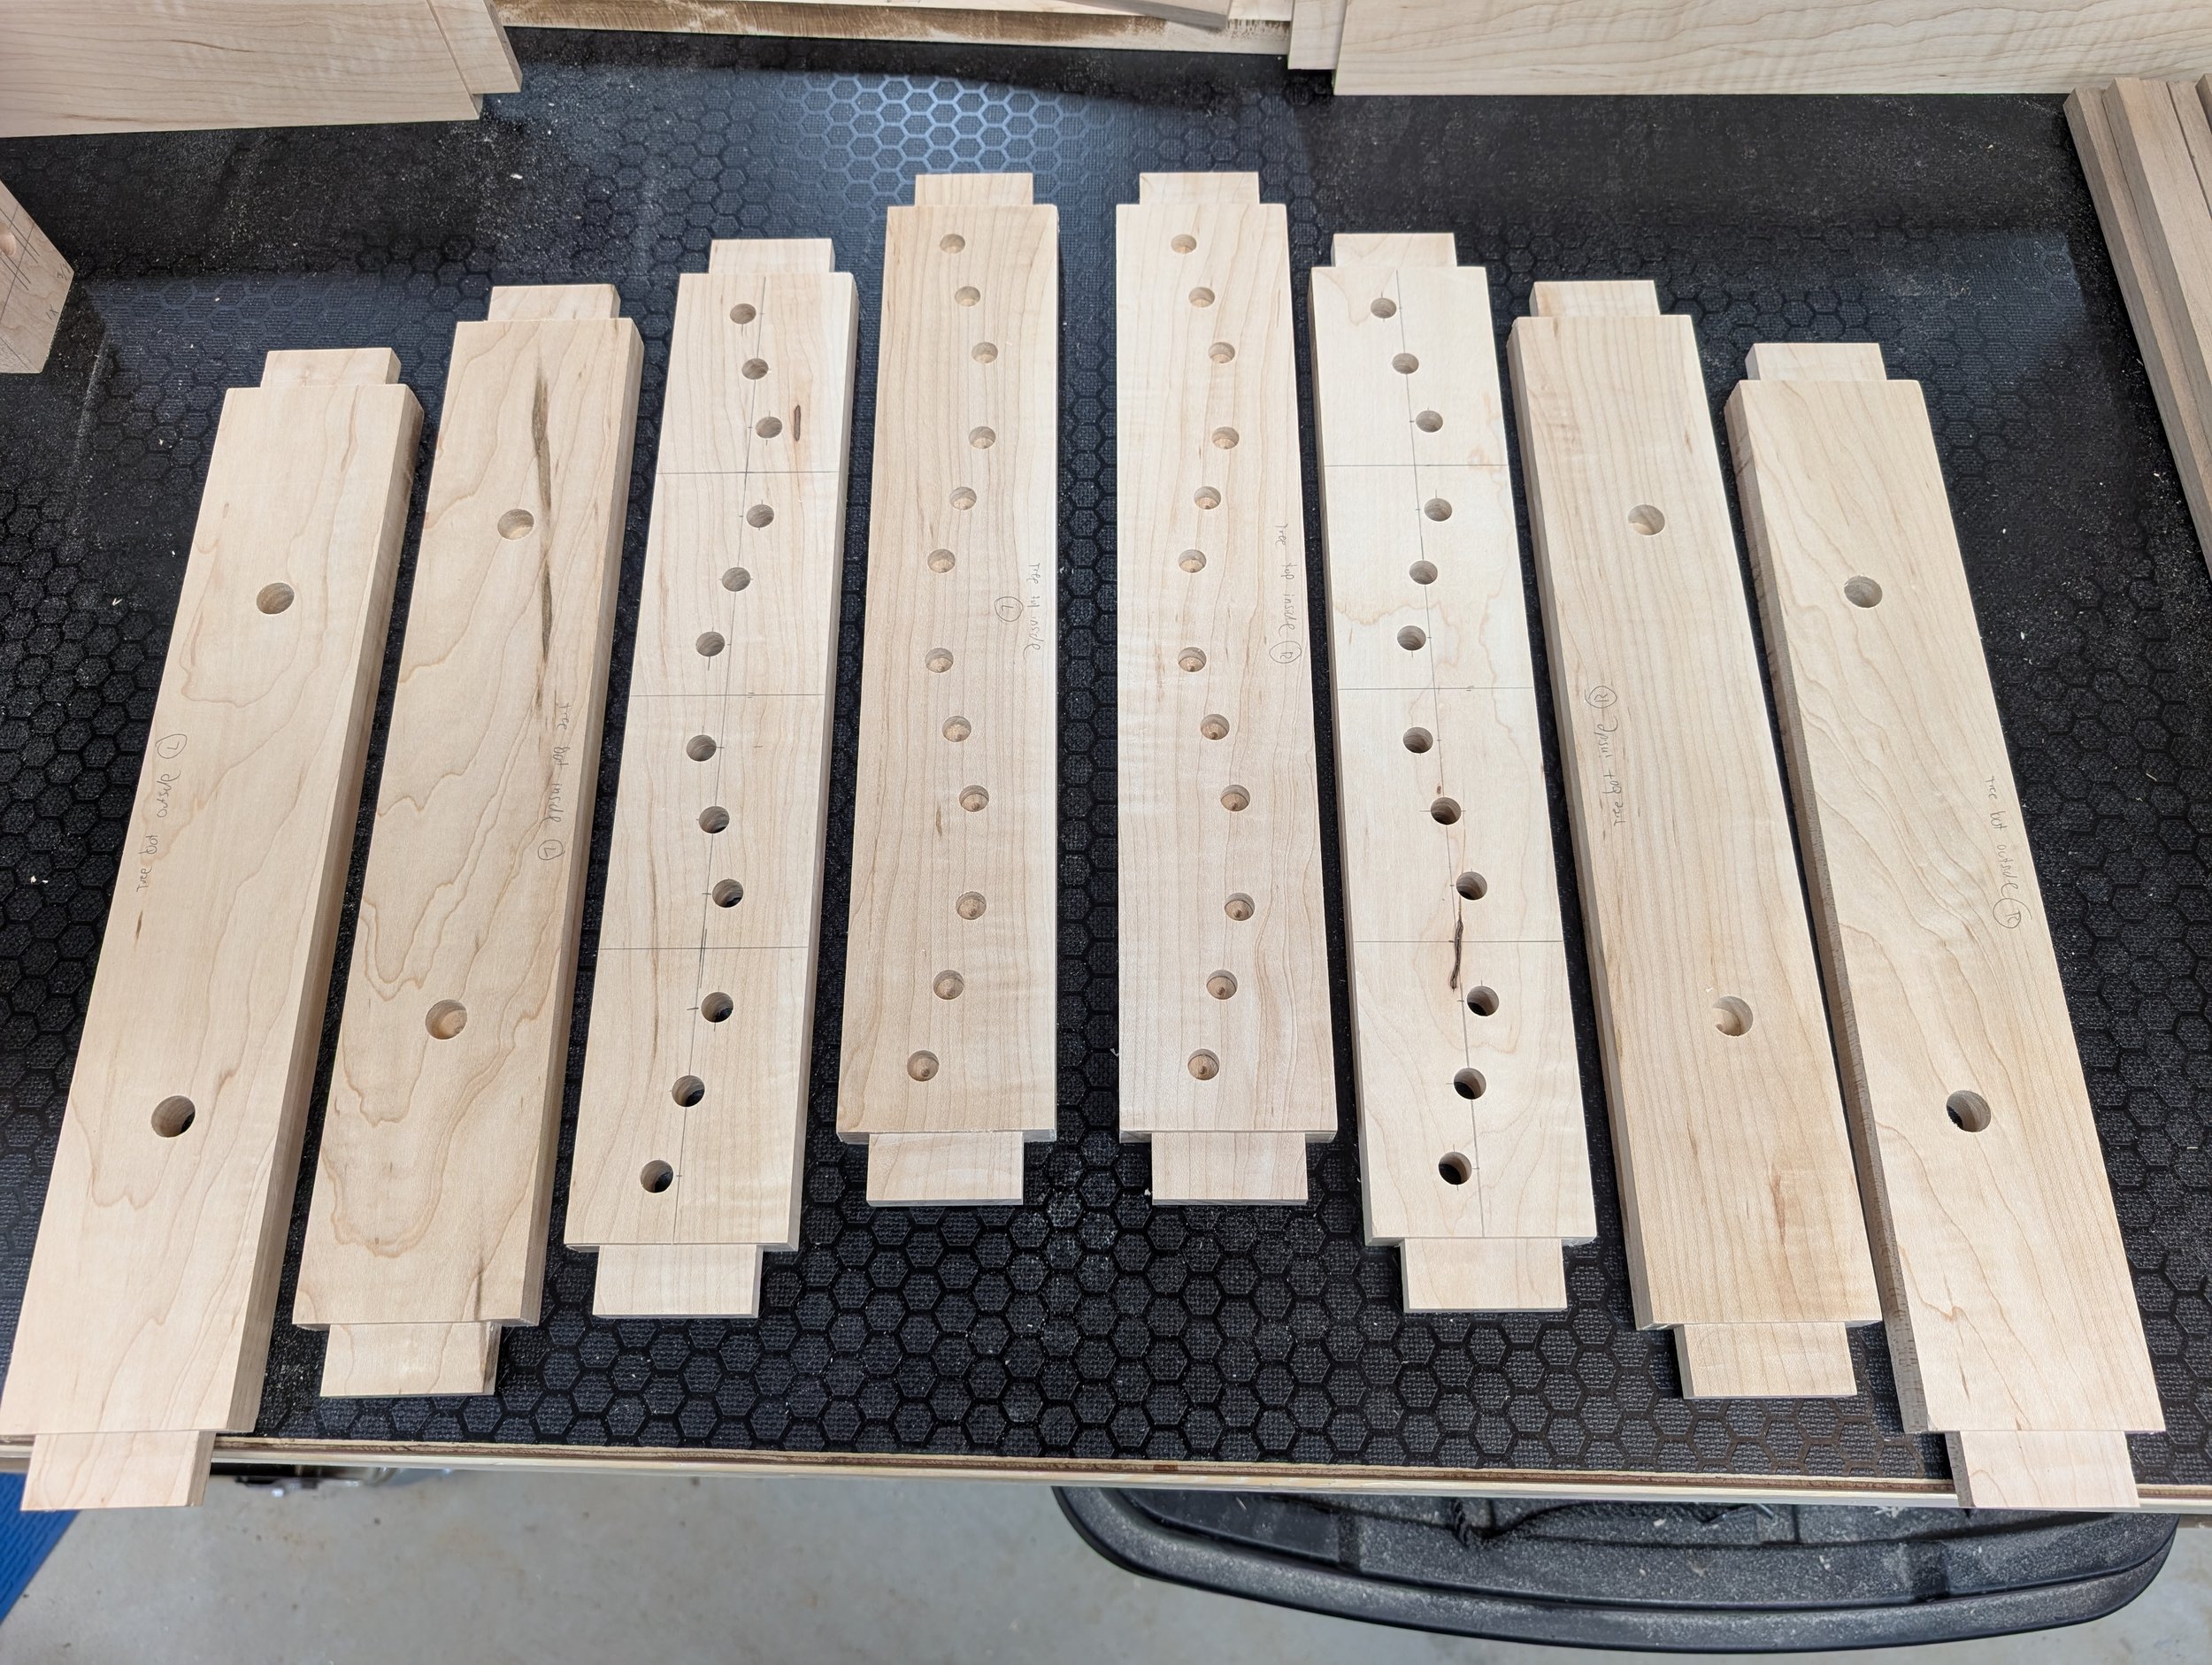
56 holes drilled in the Maple pieces for the “sandwiches” for the Cherry dowels to hold the “branches” and the pegs for the bases of the “trees”
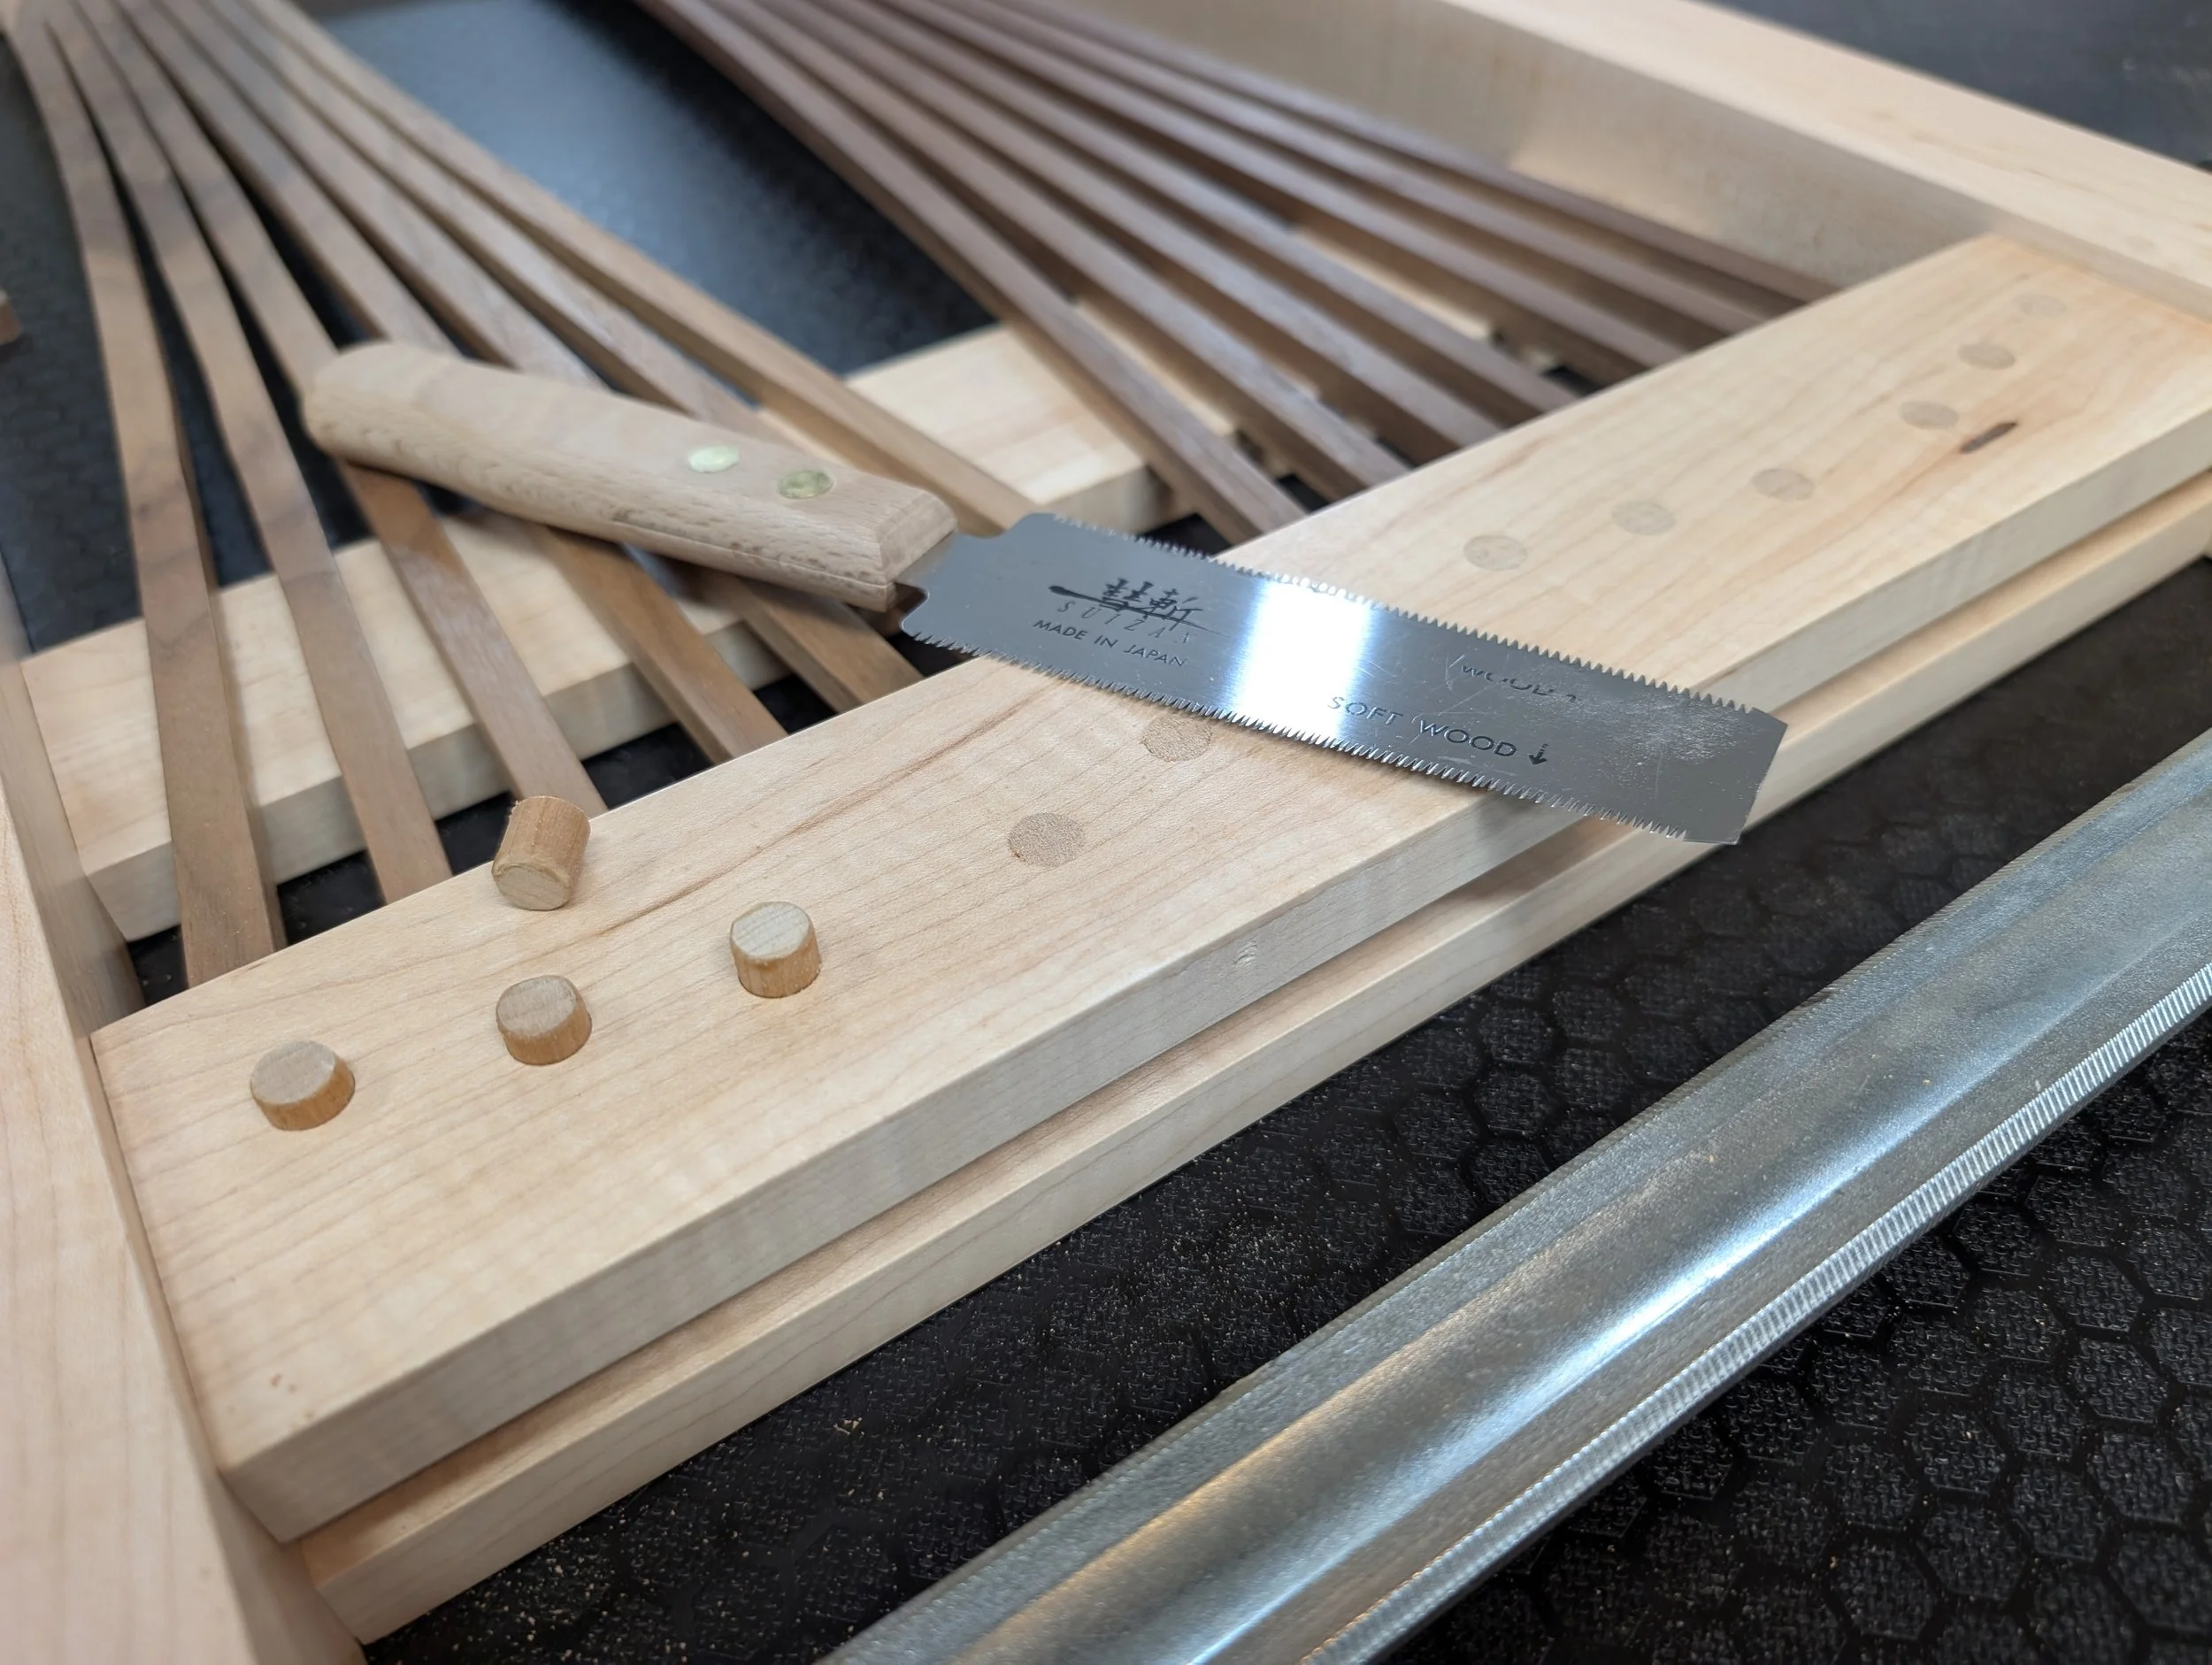
Flush cutting the excess length of Cherry dowels
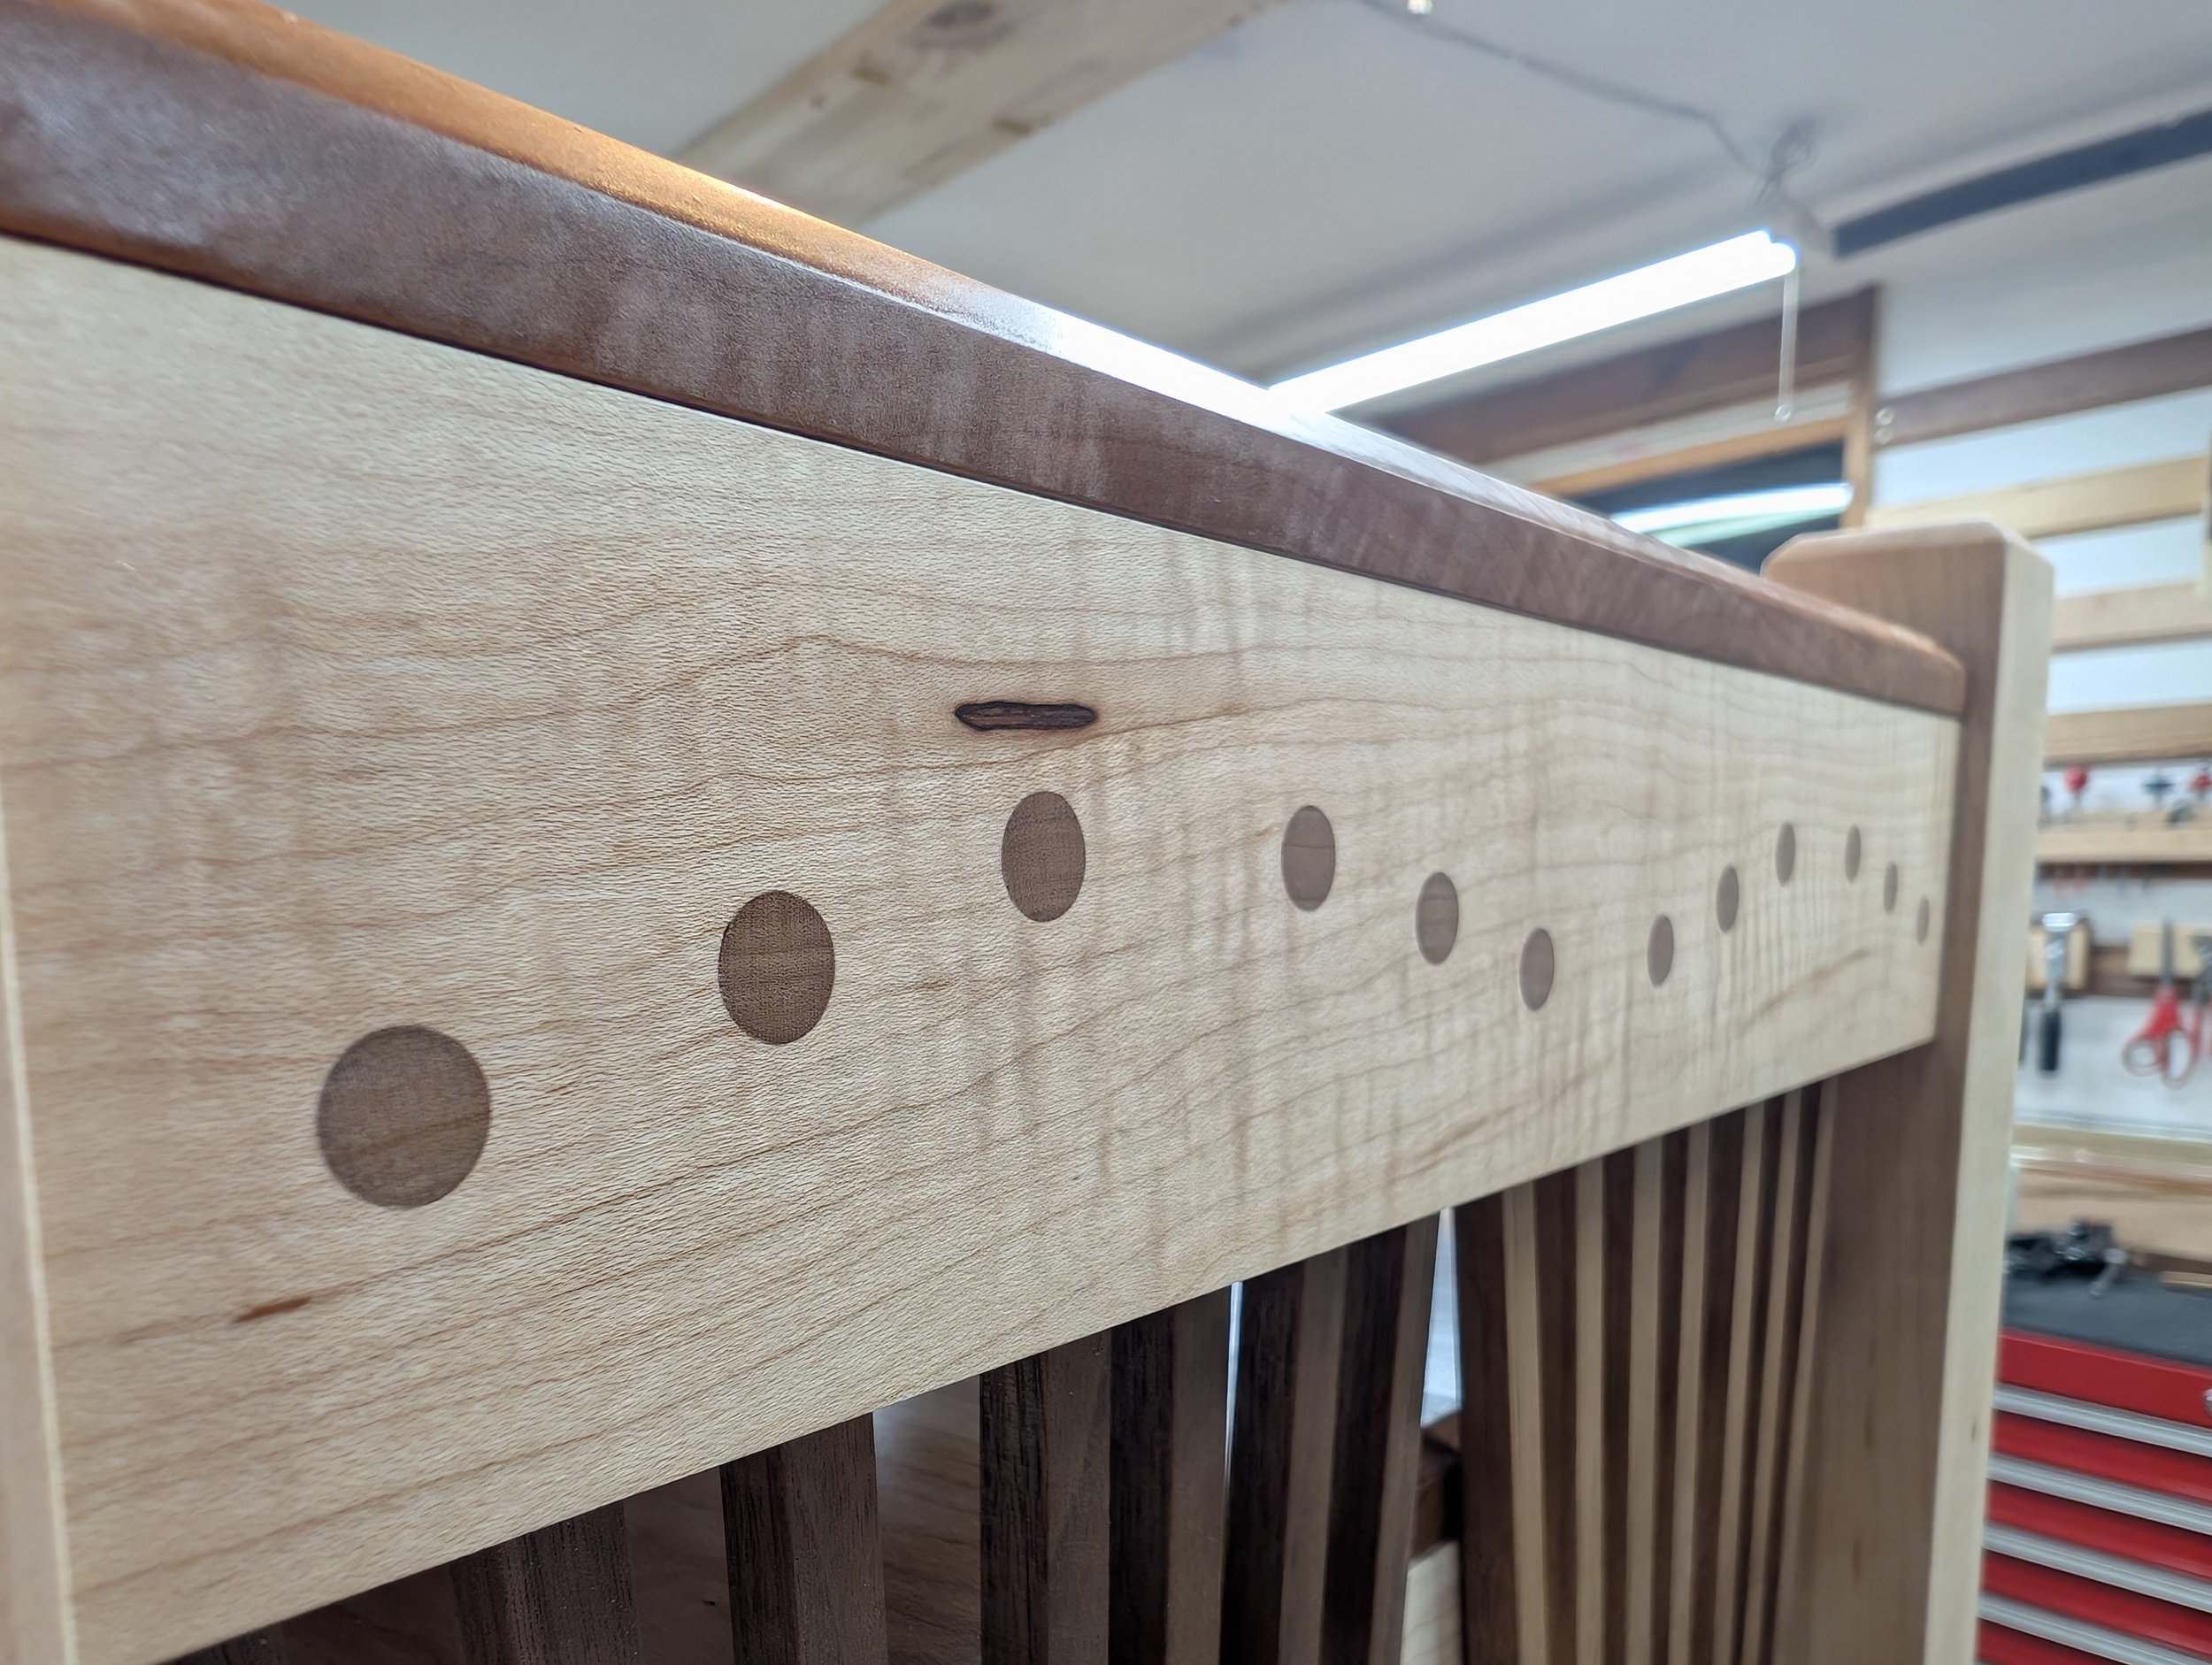
Finished look at the through-dowel “leaves”
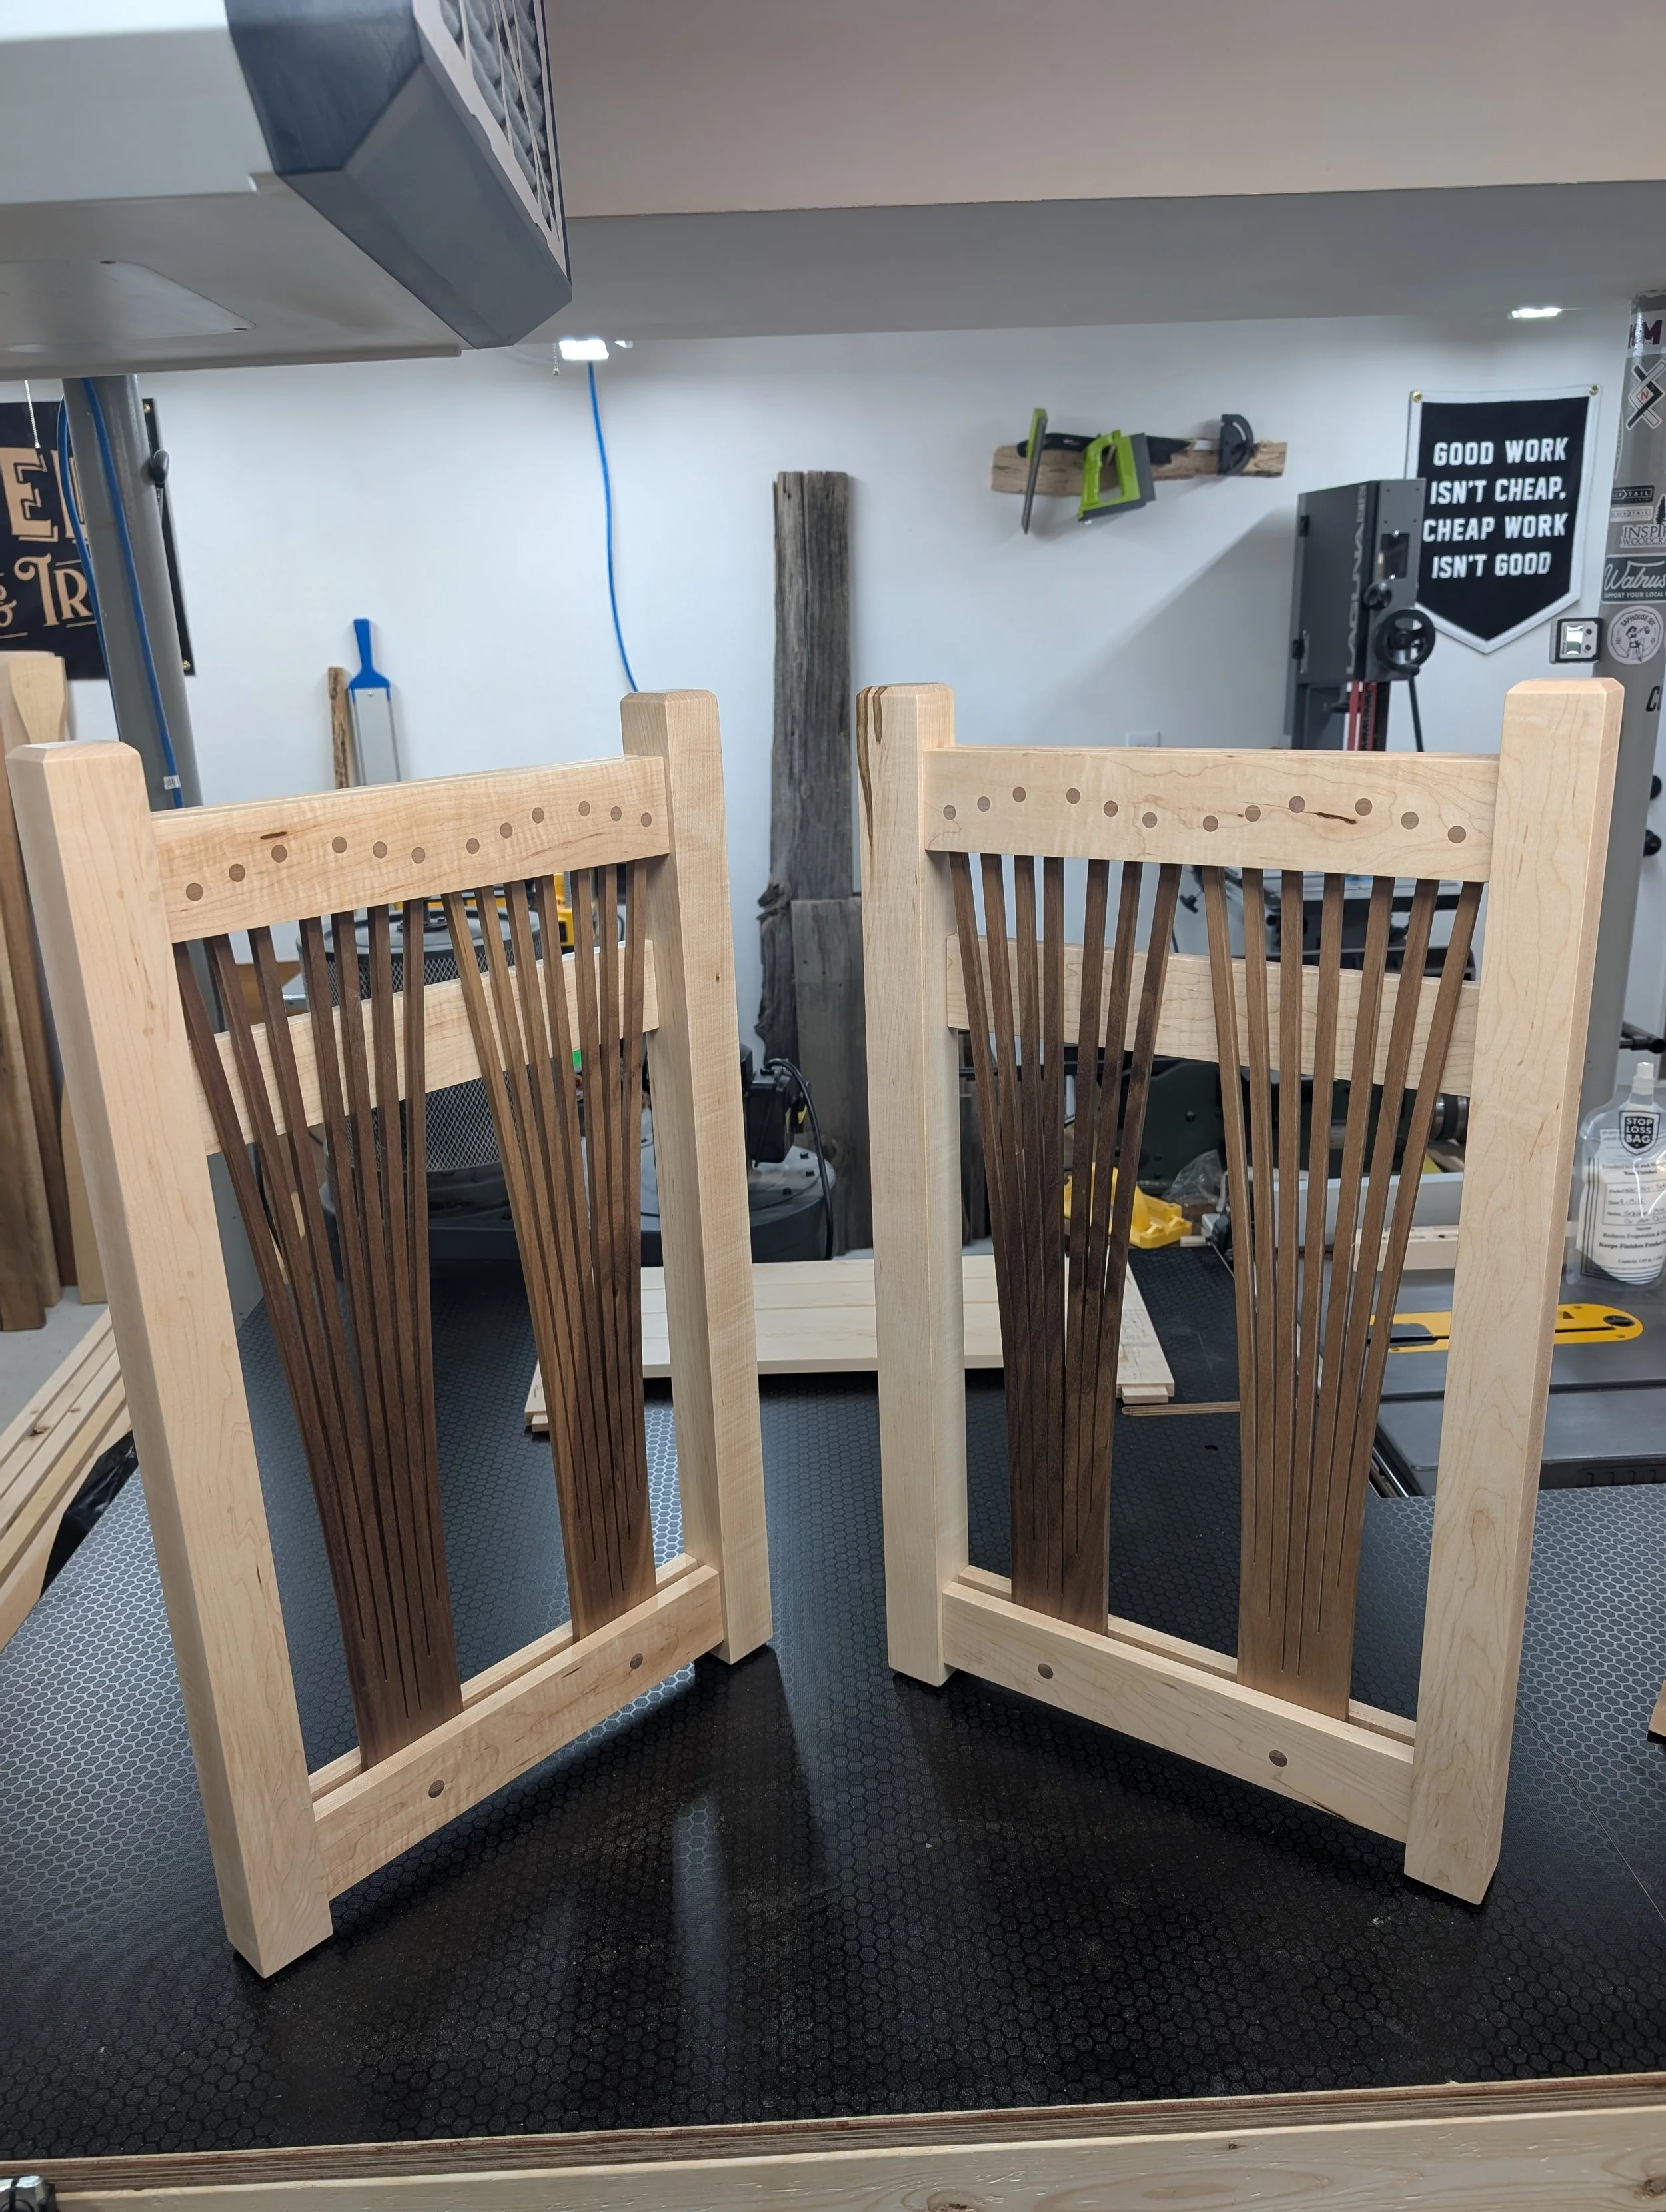
Side Panels finished and glued up
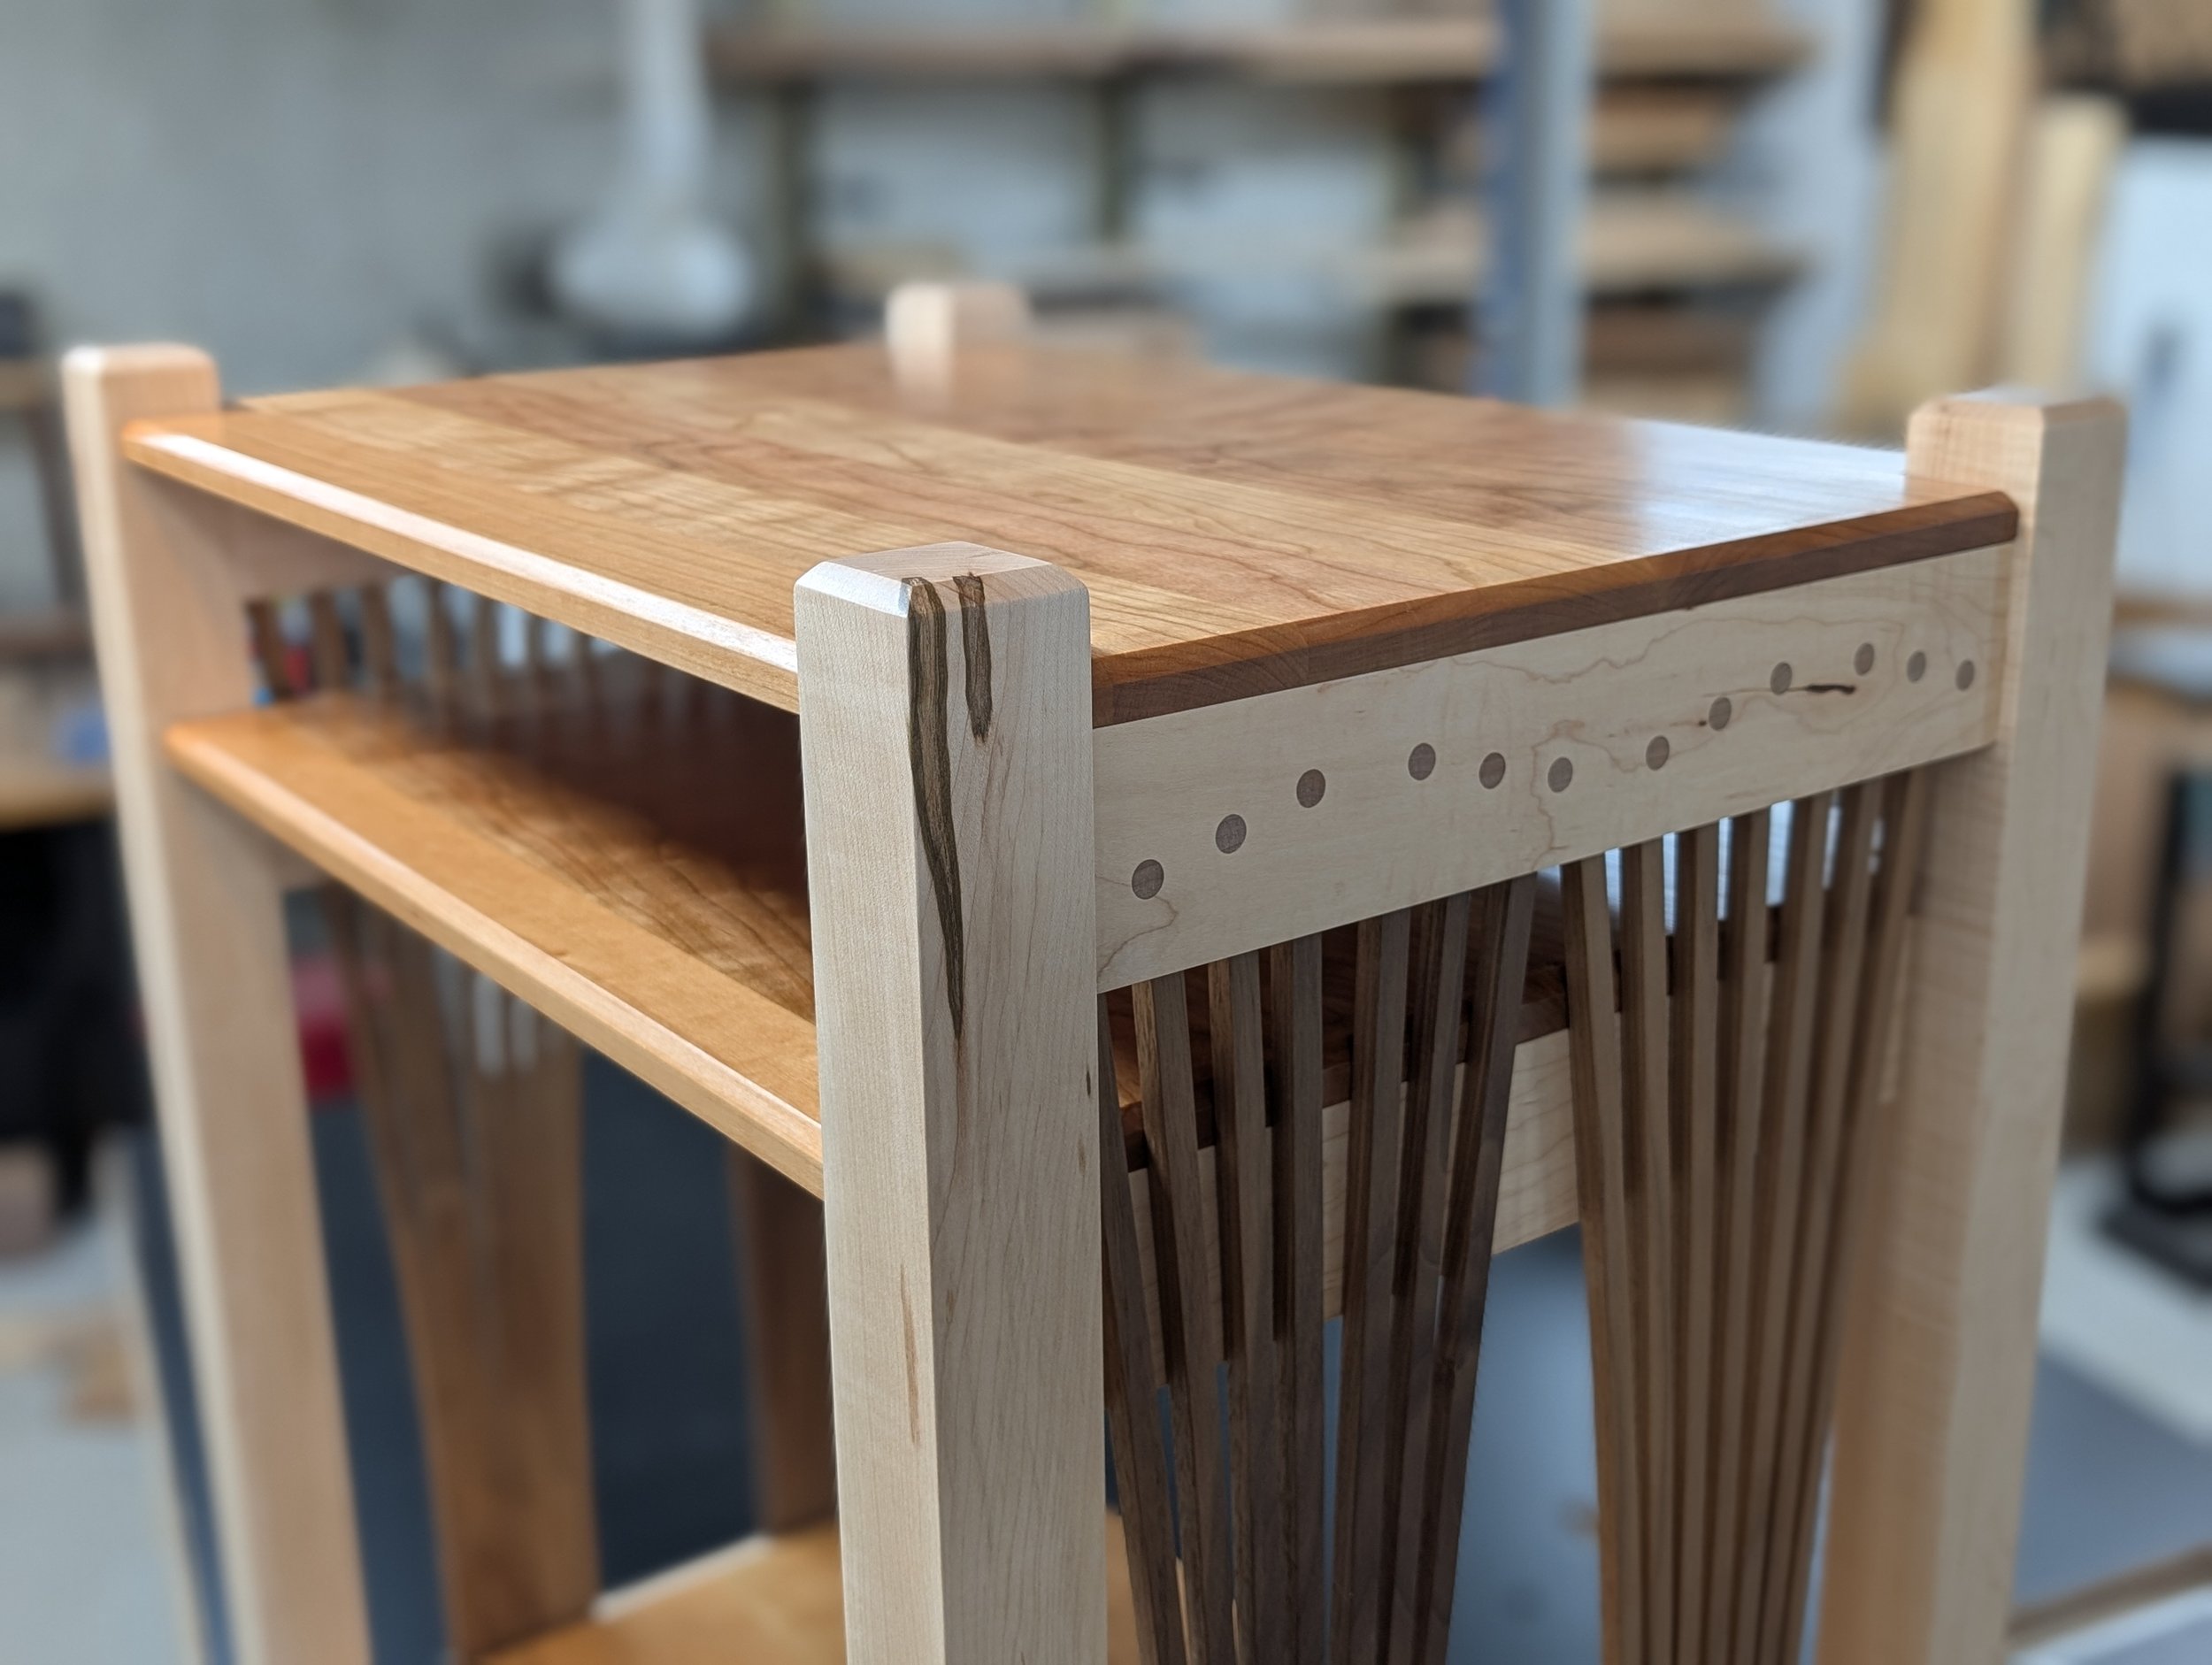
Assembled view of the top with the Cherry shelves added
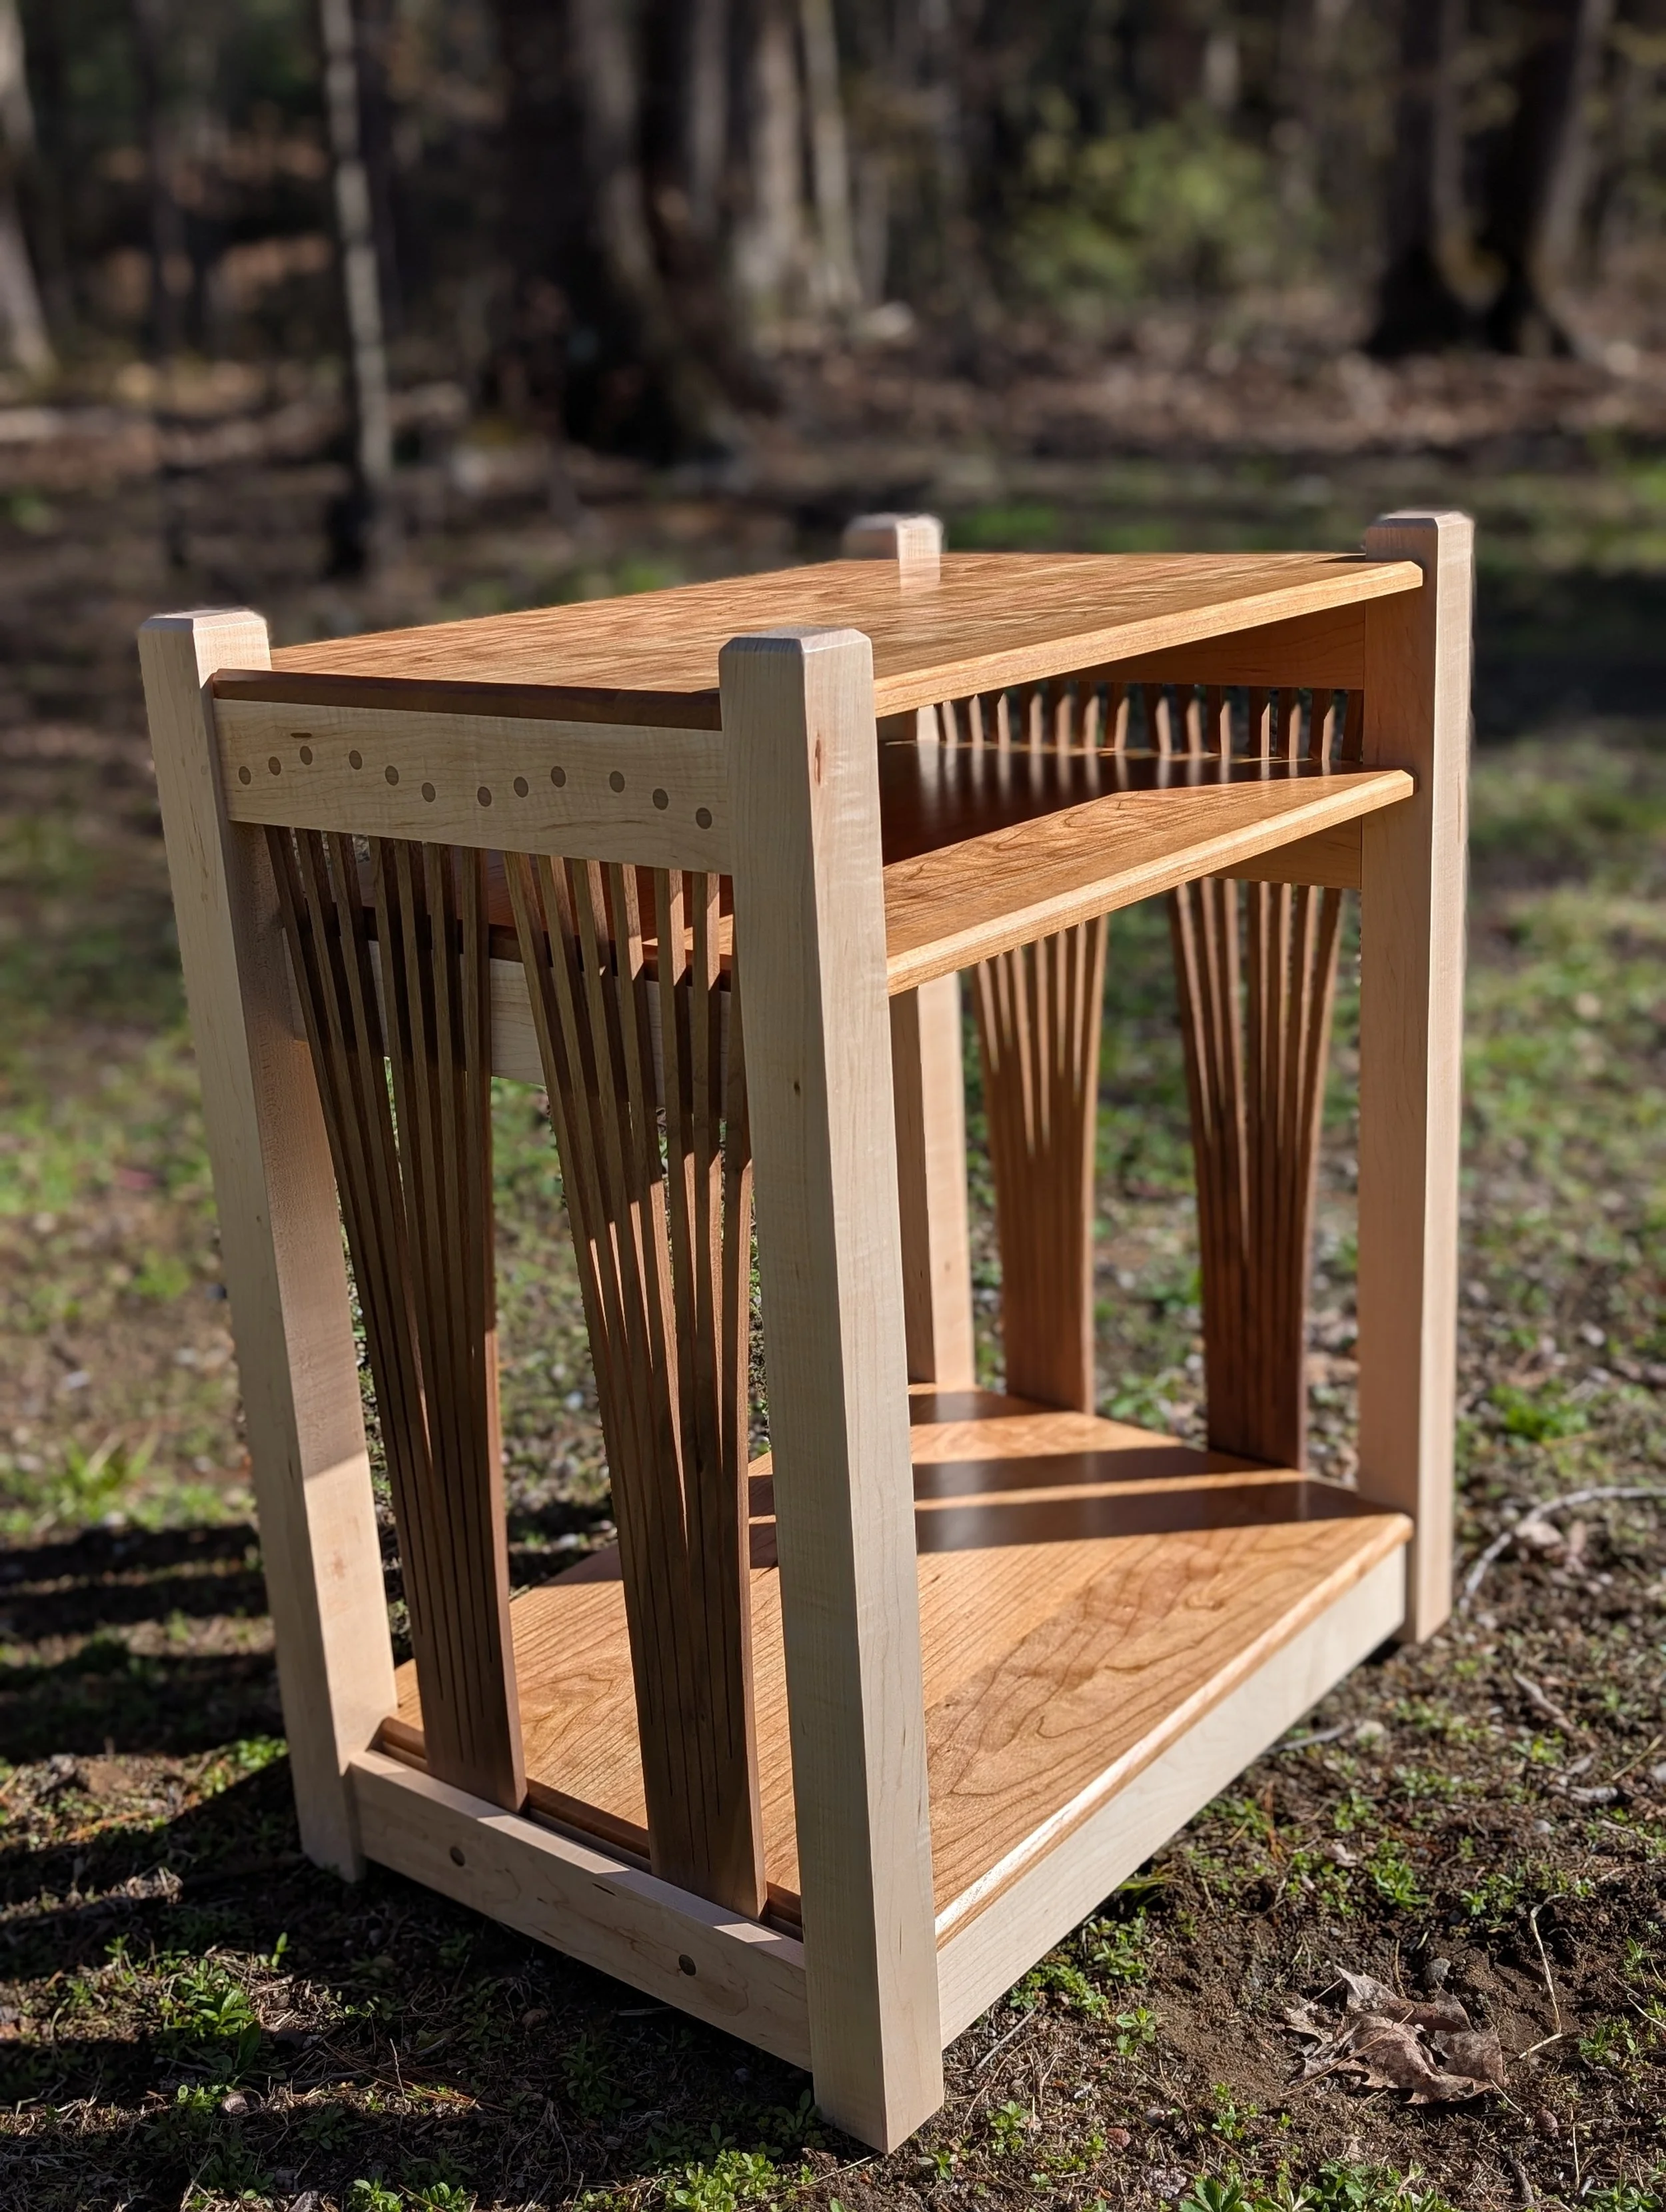
Sunshine glam shot
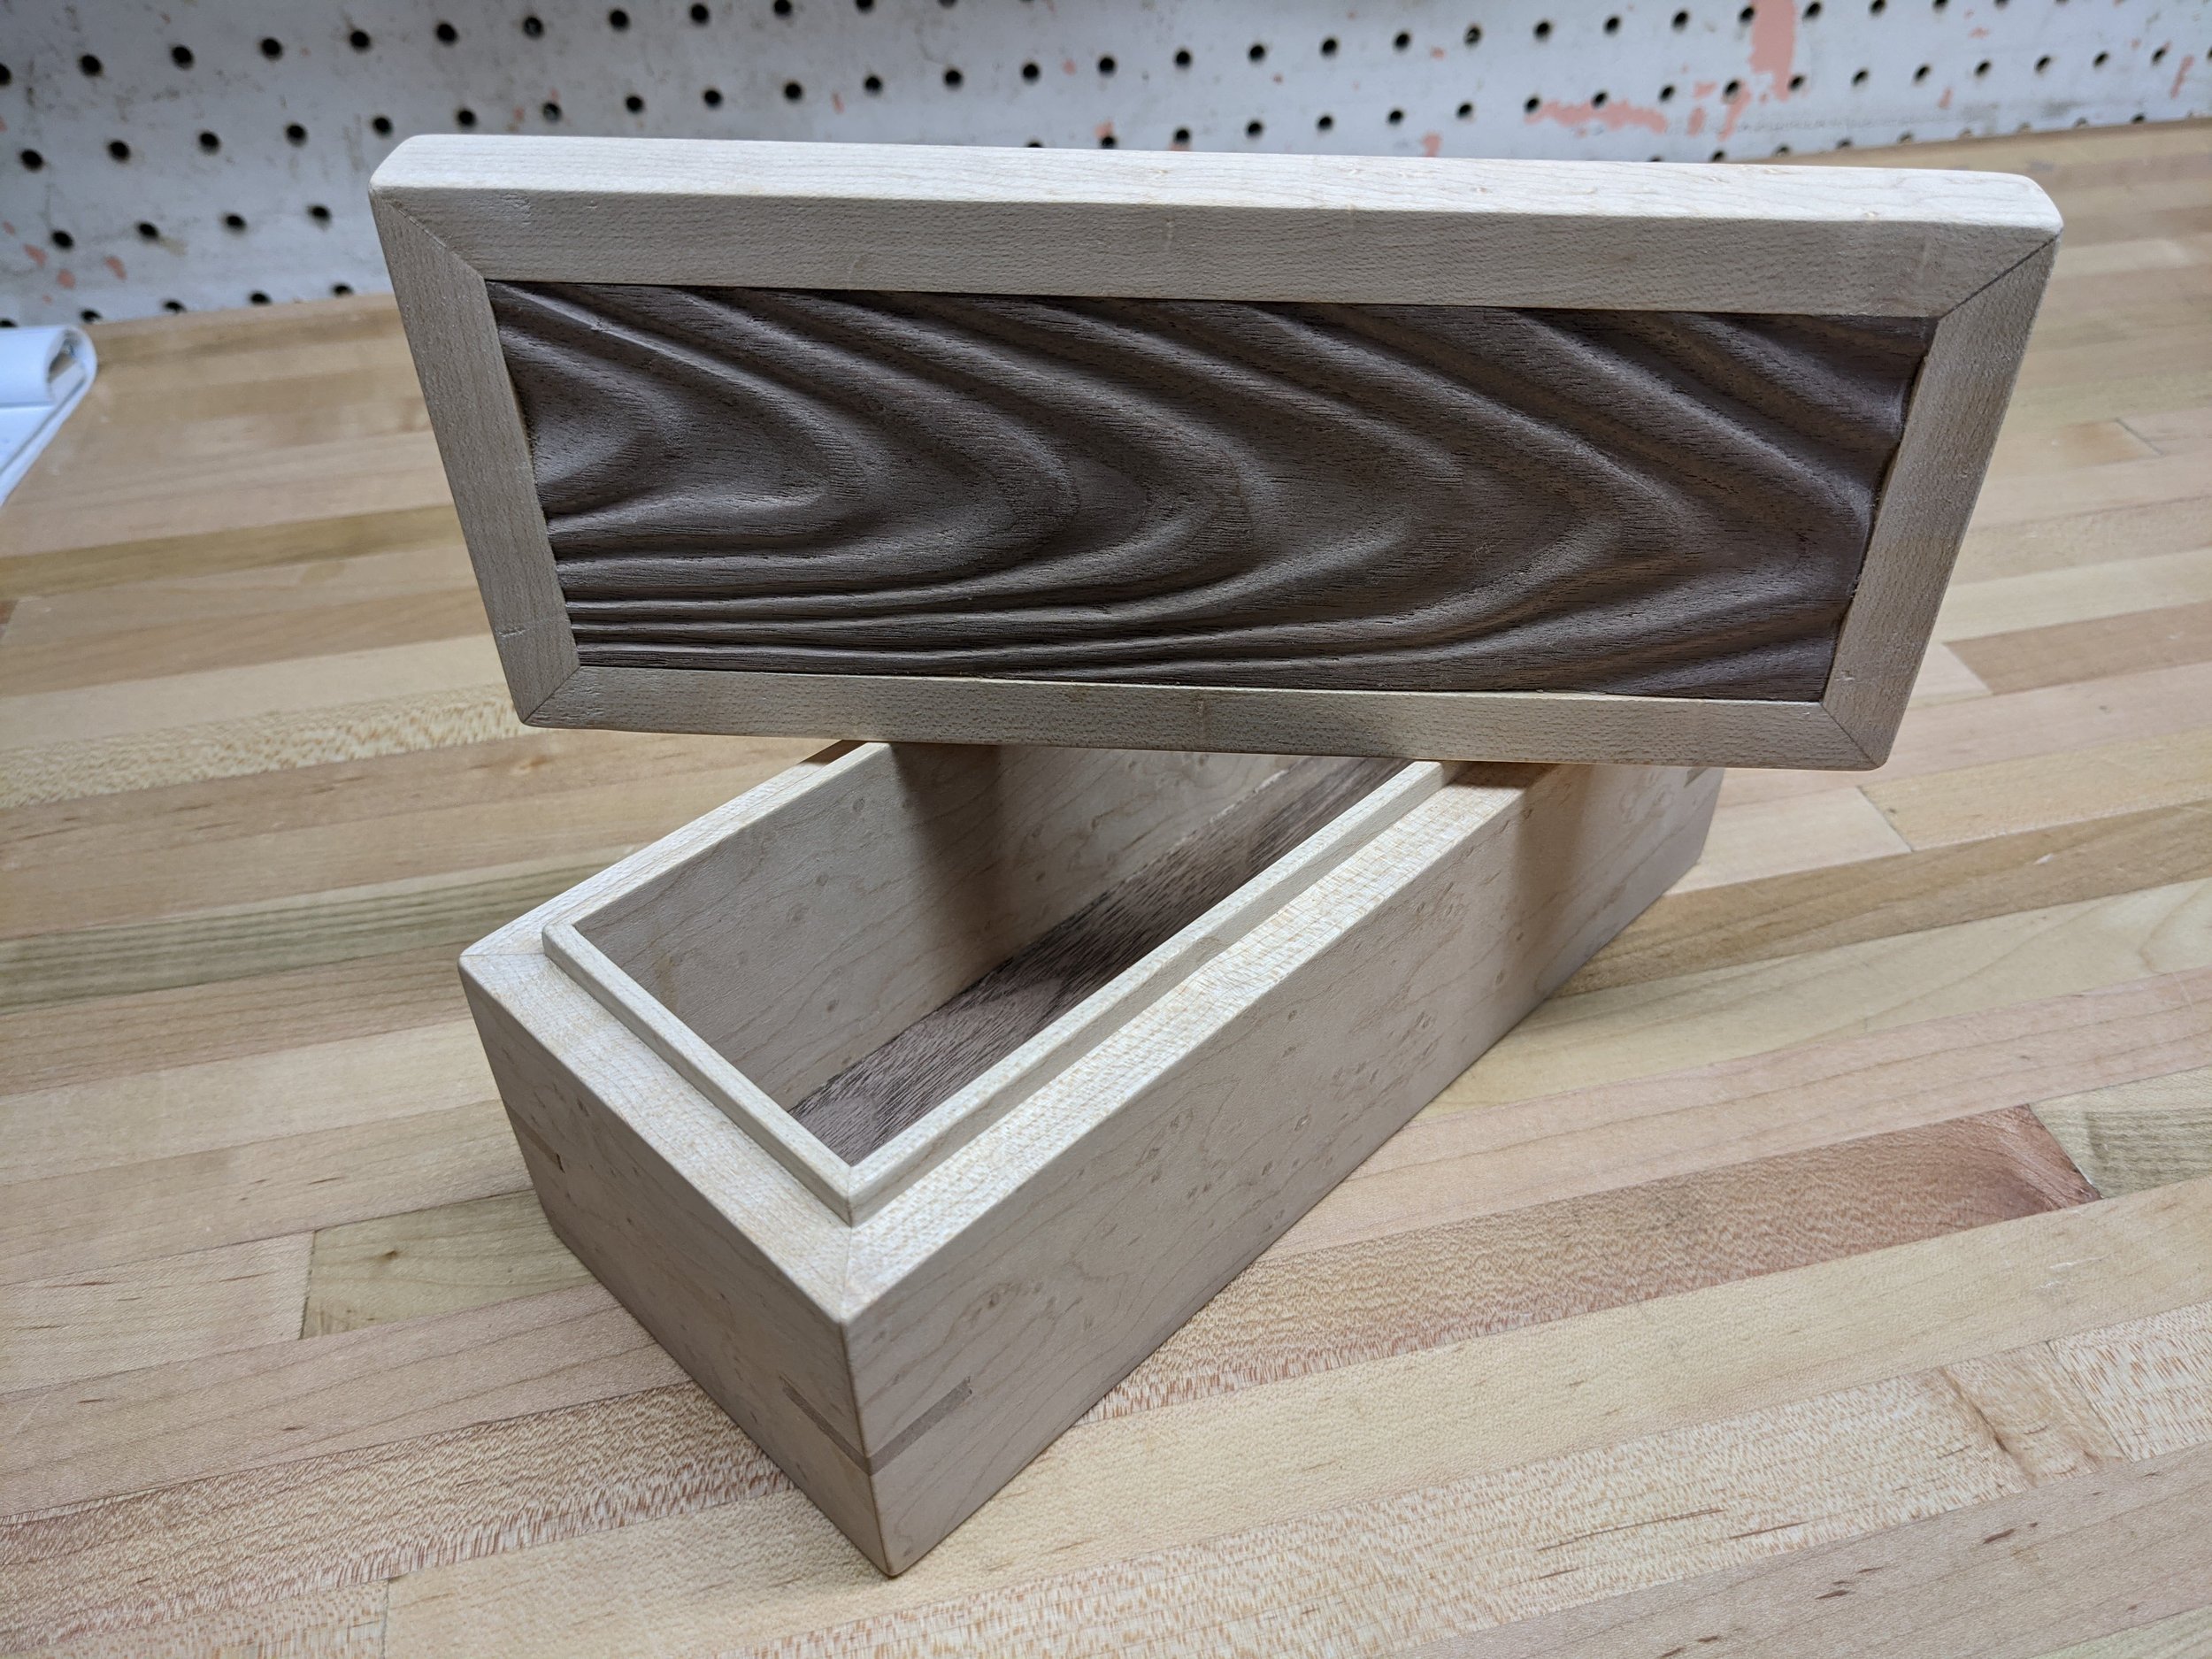
Ripple Keepsake Box
Keepsake boxes are simultaneously one of the easiest and most difficult projects in Woodworking because of the massive span of complexity and technical challenge you could put into it if you wanted to, and for this one…we wanted to.
Much of this design and inspiration was directly from @encurtis himself who makes this style look SO easy…
Birdseye Maple for the body, hand-carved Walnut for the top, and Cherry splines on the corners for some contrasting reinforcement.
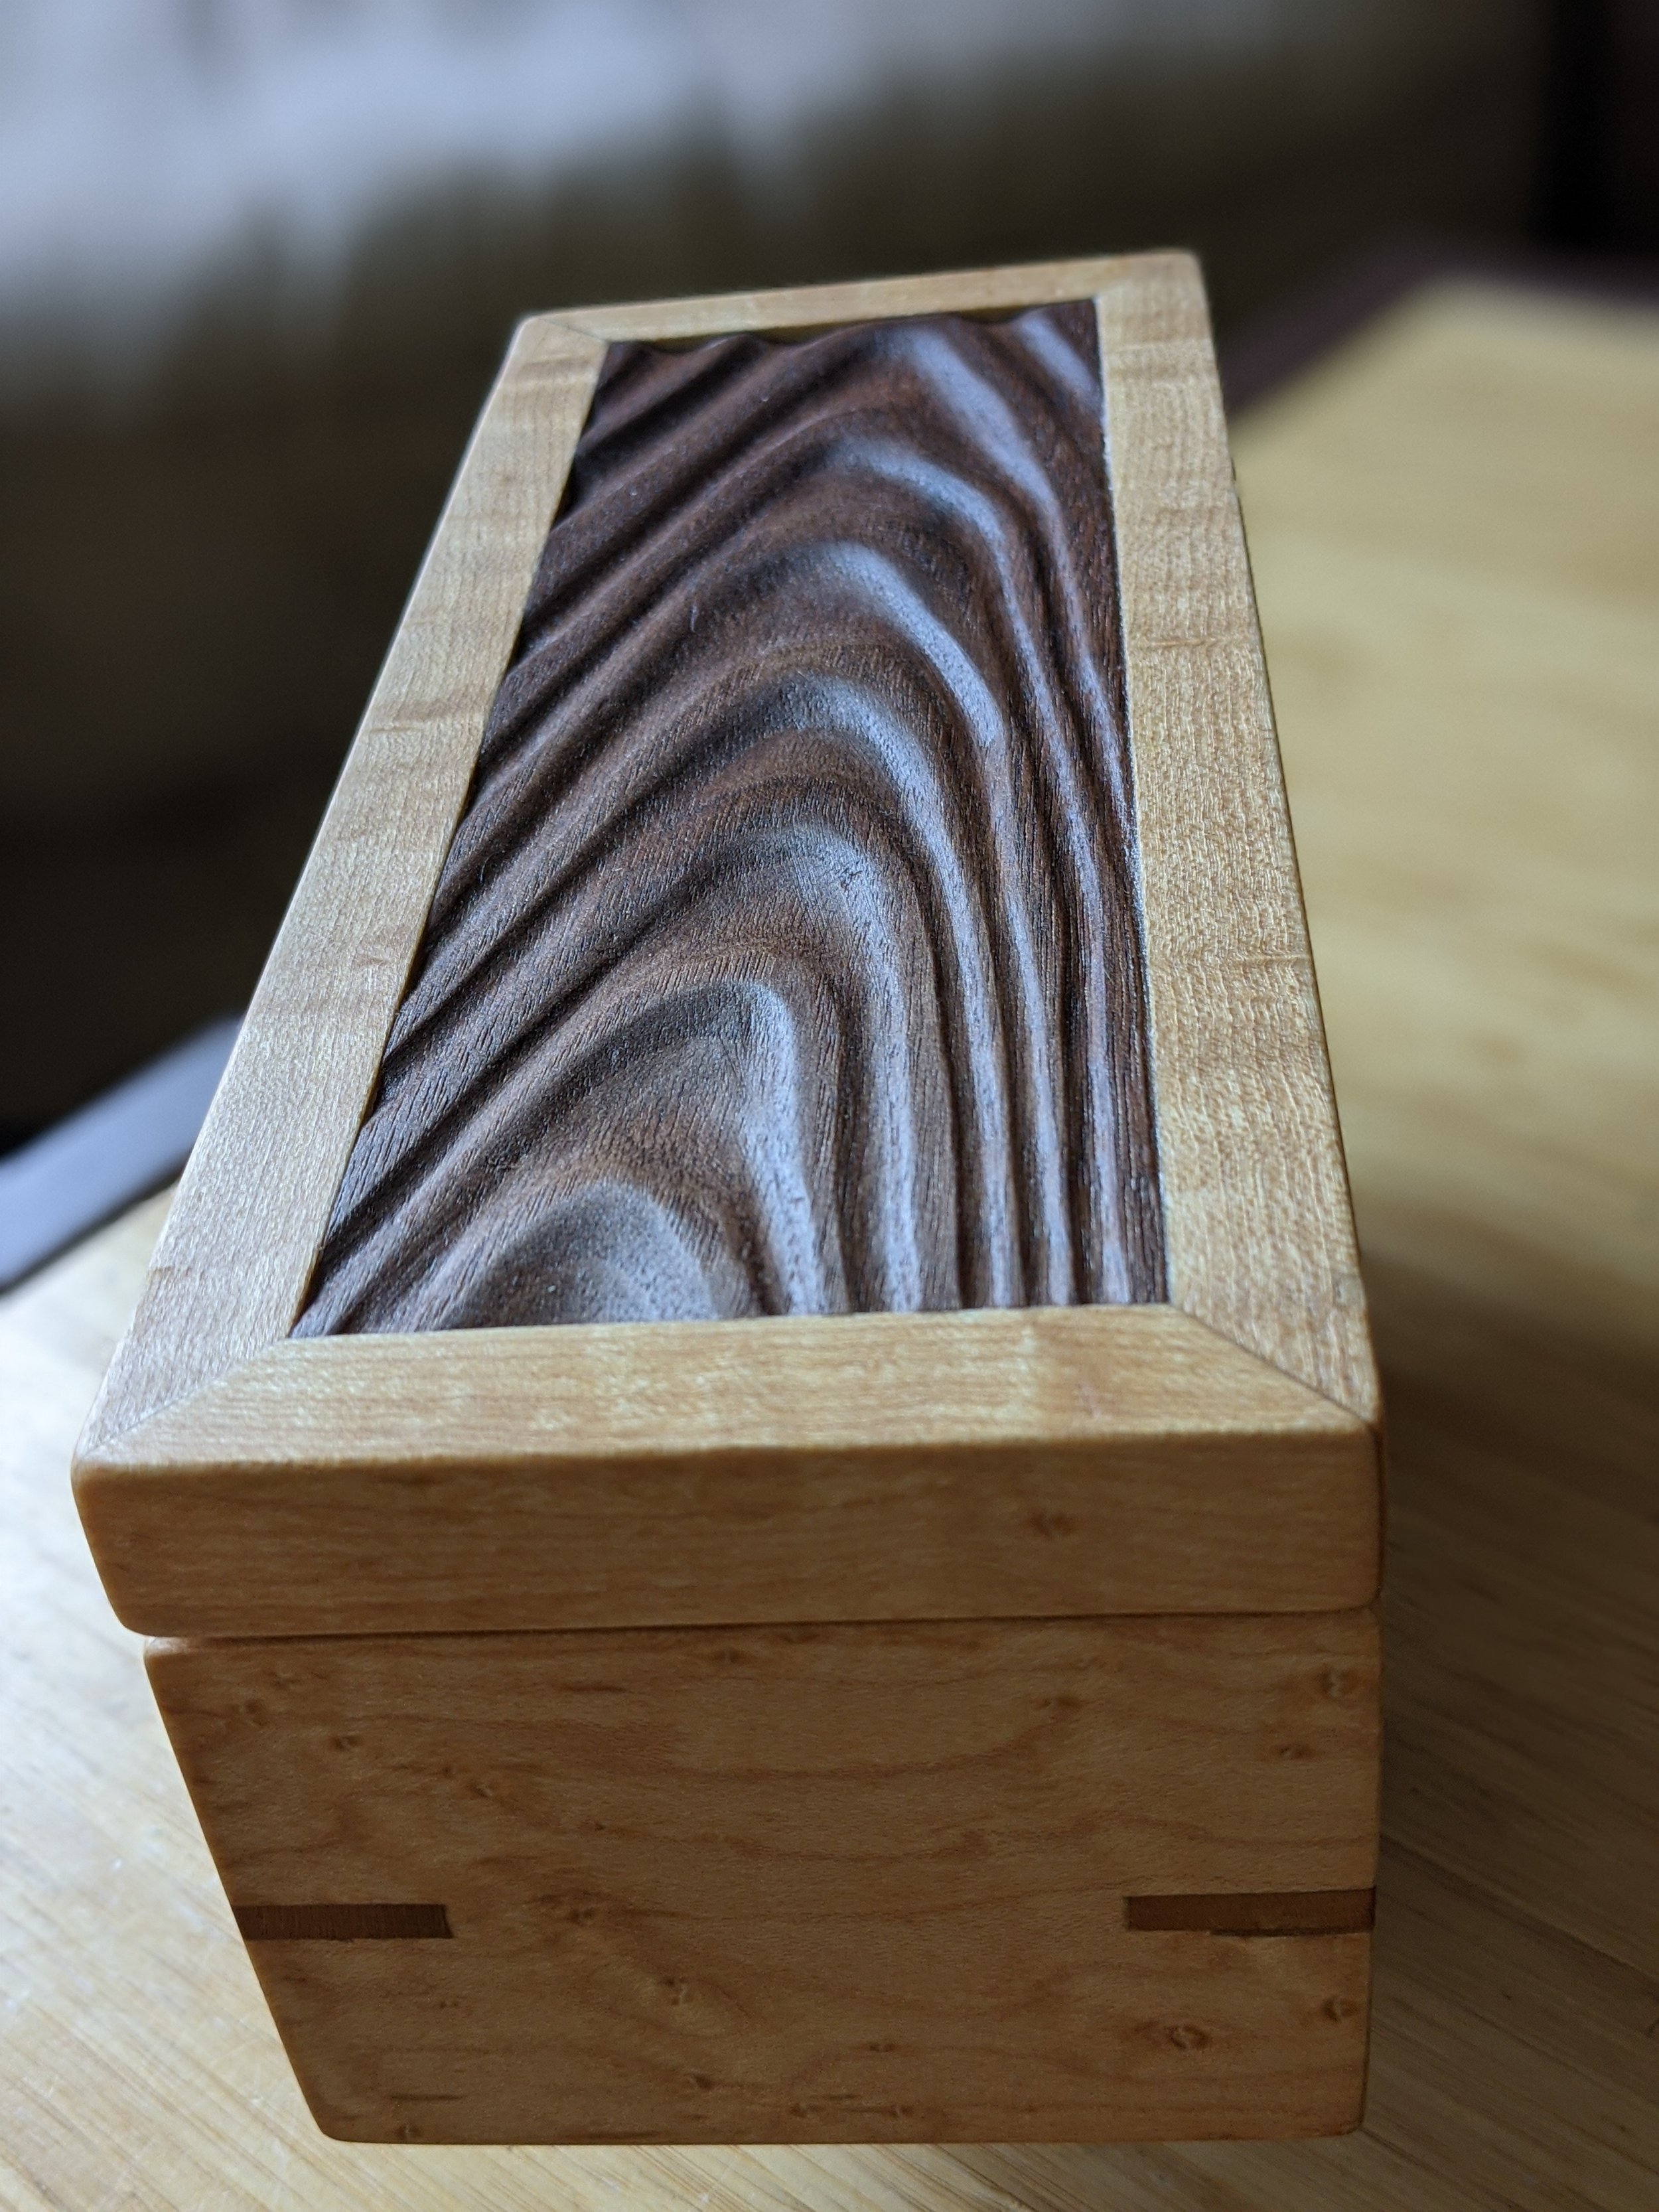
Check out some of the process pics below! More are found here:
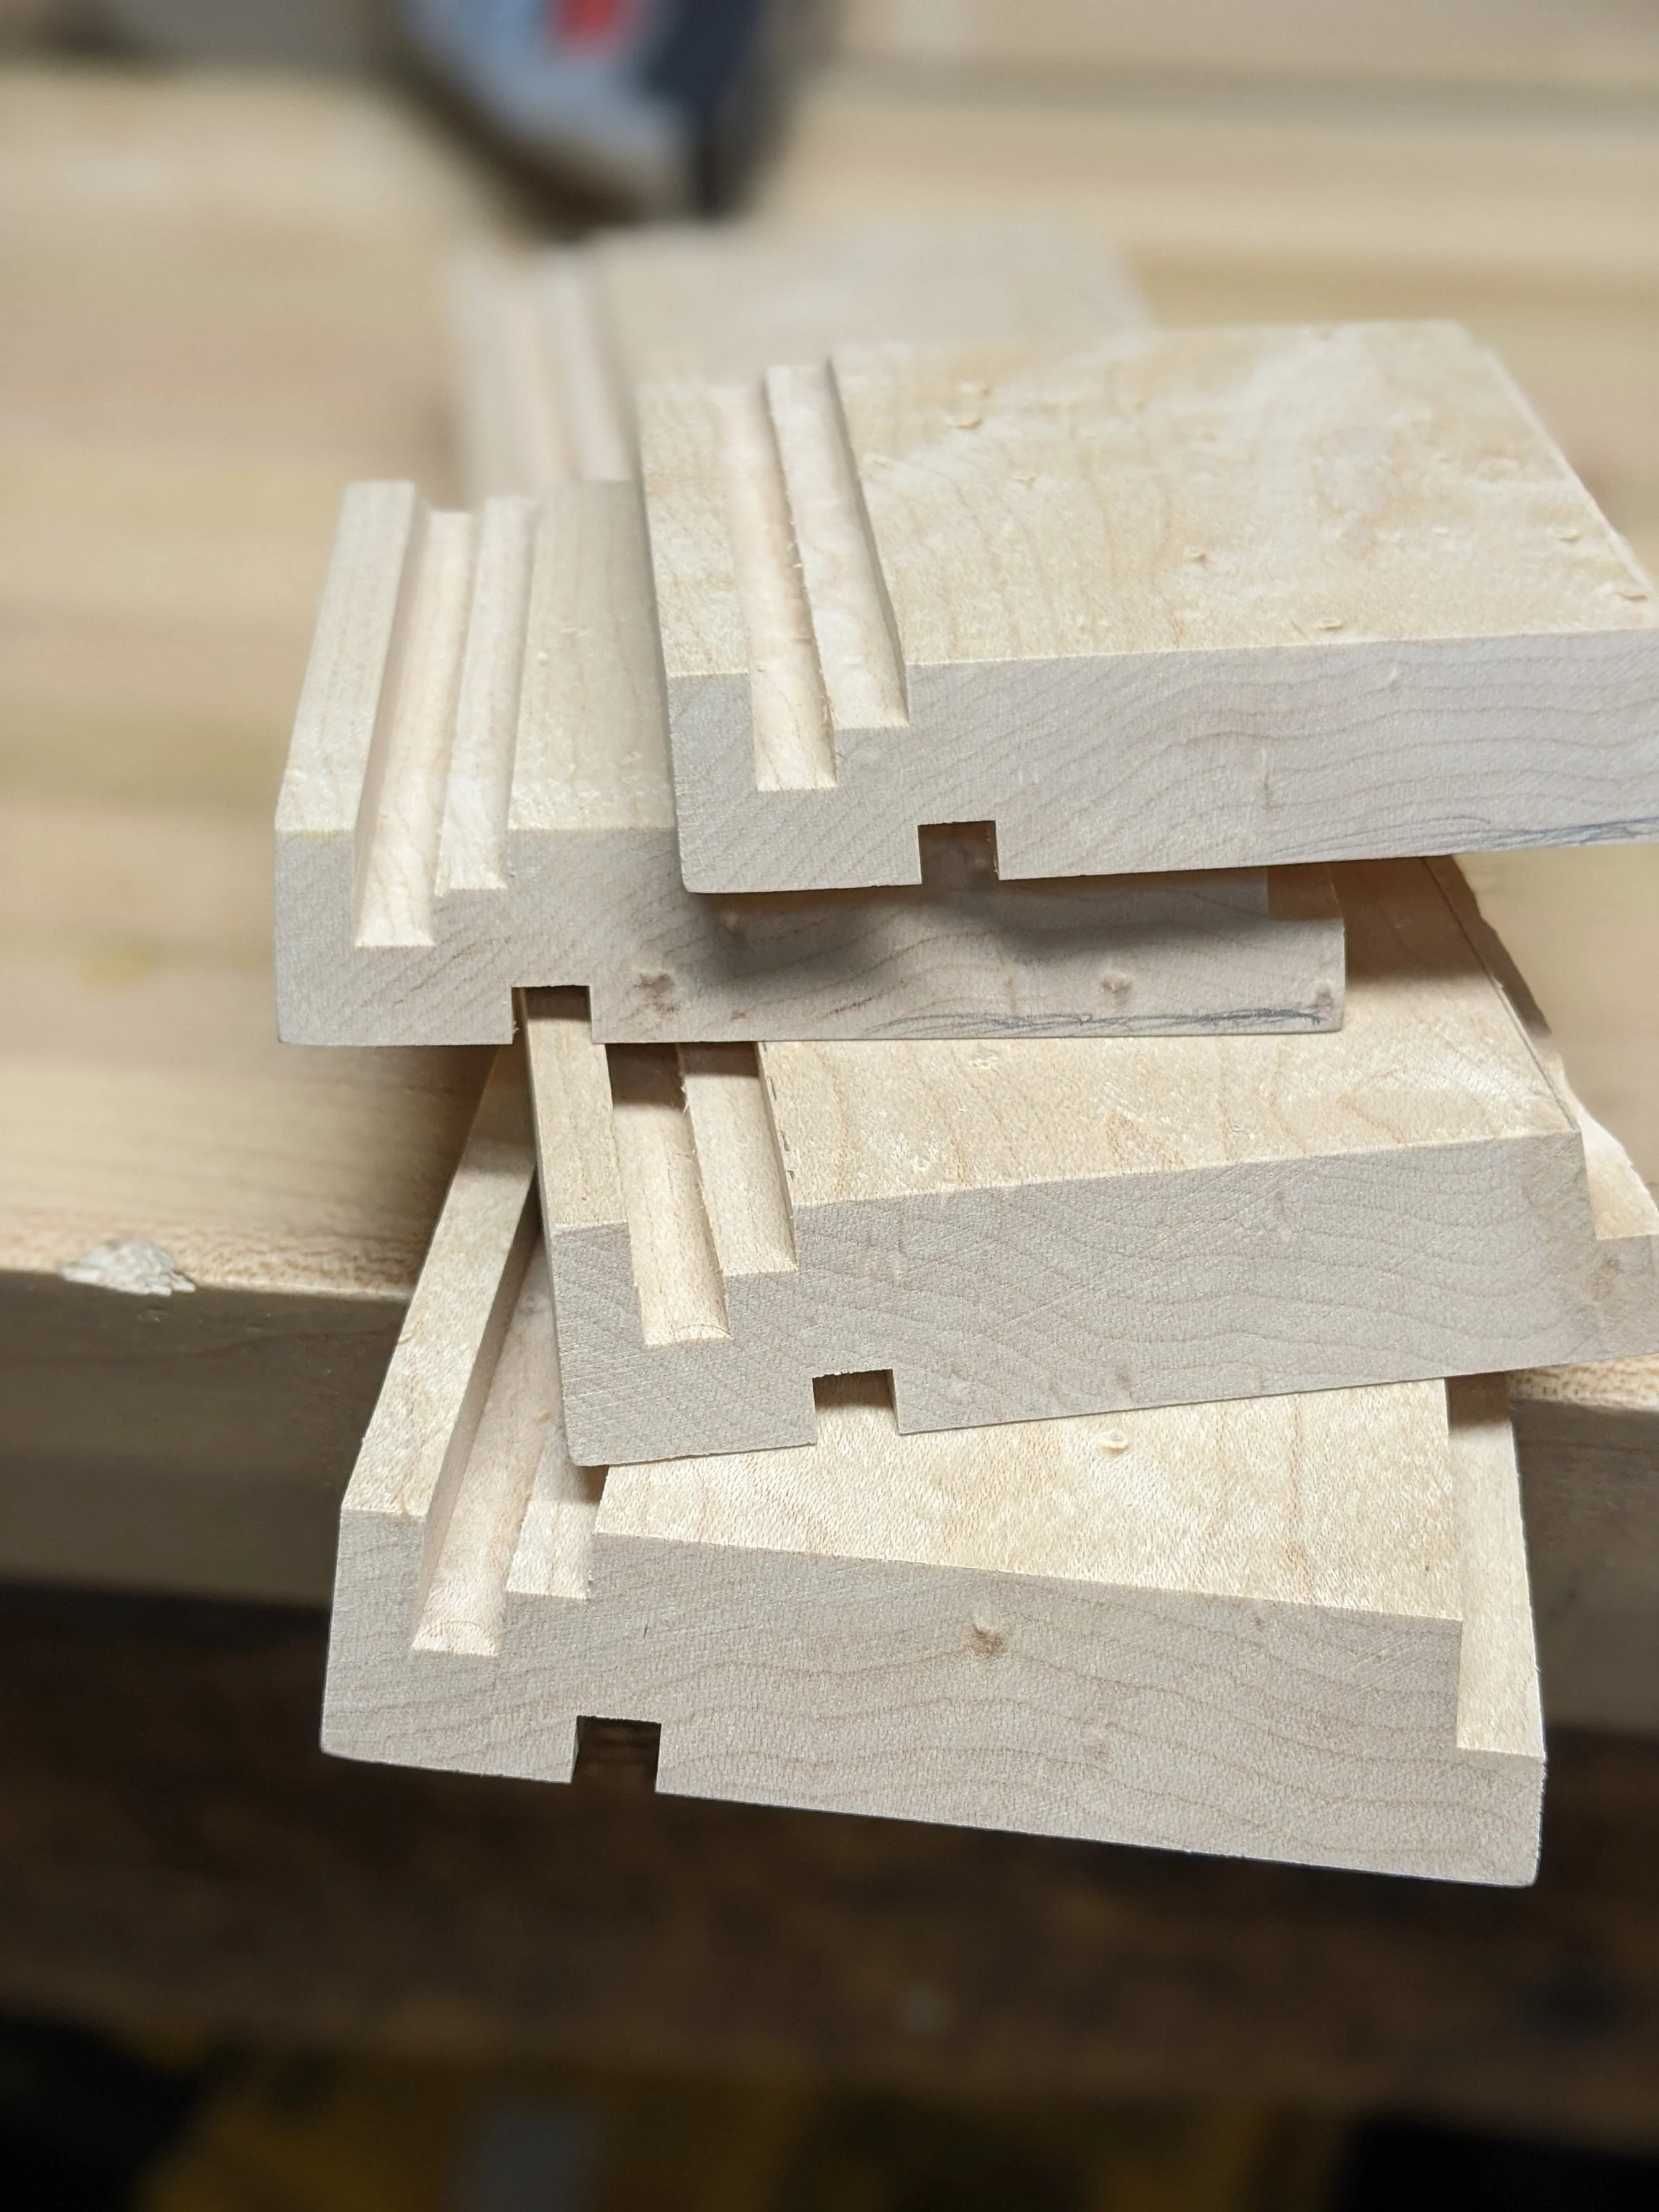
Parts of the box body with all the grooves
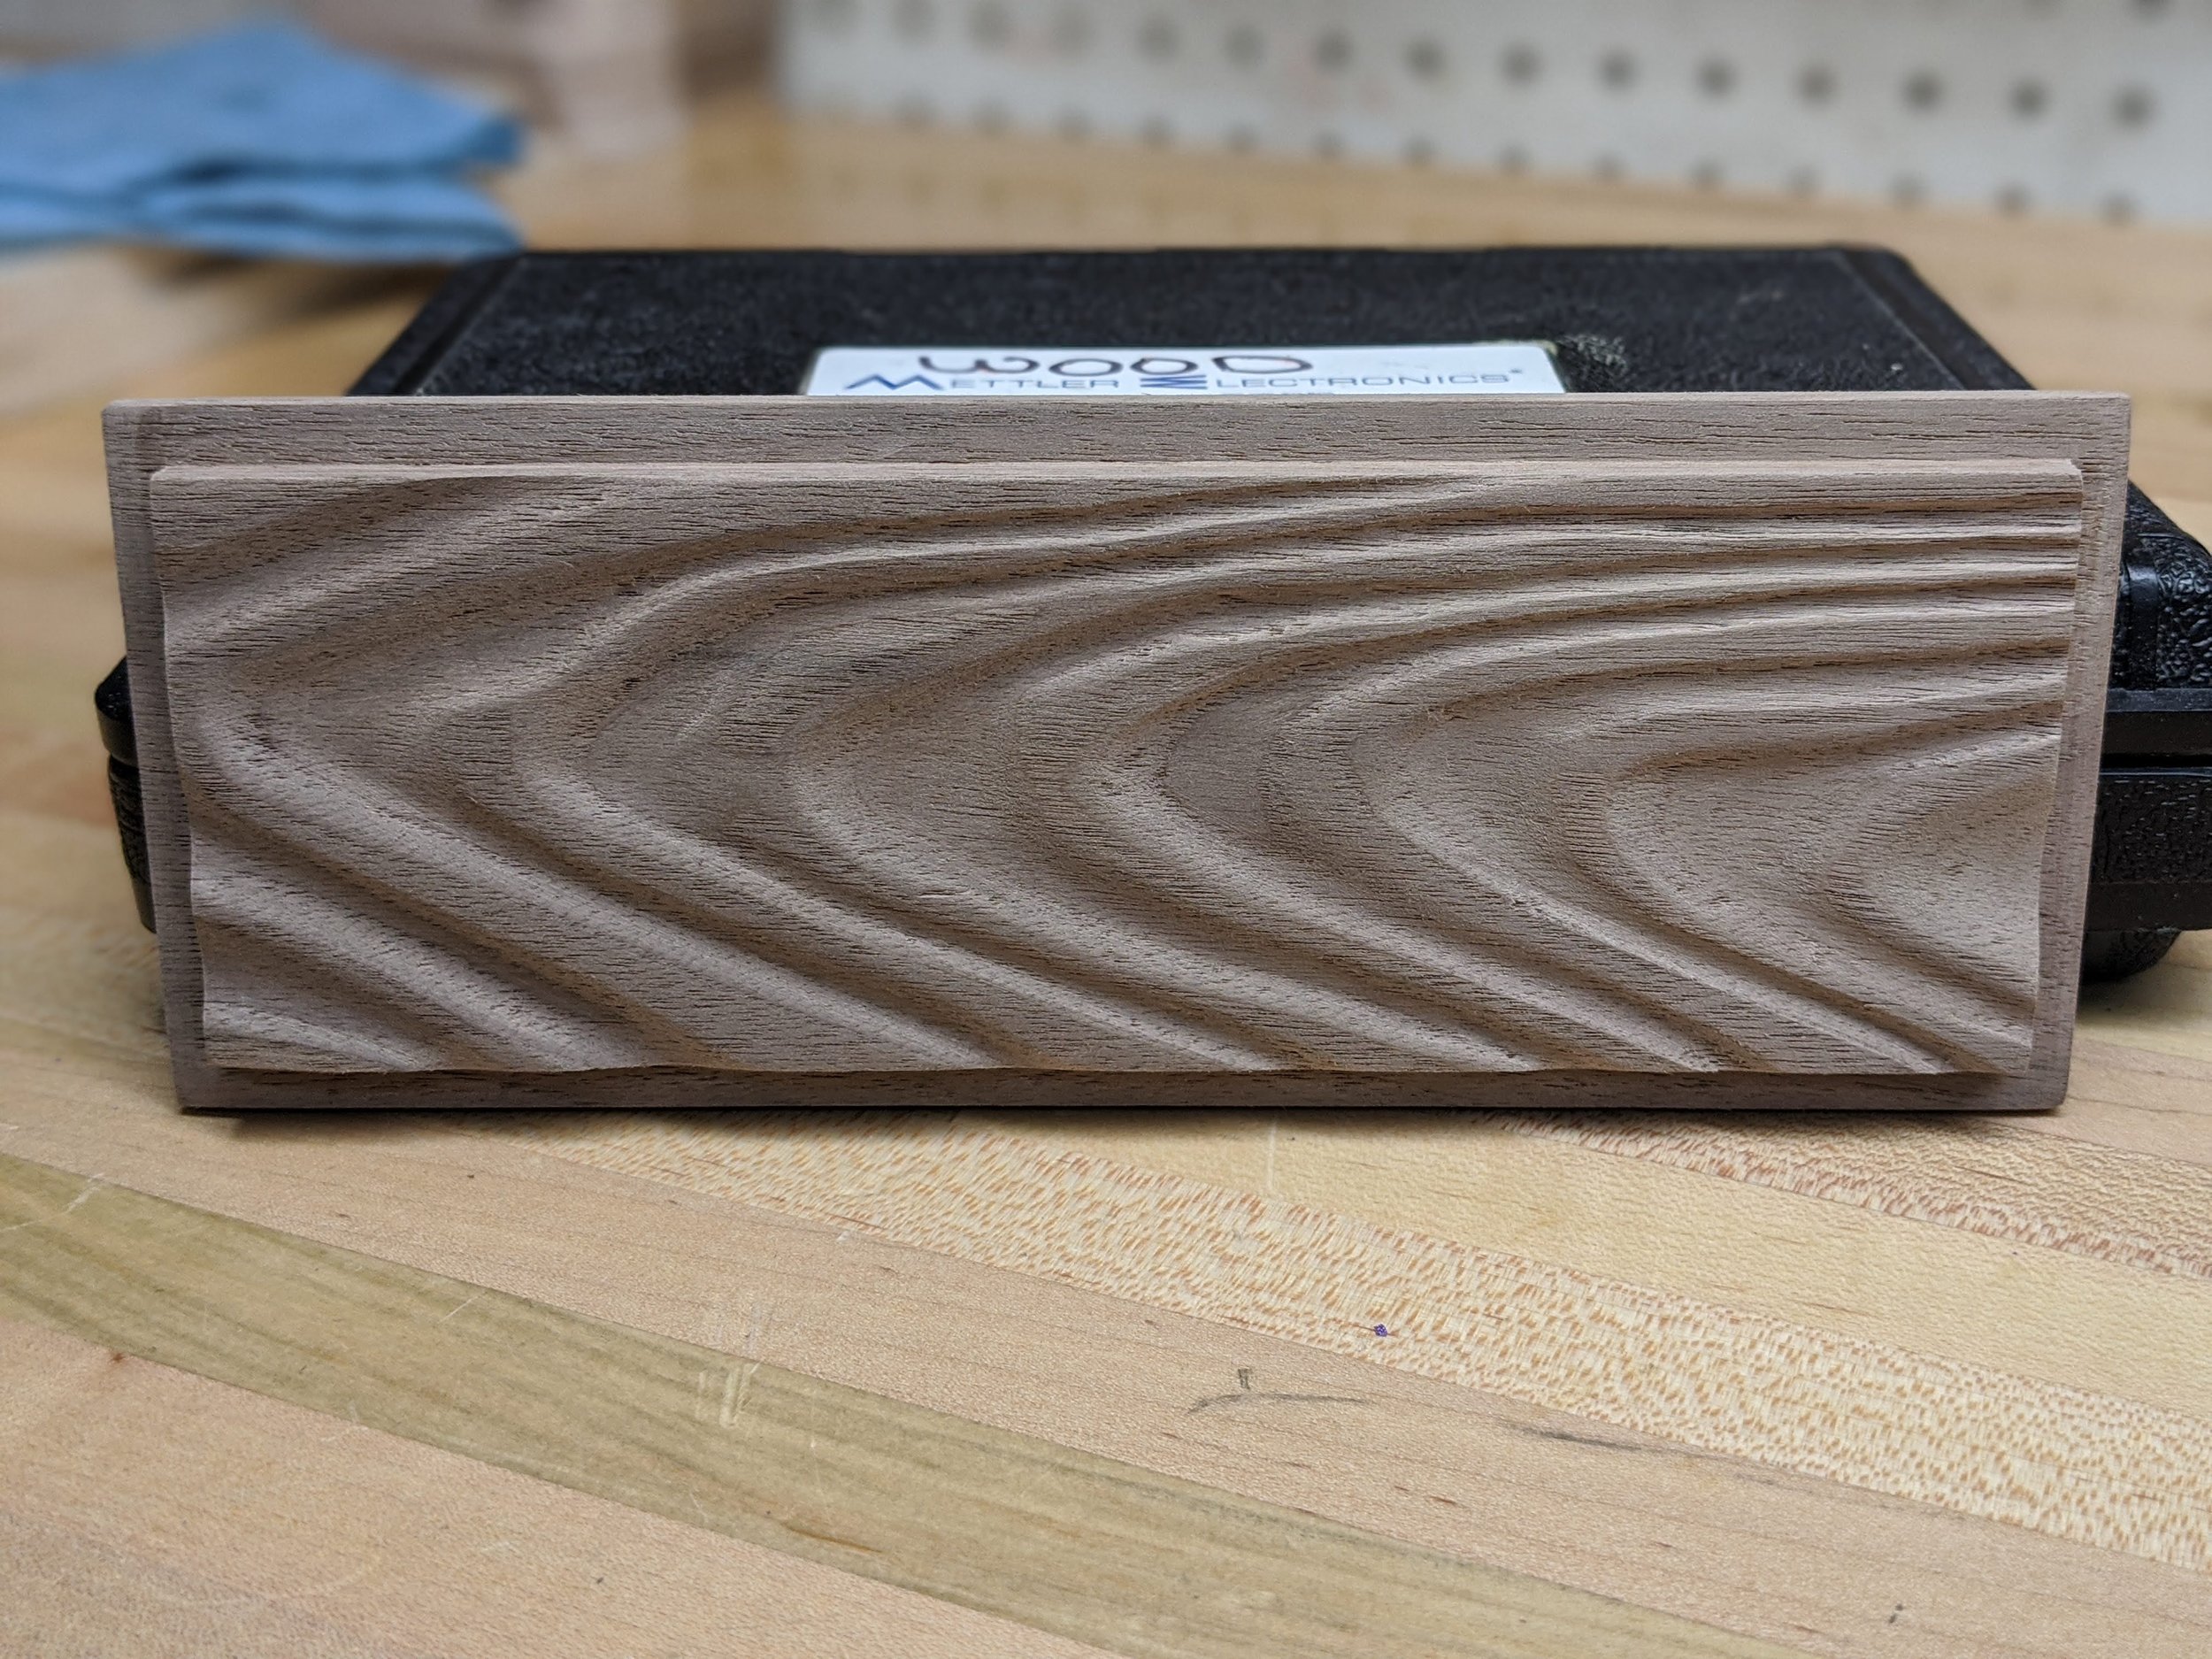
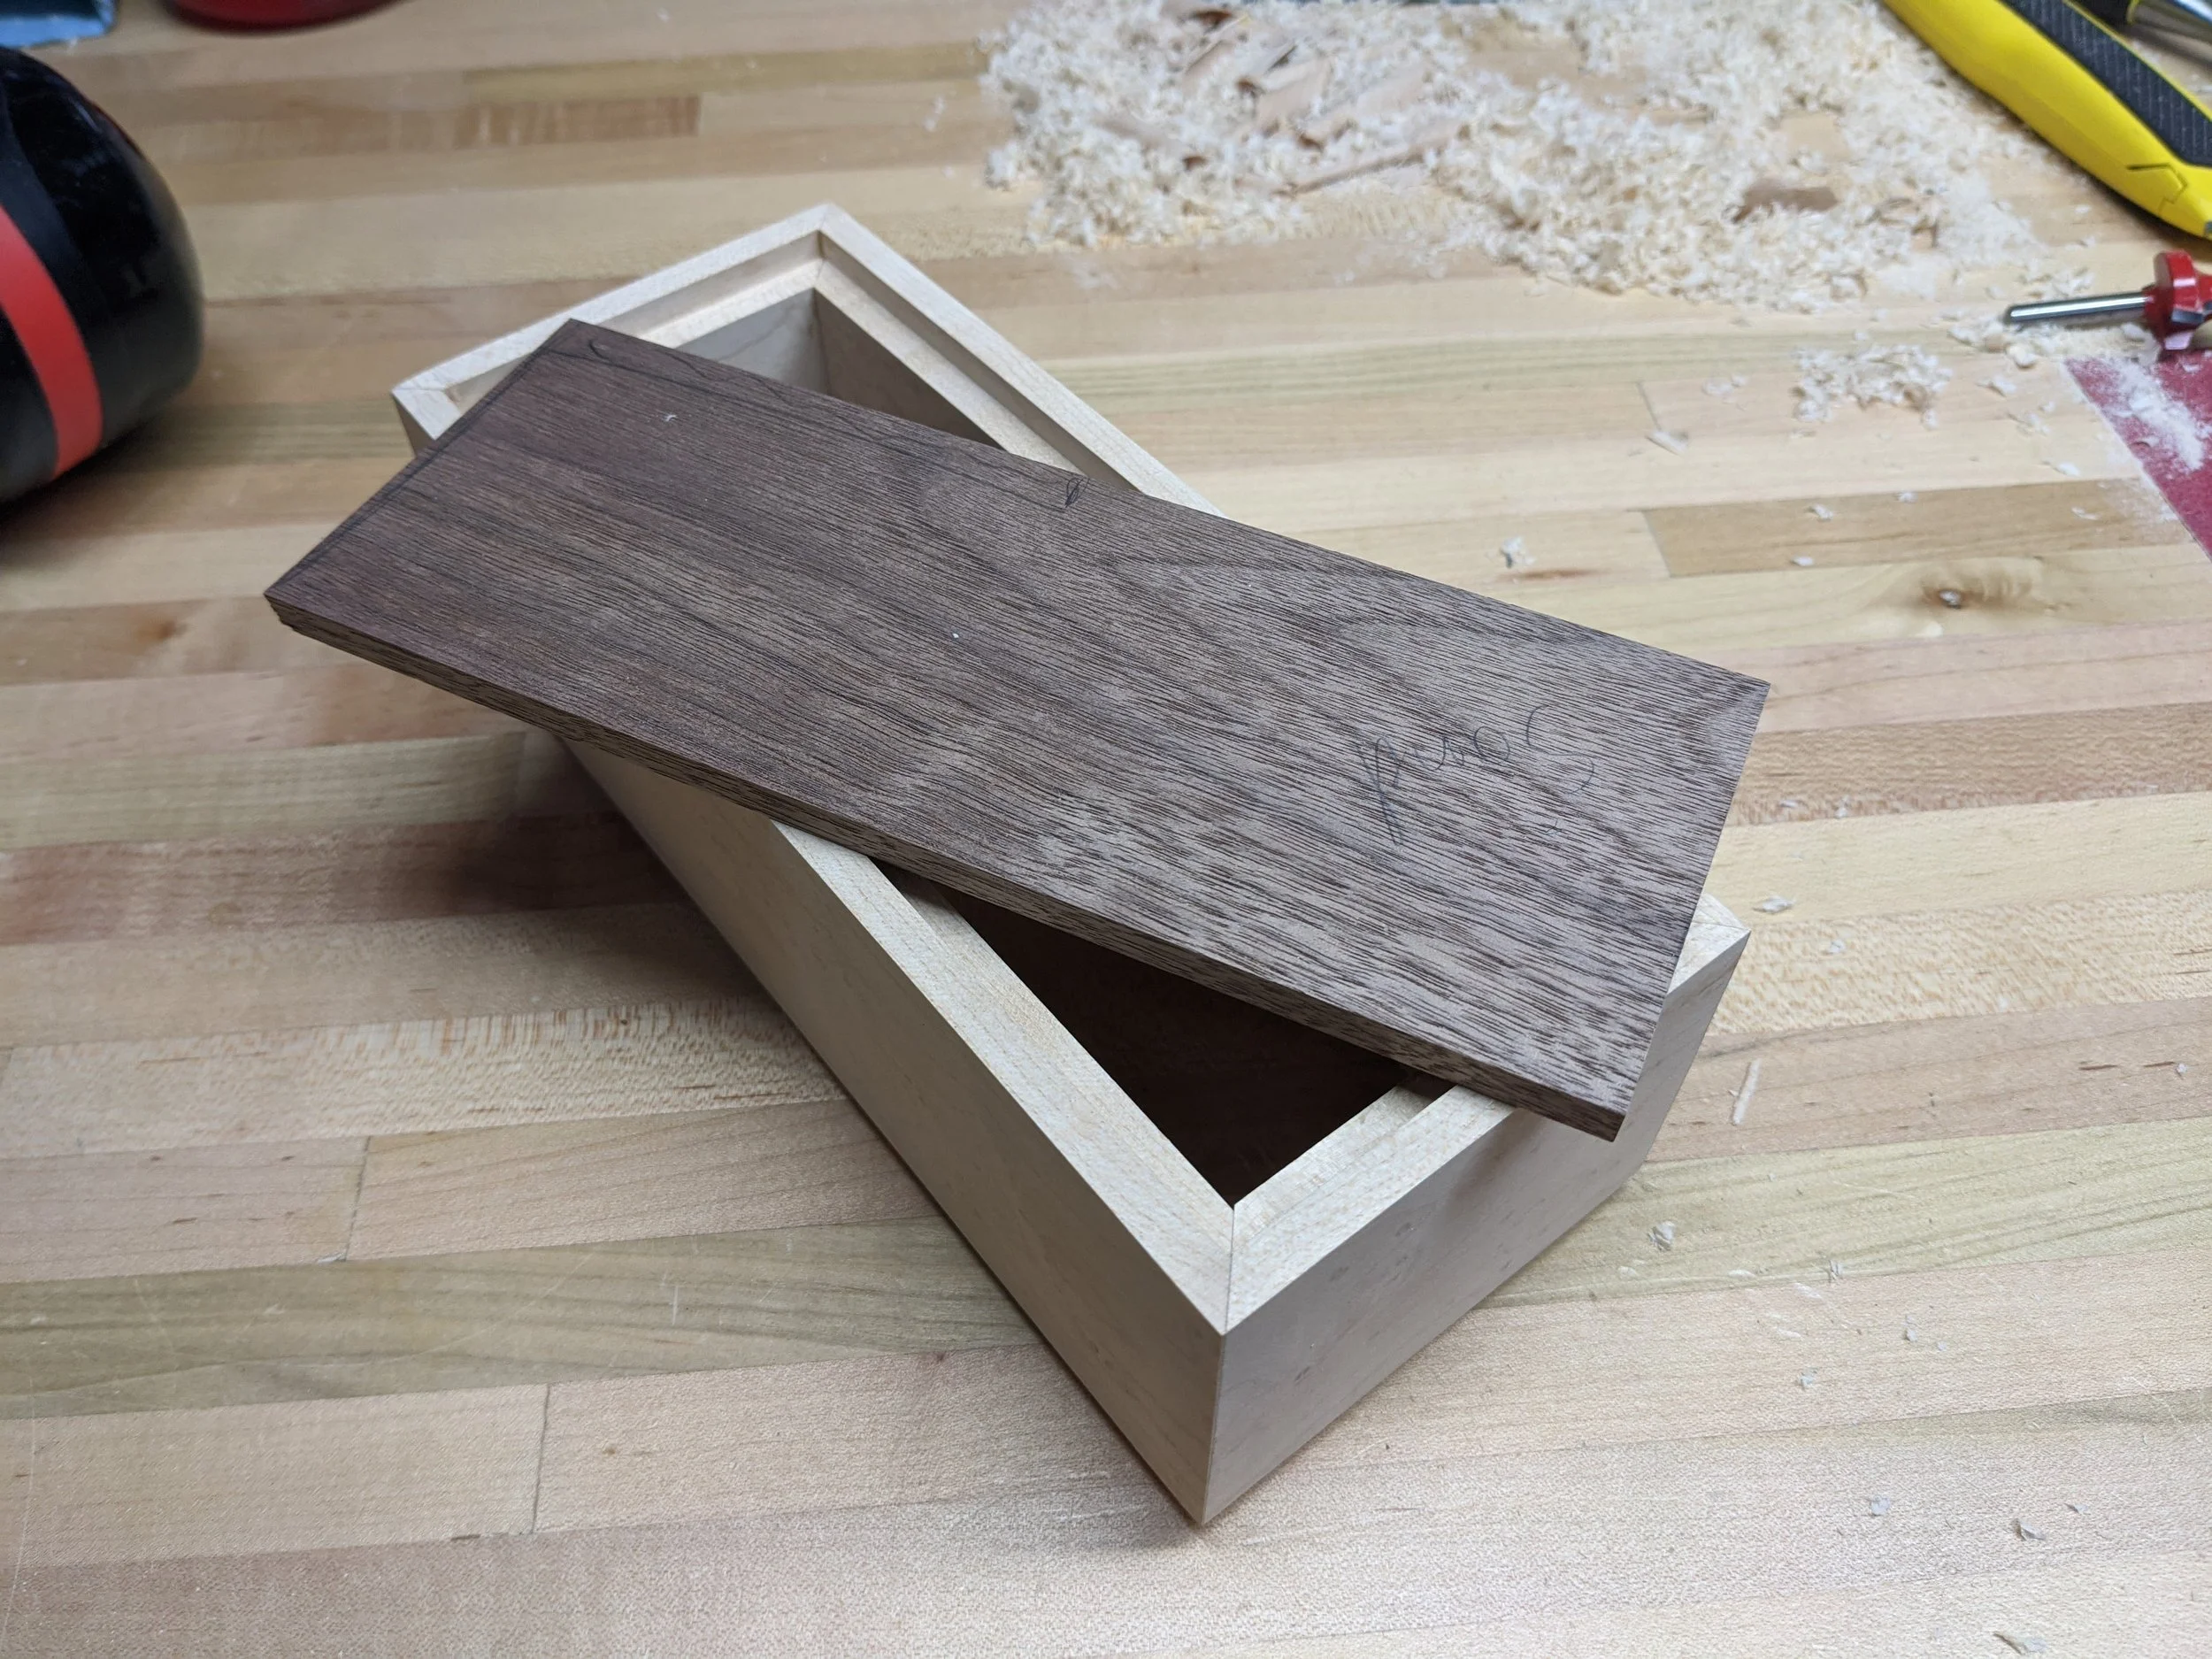
Completed Walnut lid inlay
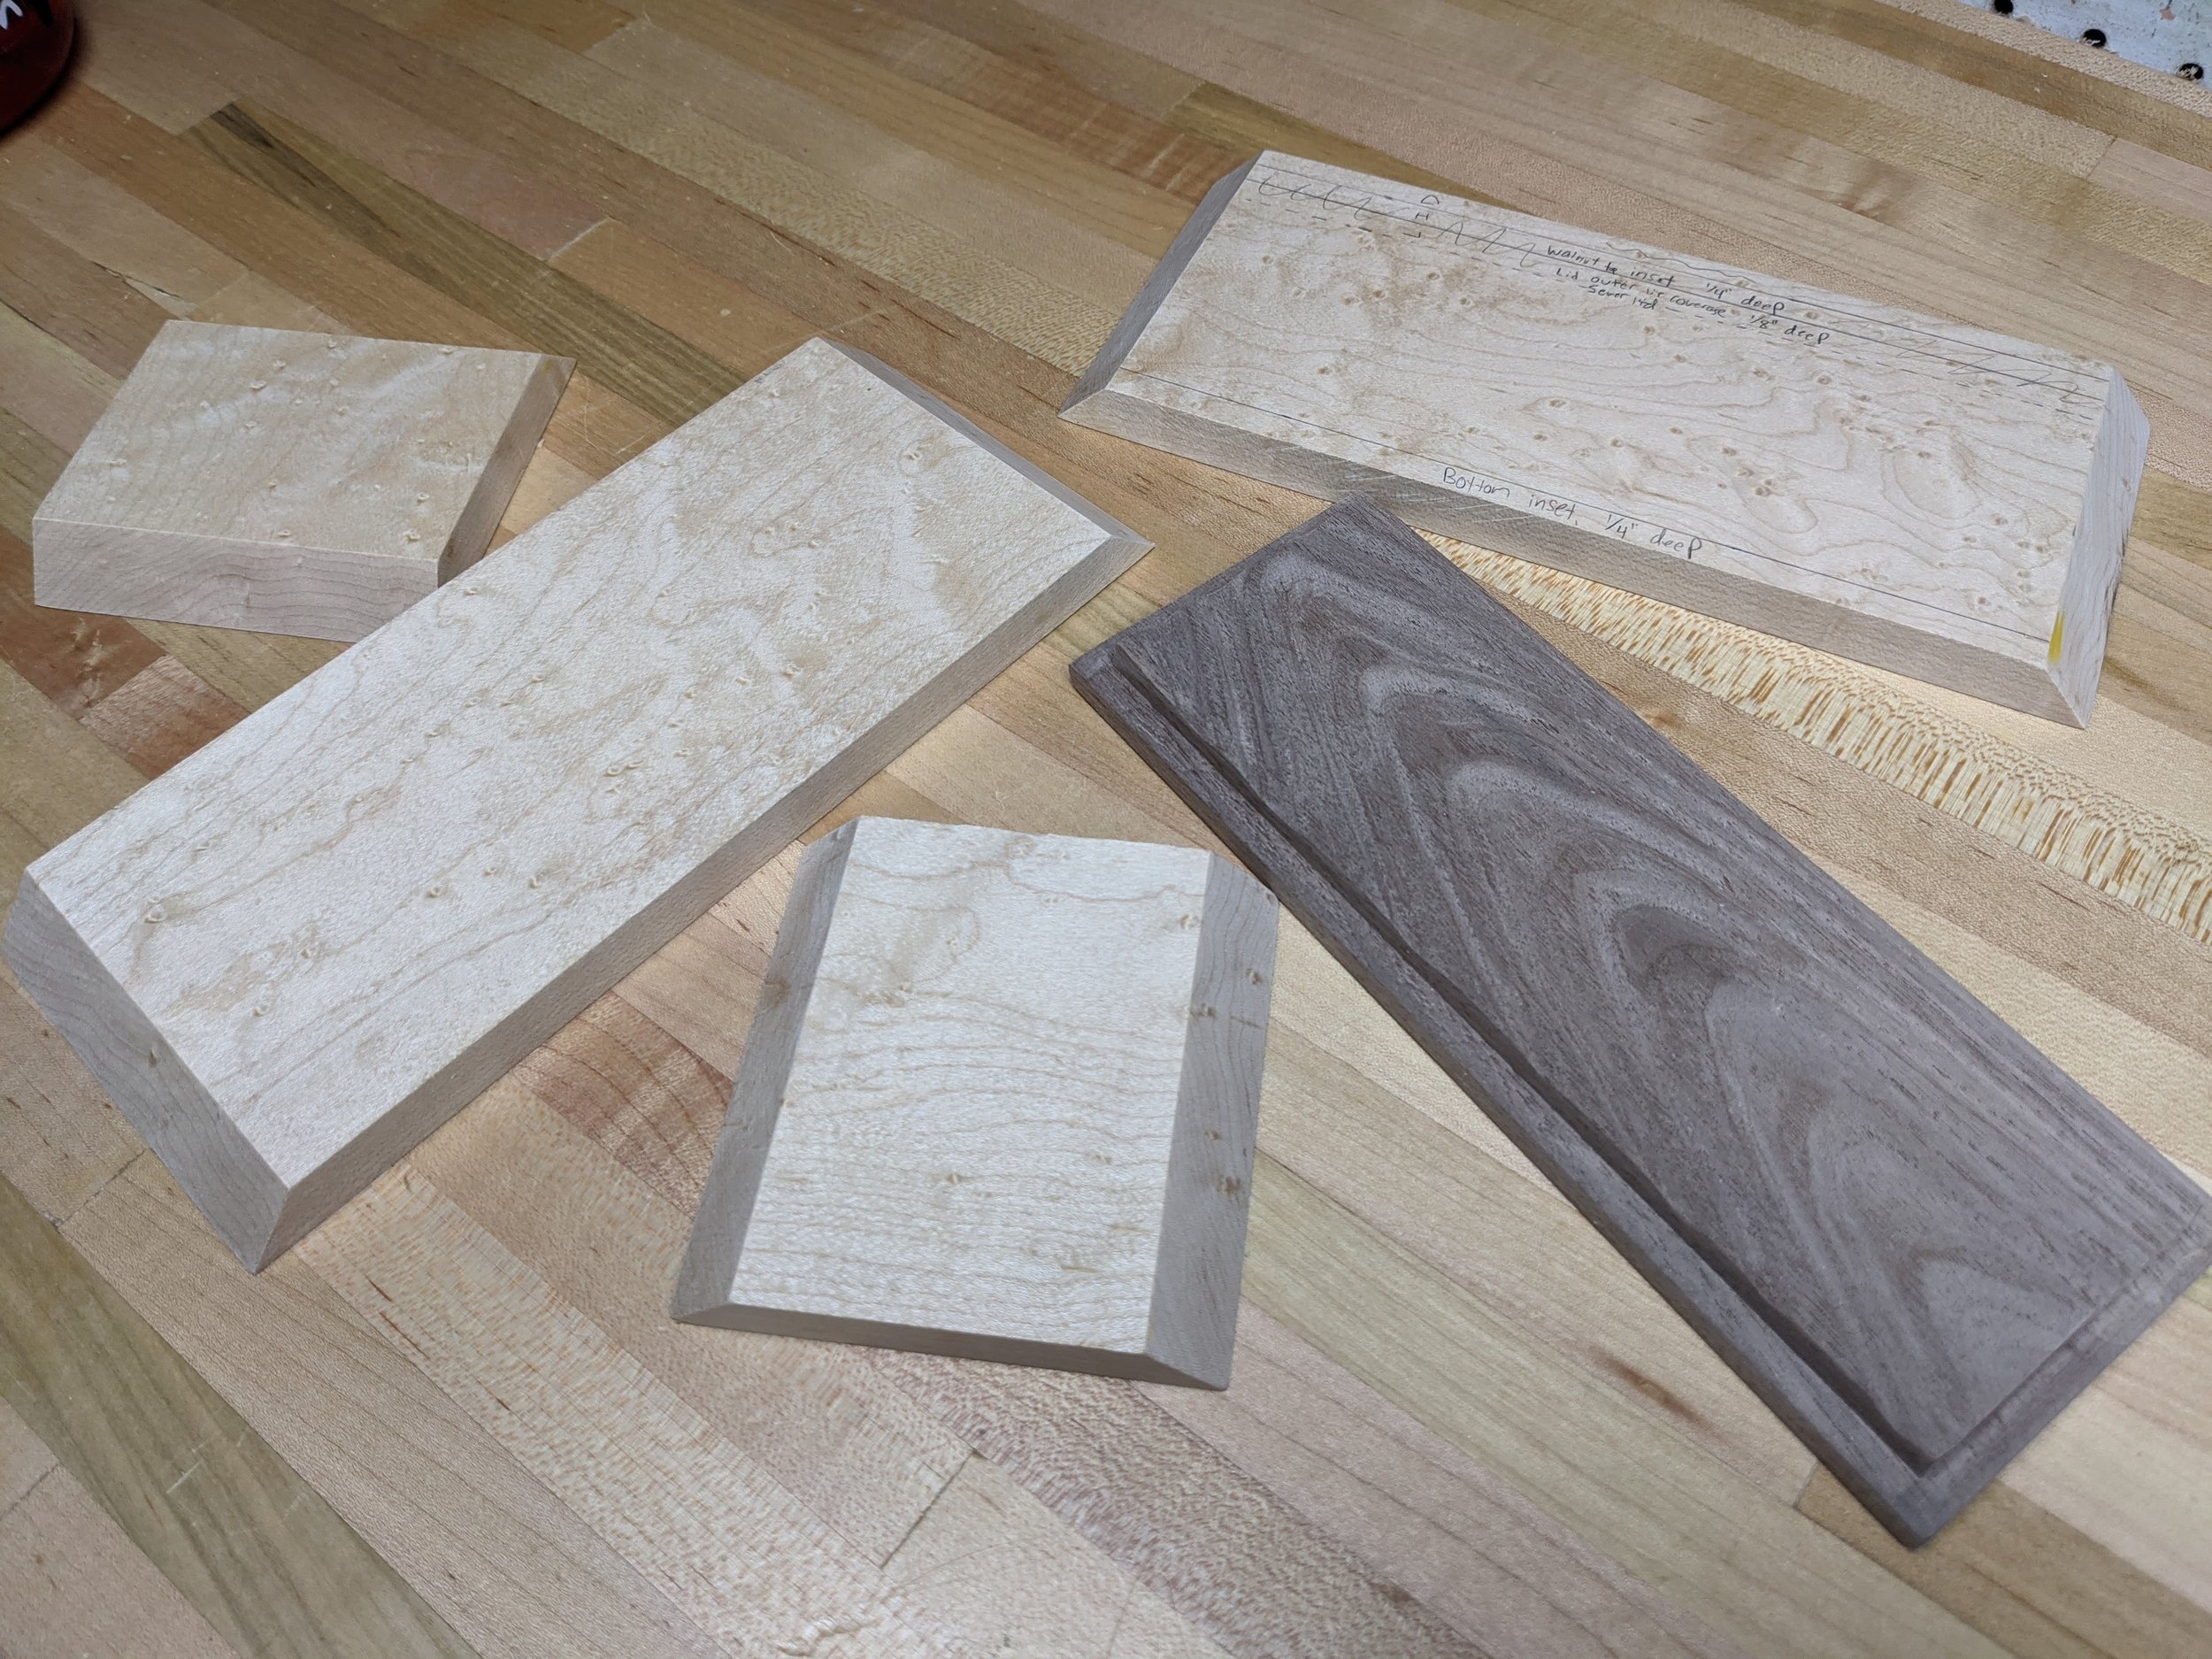
All pieces of the puzzle
Assembly and sanding completed
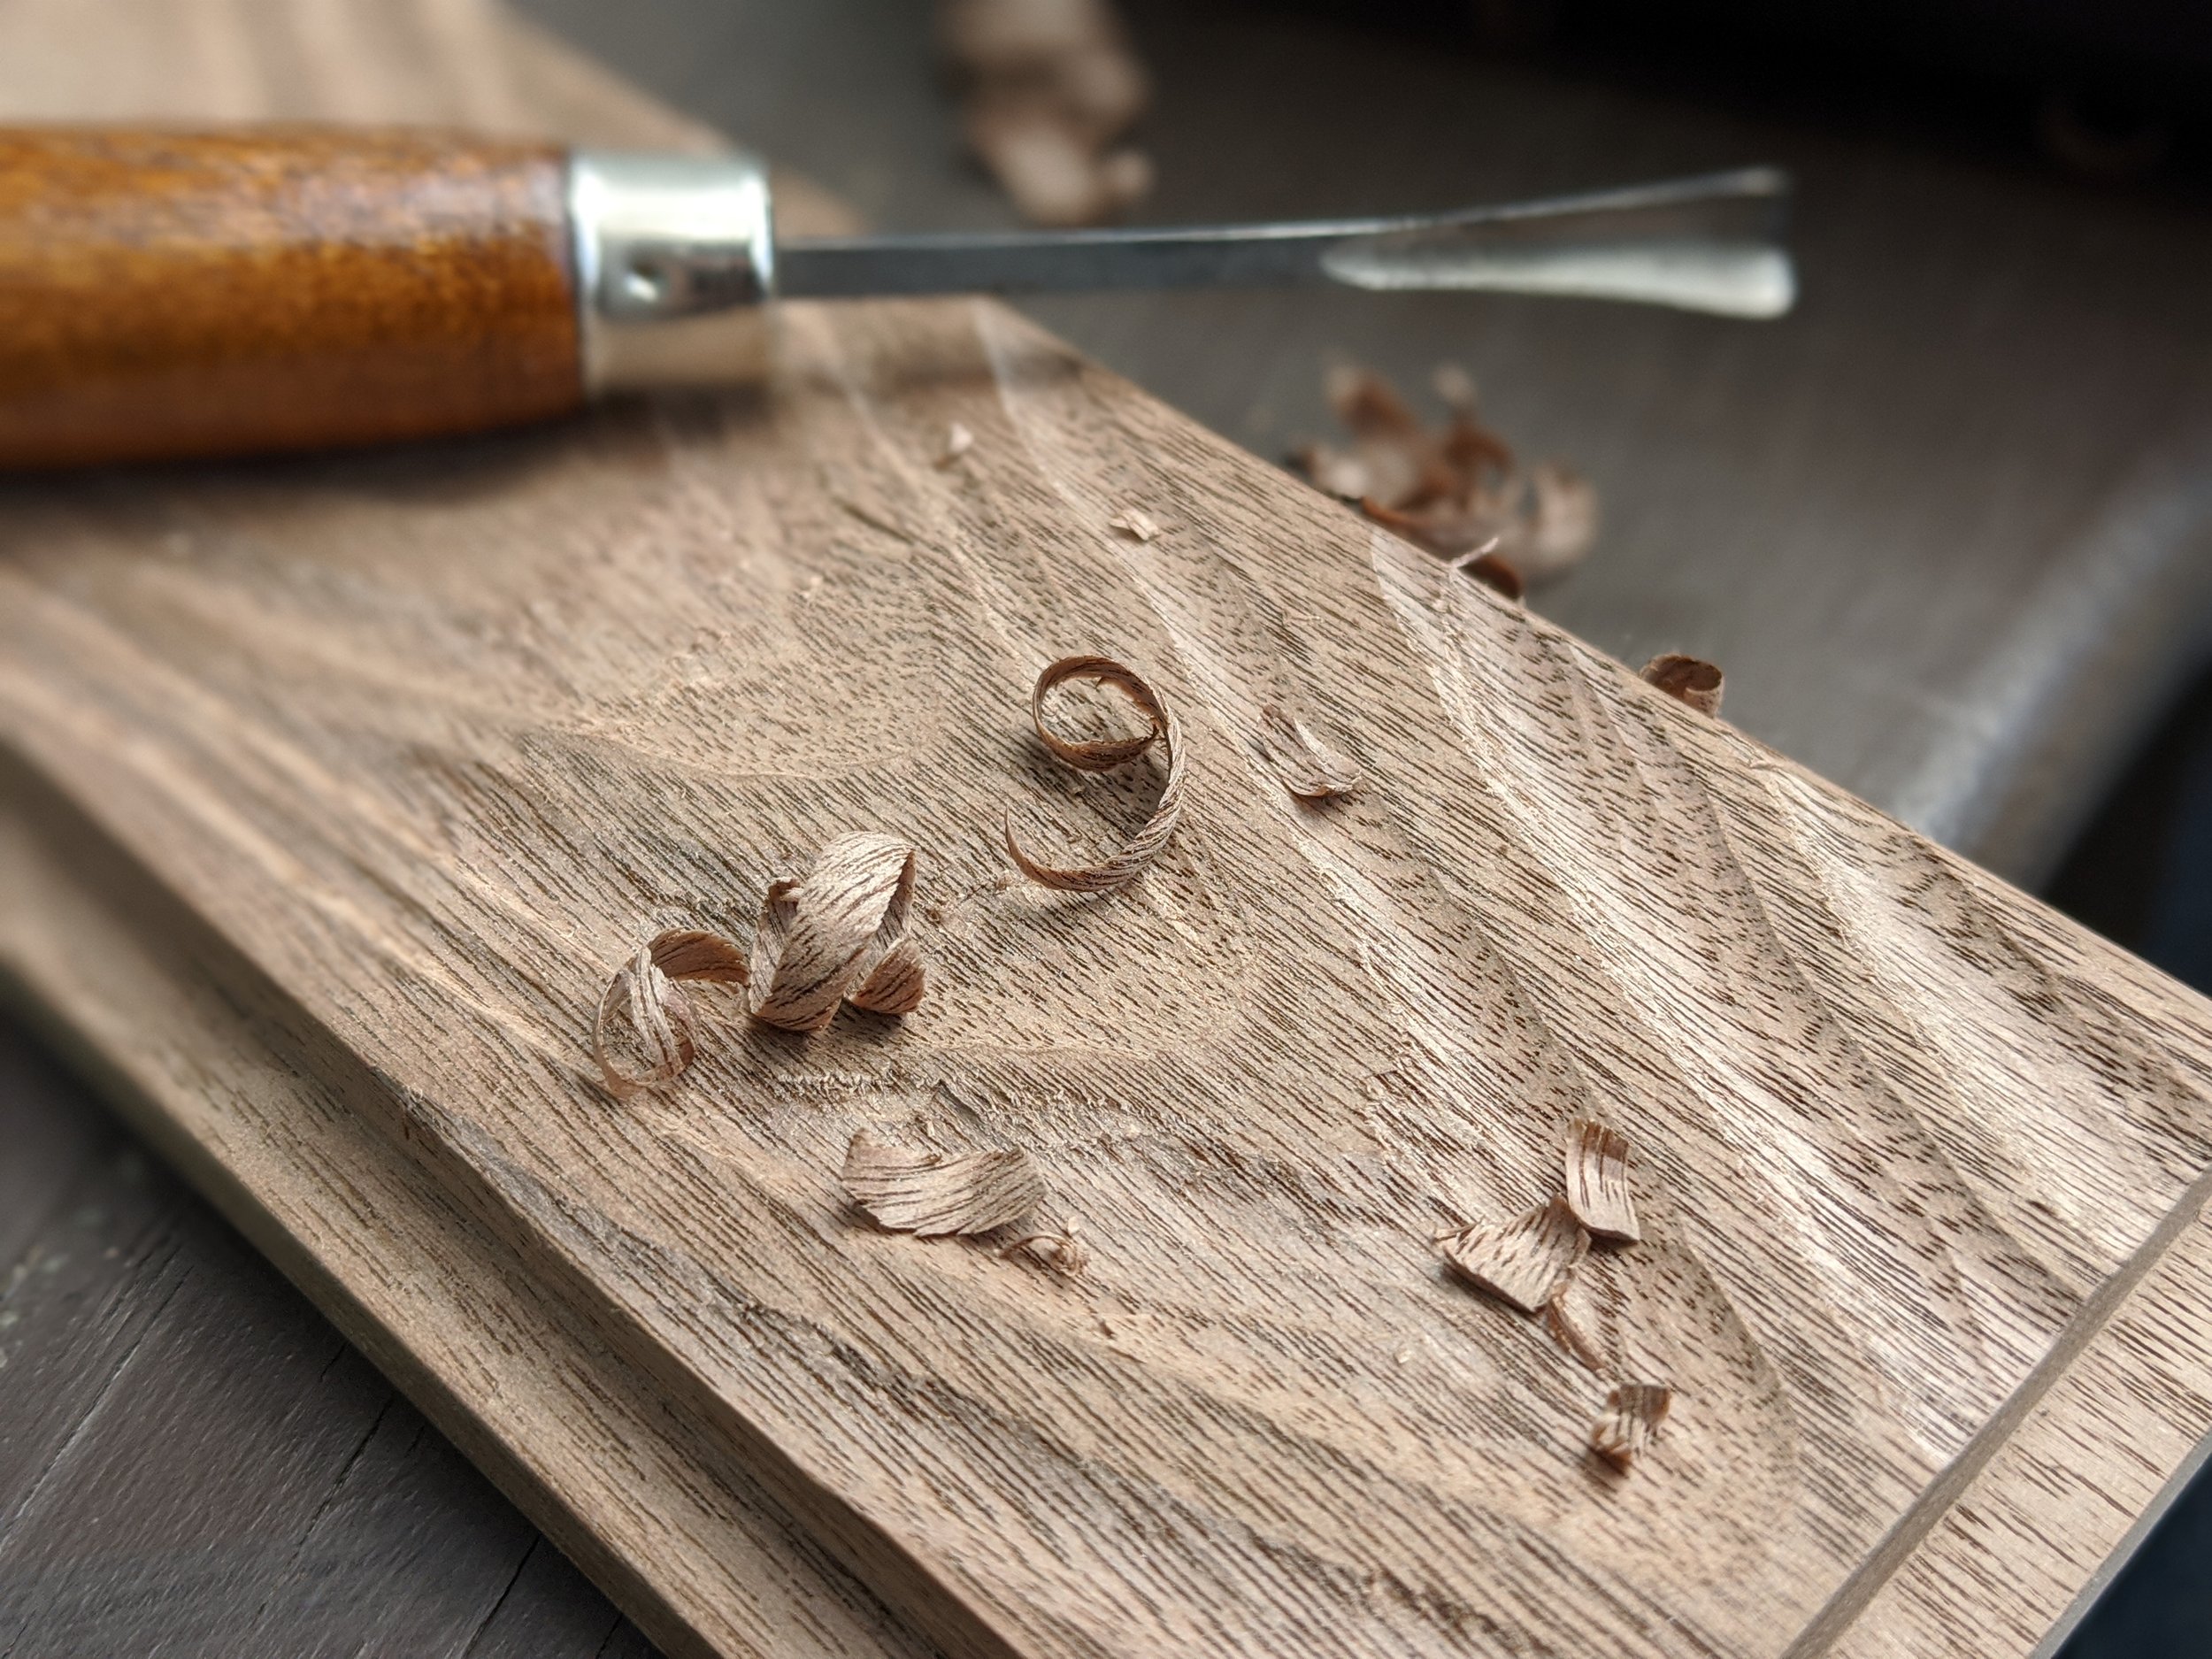
Hand carving with gouges, following the grain pattern
Inlaying the bottom Walnut plate
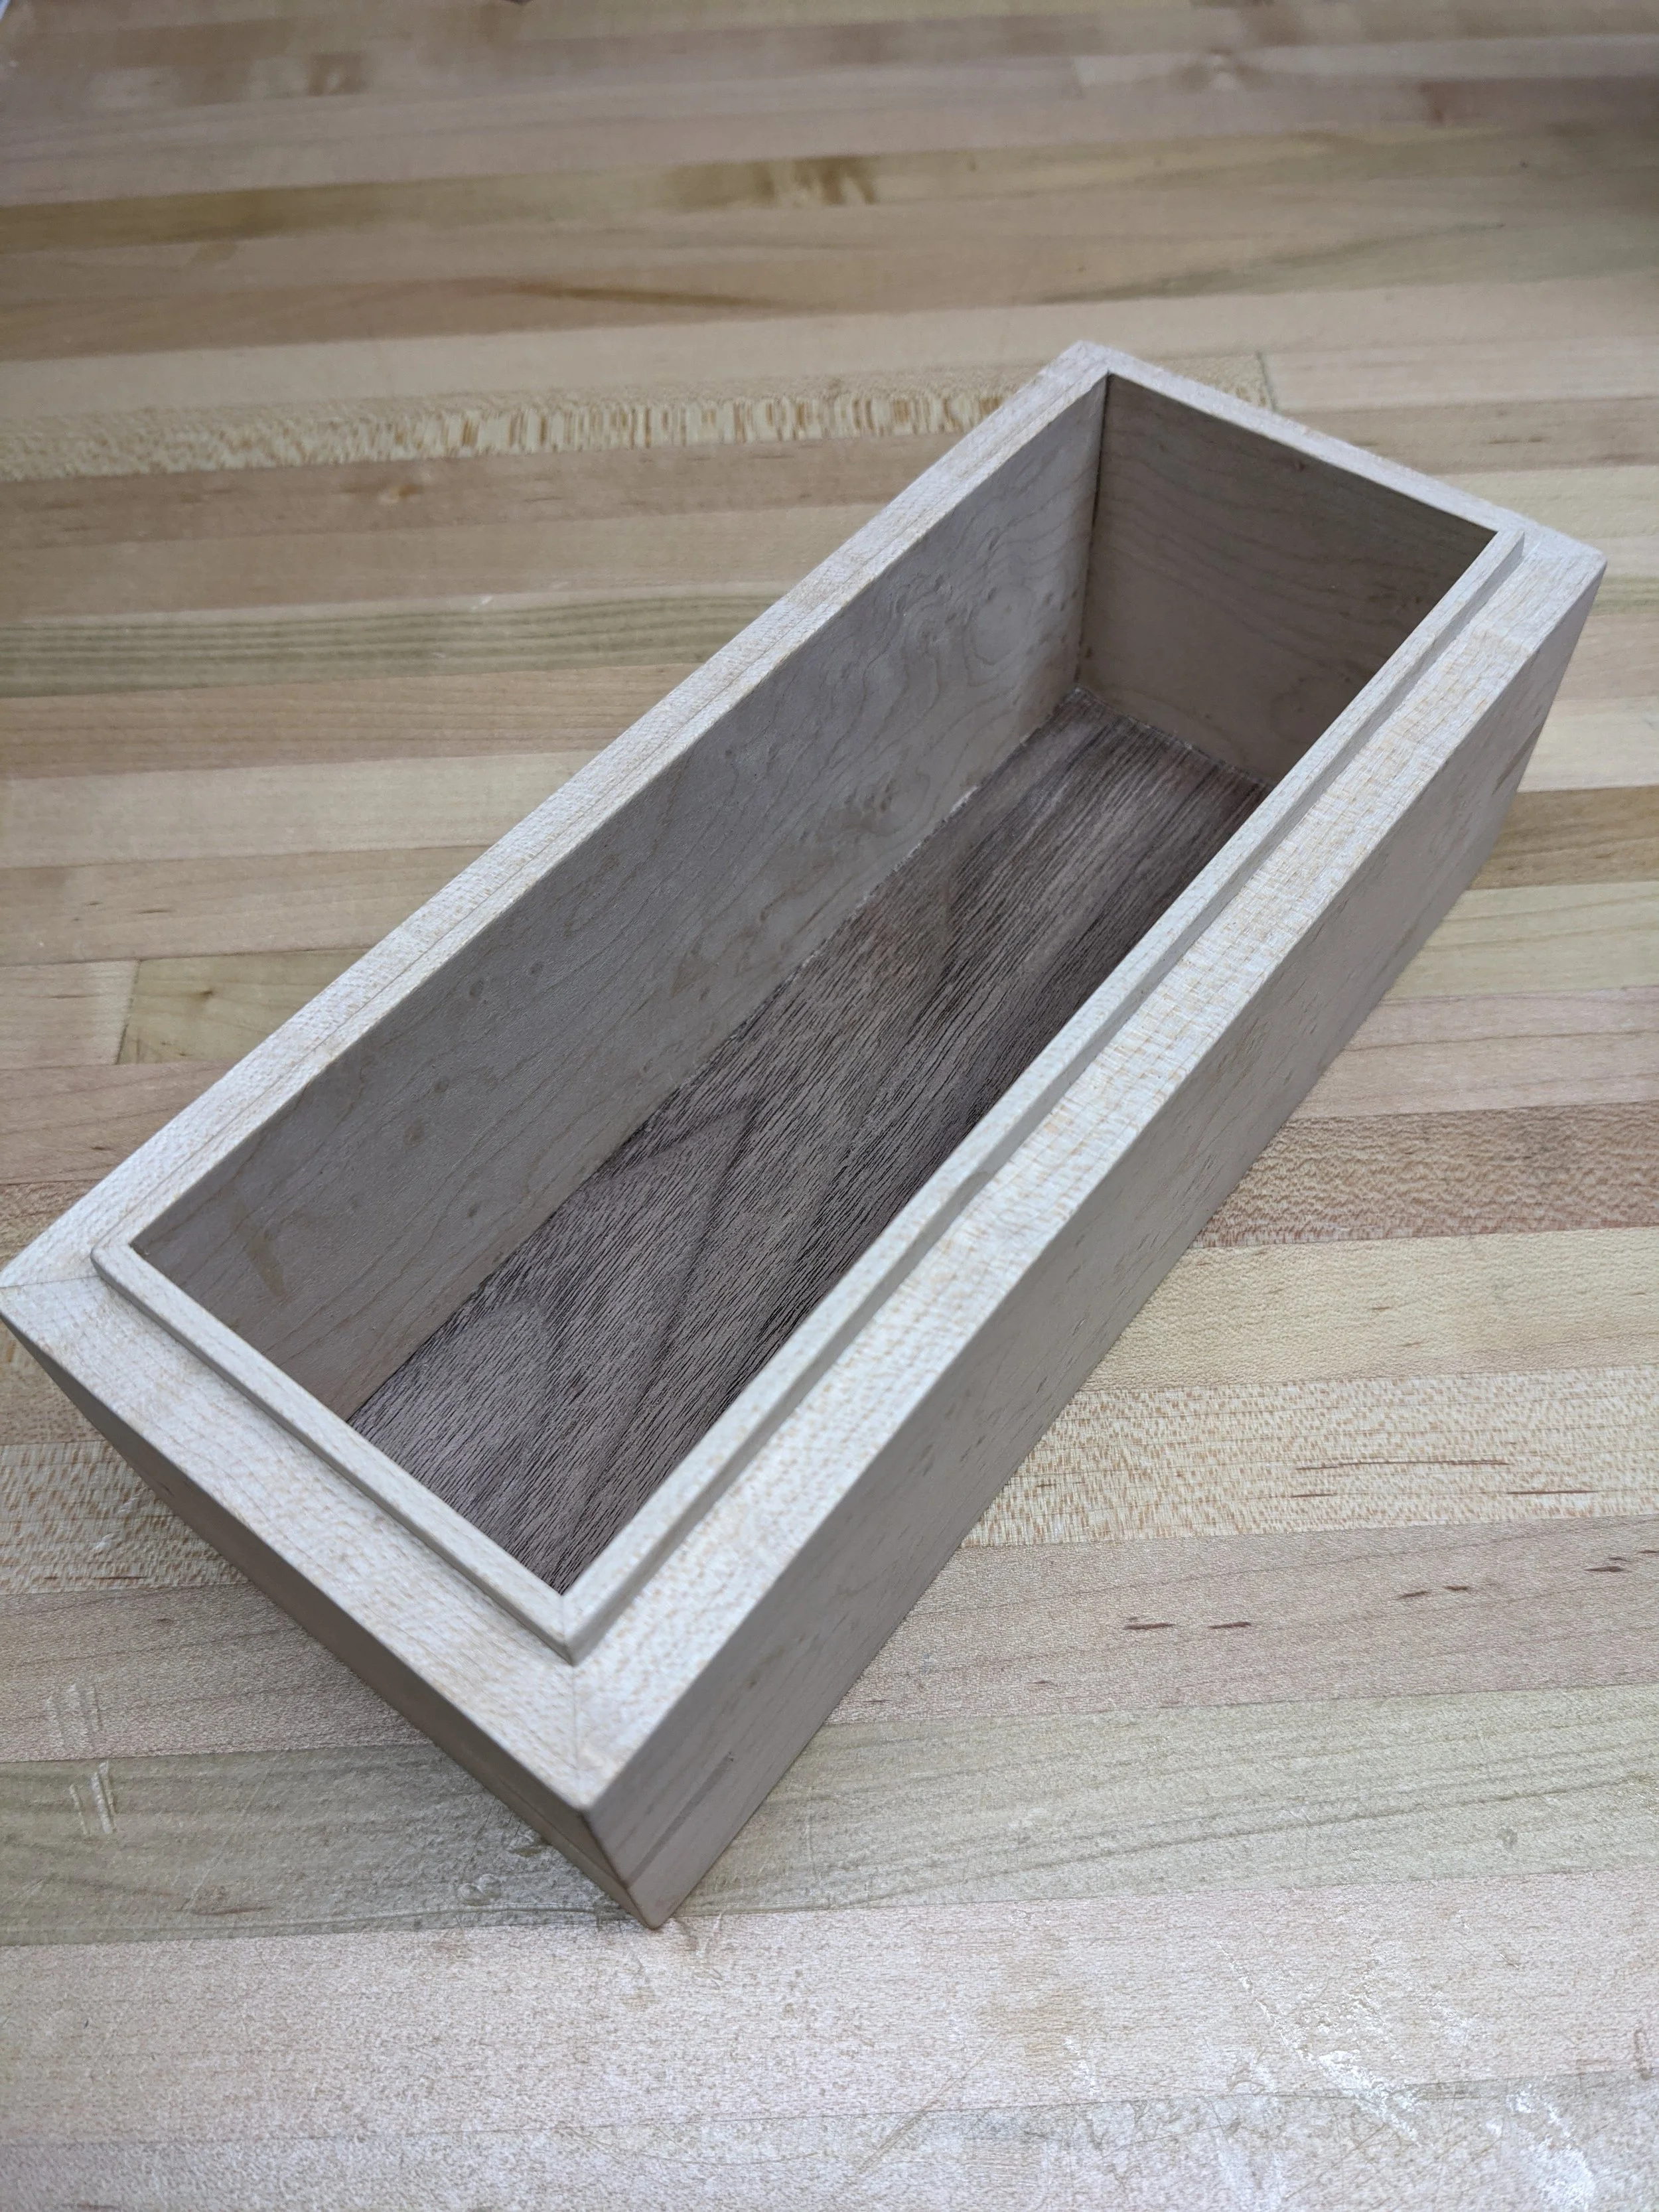
Bottom assembly complete
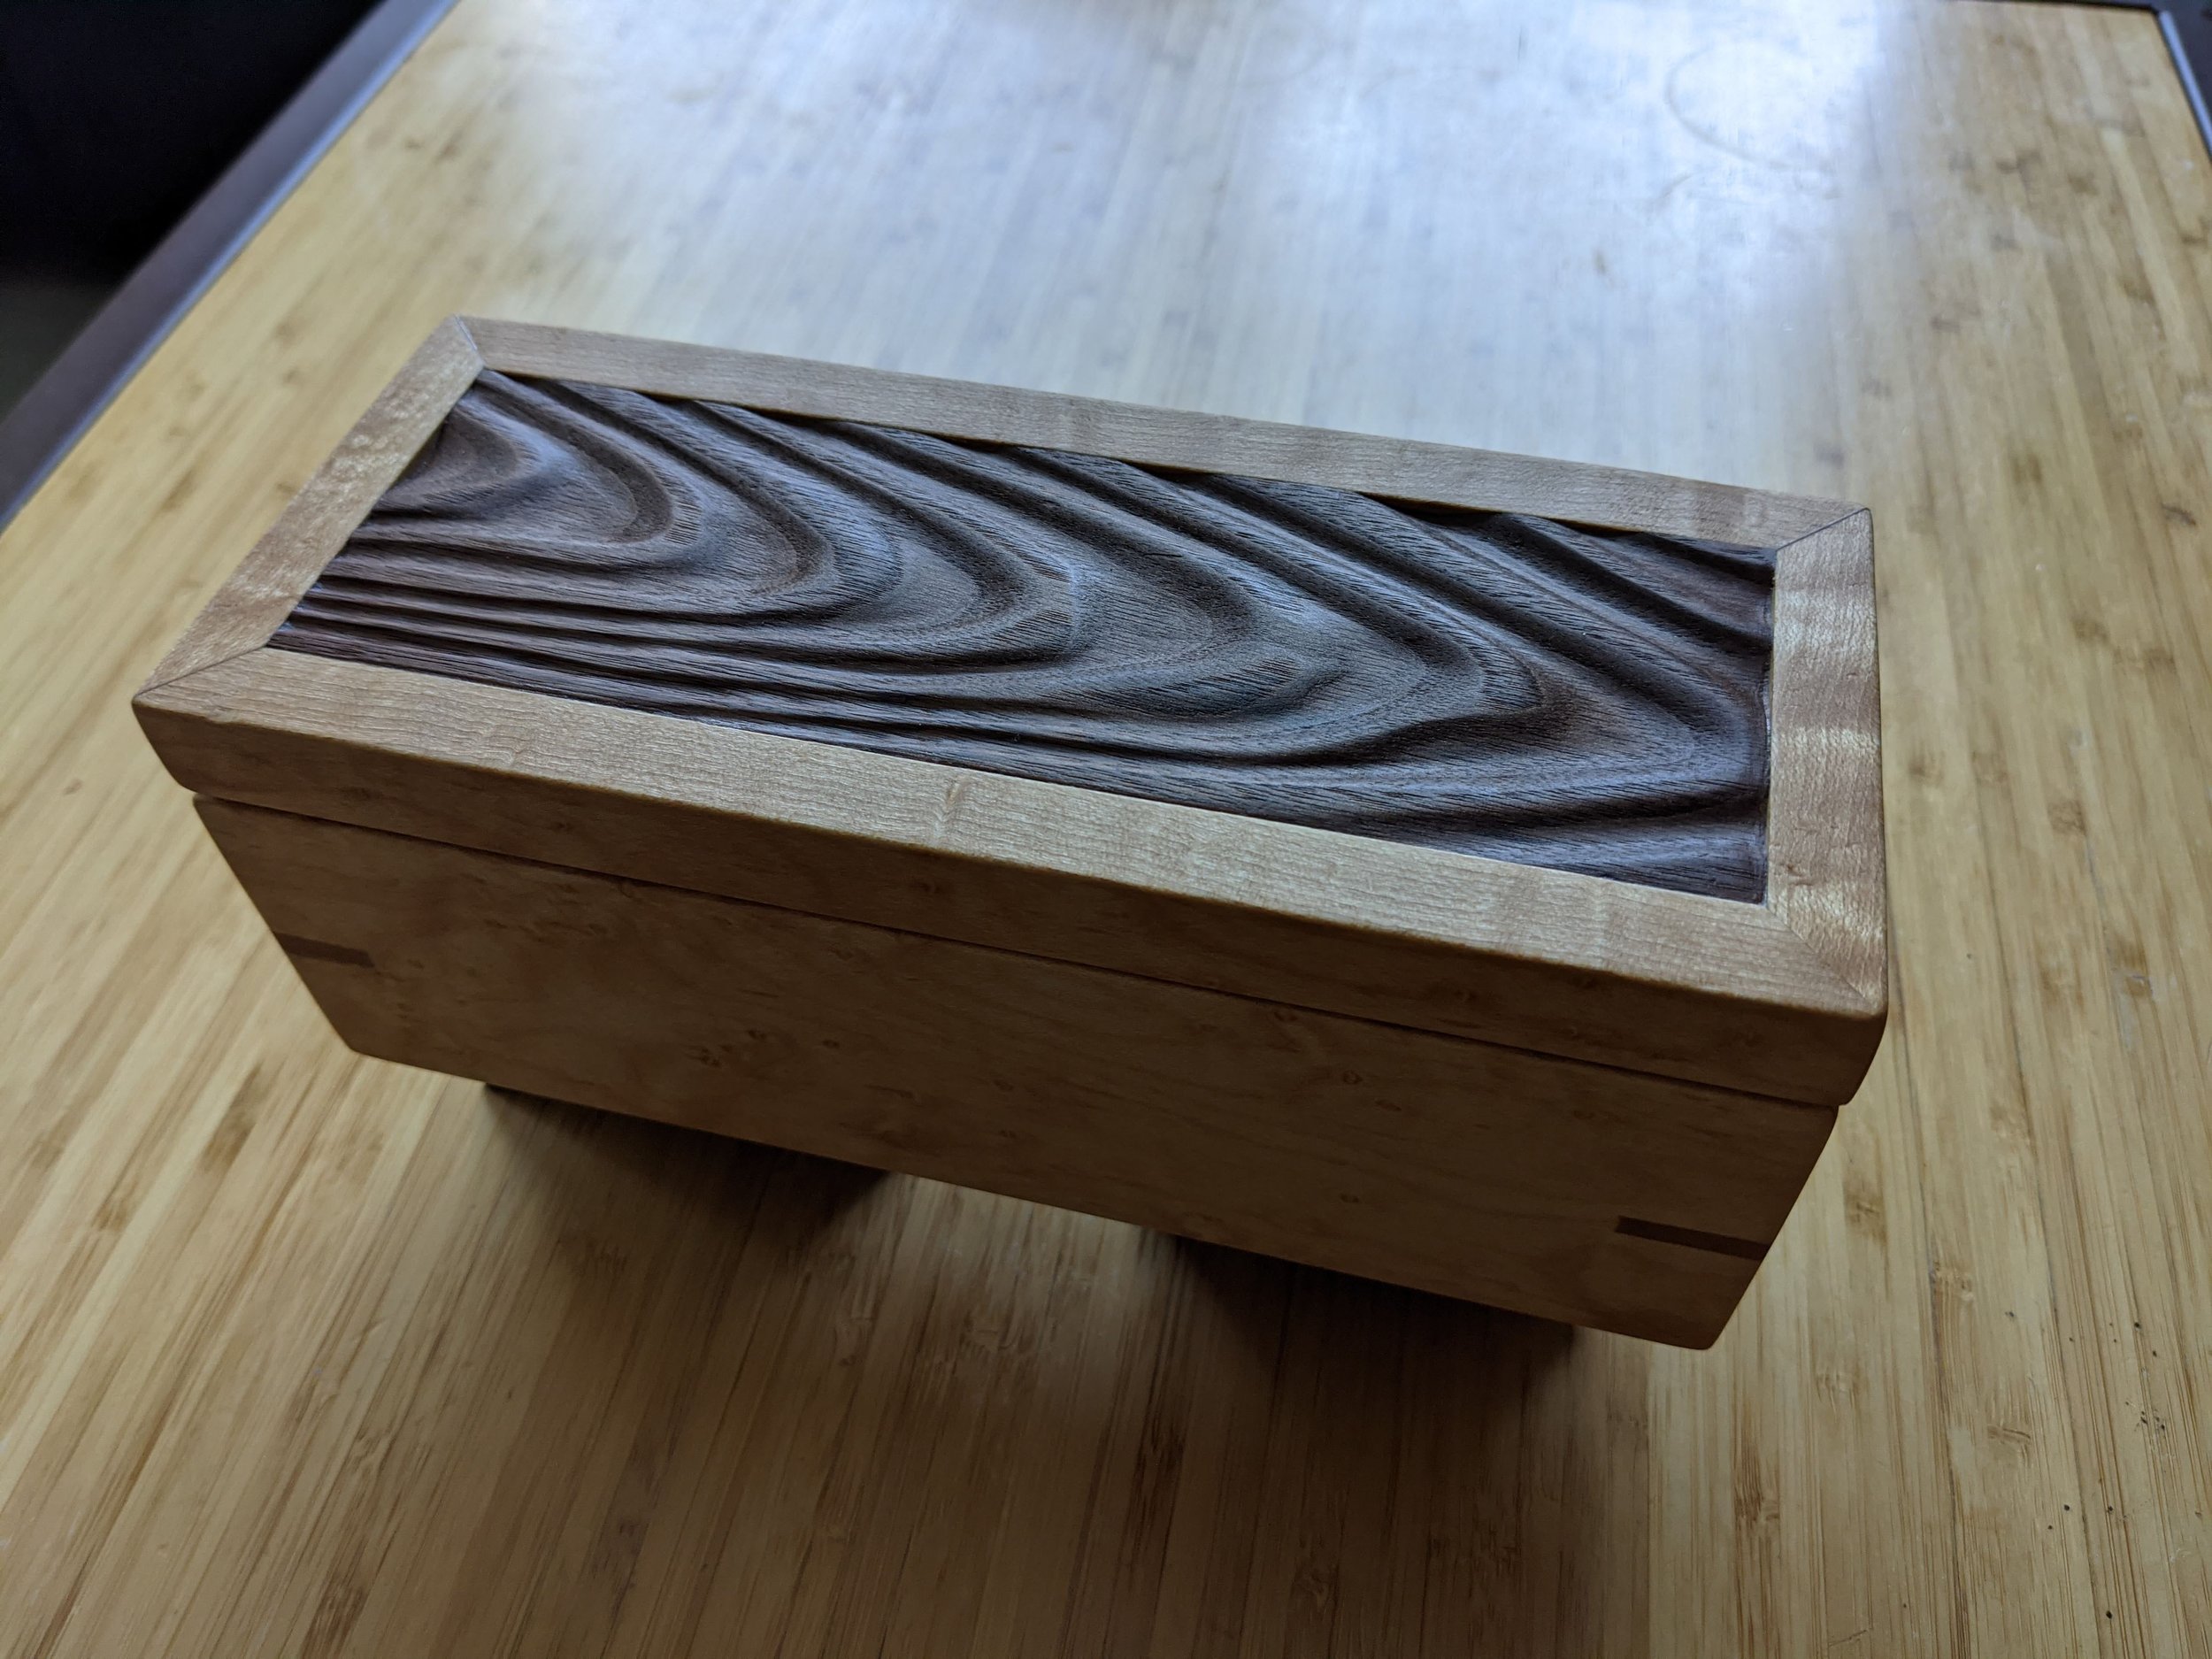
Finished!
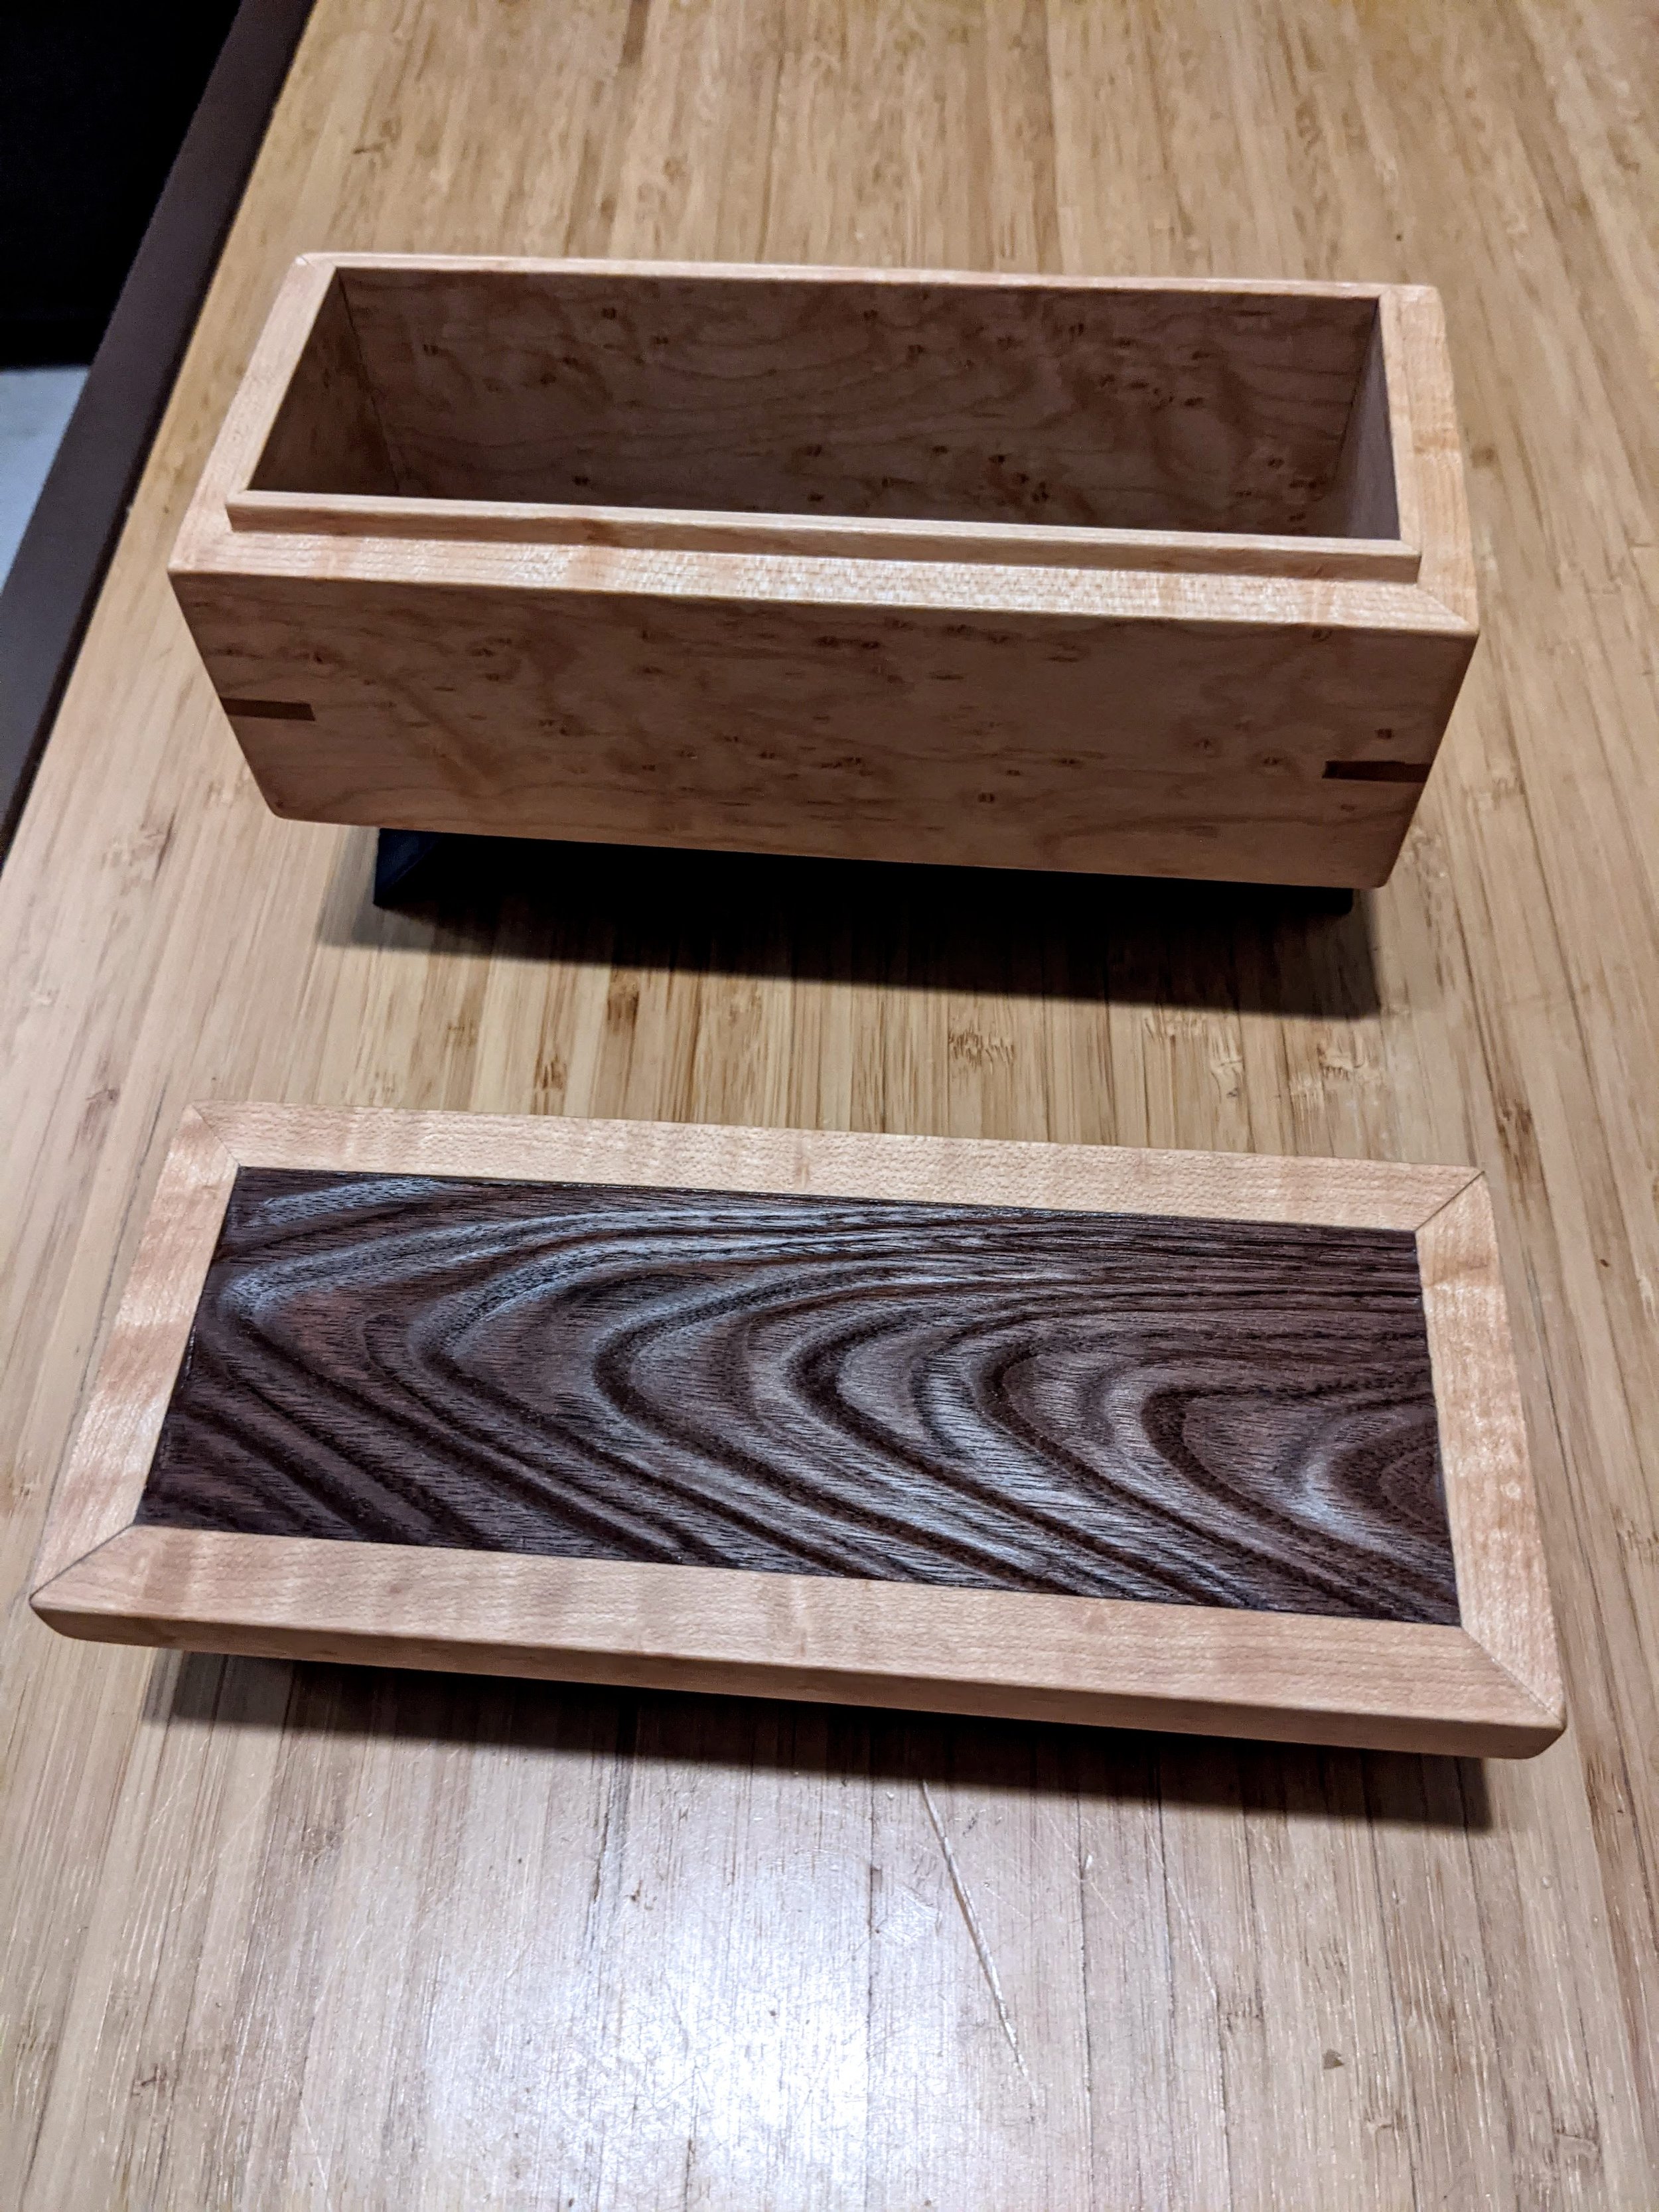
Walrus Oil finish drying
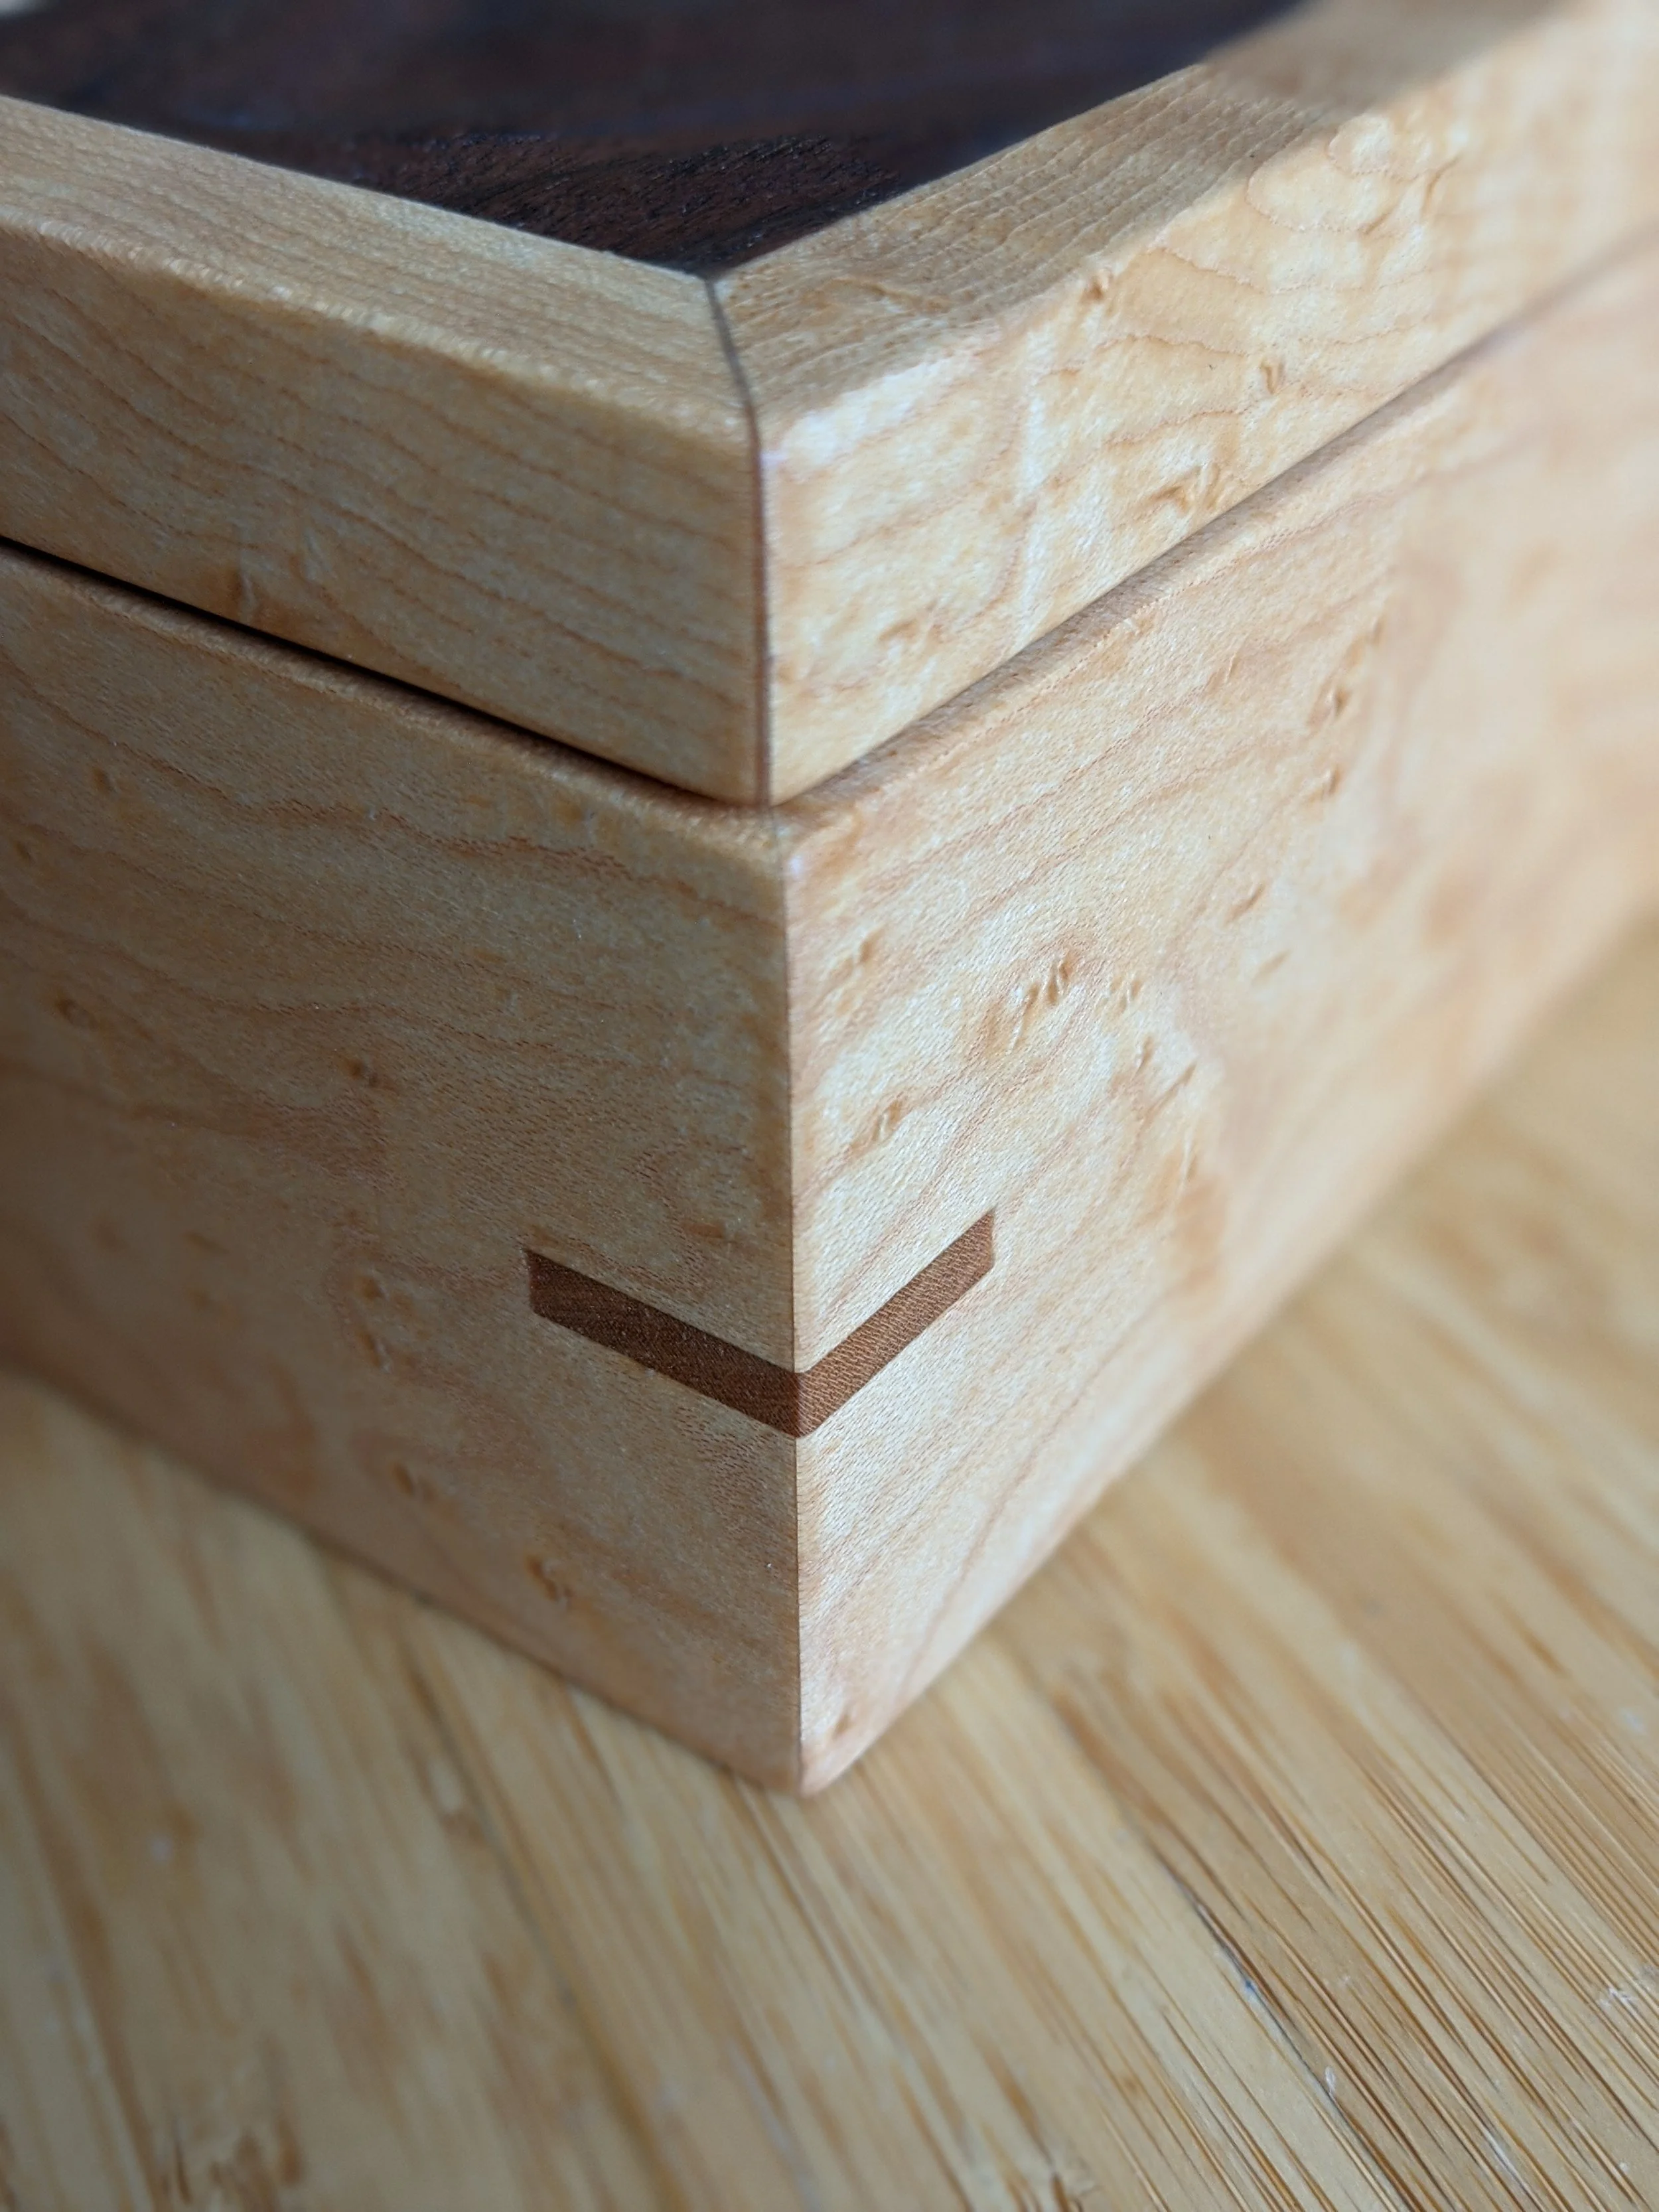
Cherry Splines
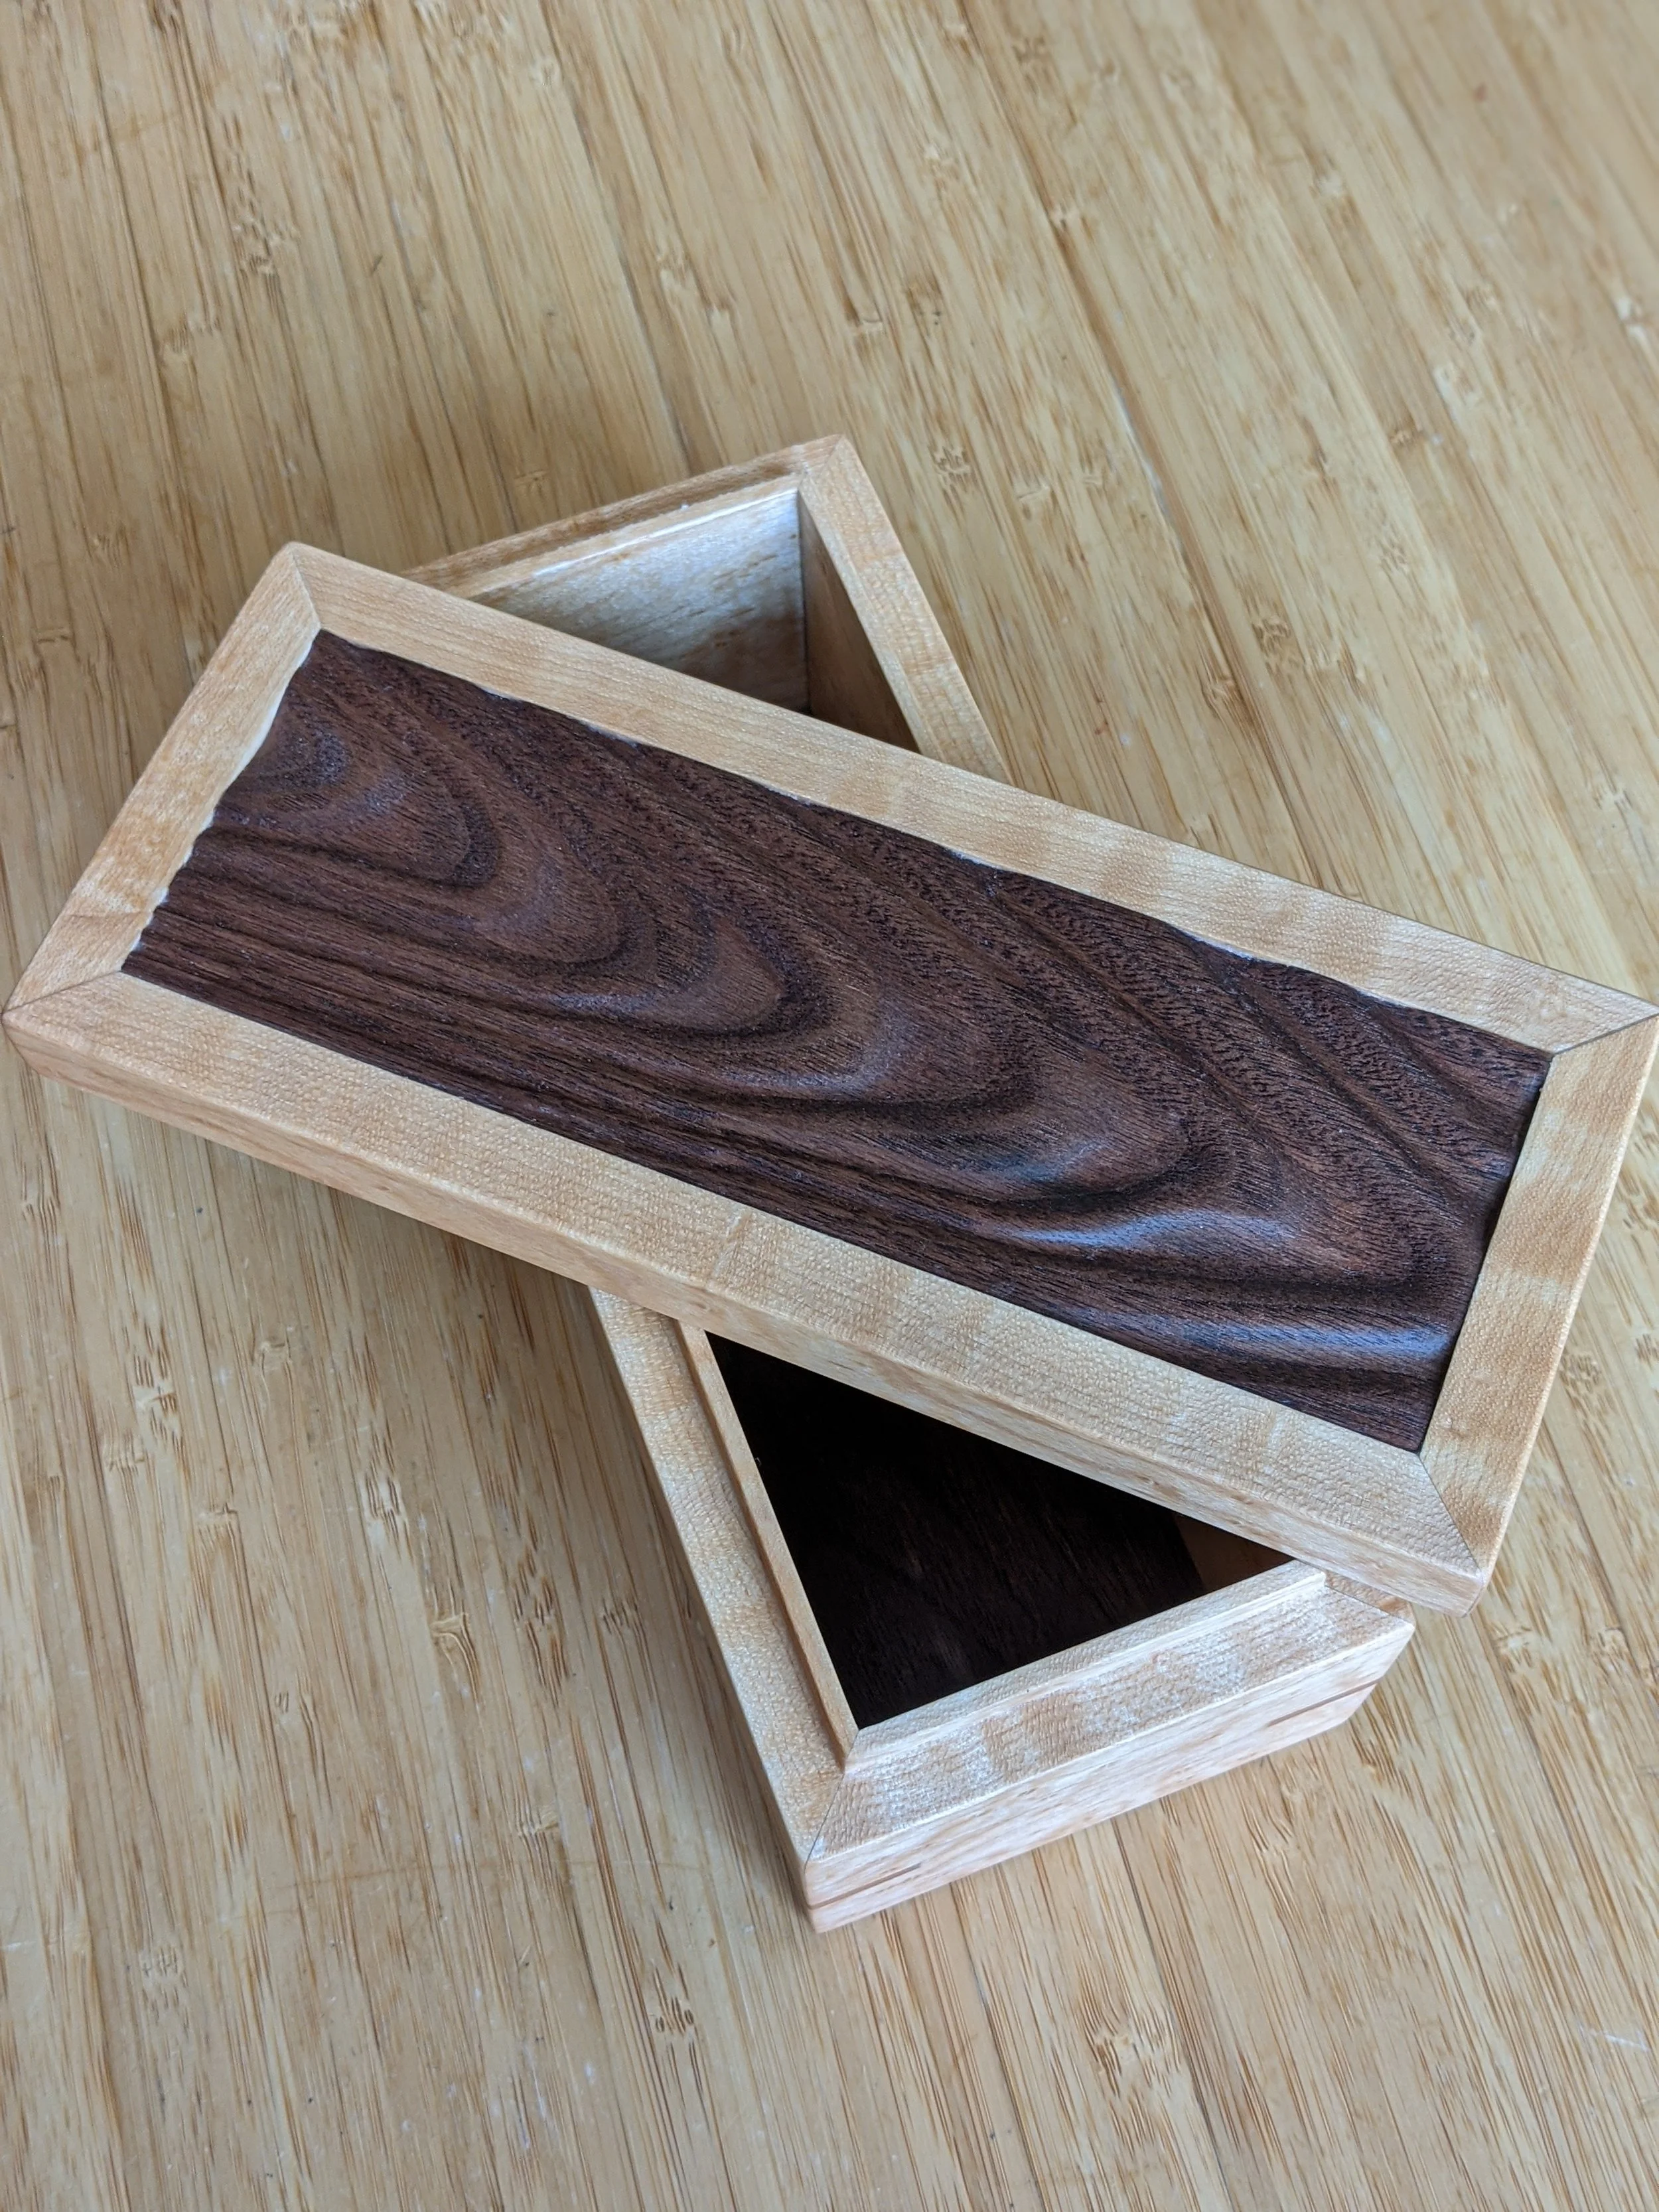
Finished product
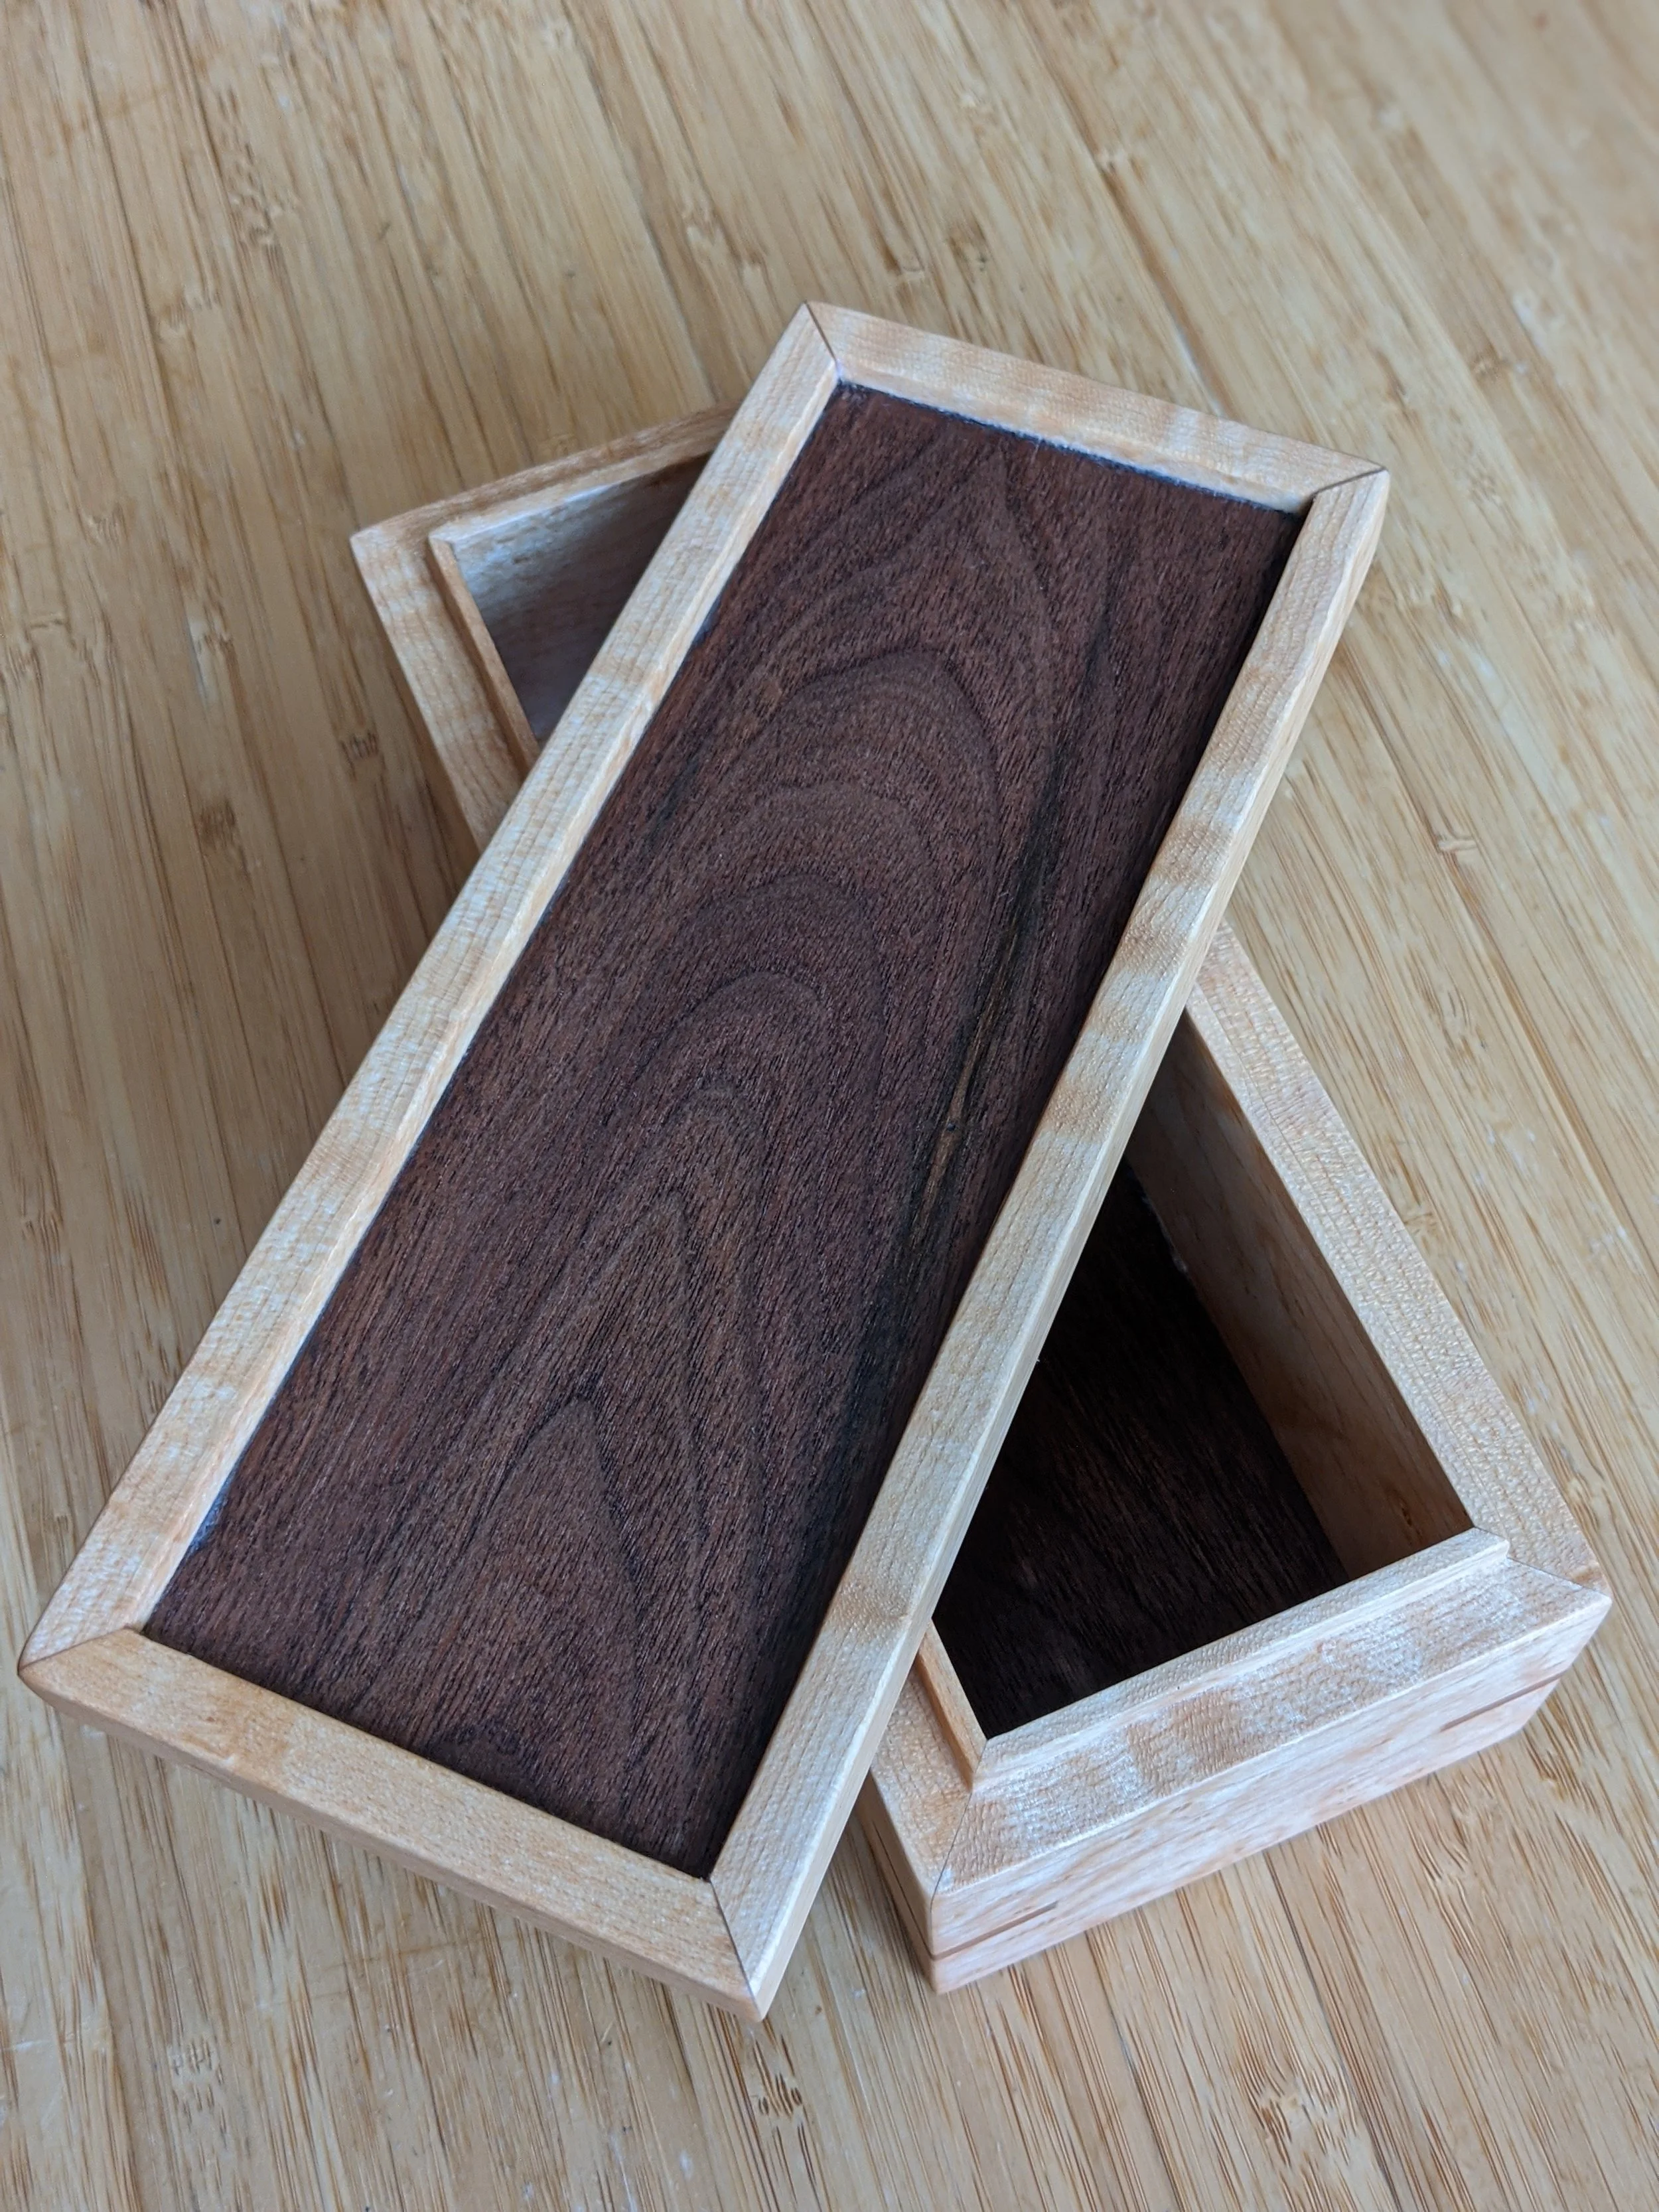
Finished underside of the lid
Cubby Shoe Rack
Home organization projects are some of the most satisfying because they become a recurring breath of fresh air every time it’s utilized, for years to come.
This shoe rack is made of three American Hardwoods: Cherry shelves, Maple outsides, and a Walnut top.
The shelves are secured in grooves routed into the Maple sides, and the back is left open for maximum ventilation.
Initially the plans called for dividers on the shelves, but leaving them open all the way across meant much easier flexibility and customization for what shoes could fit on which shelf, and opened more available space on every shelf too.
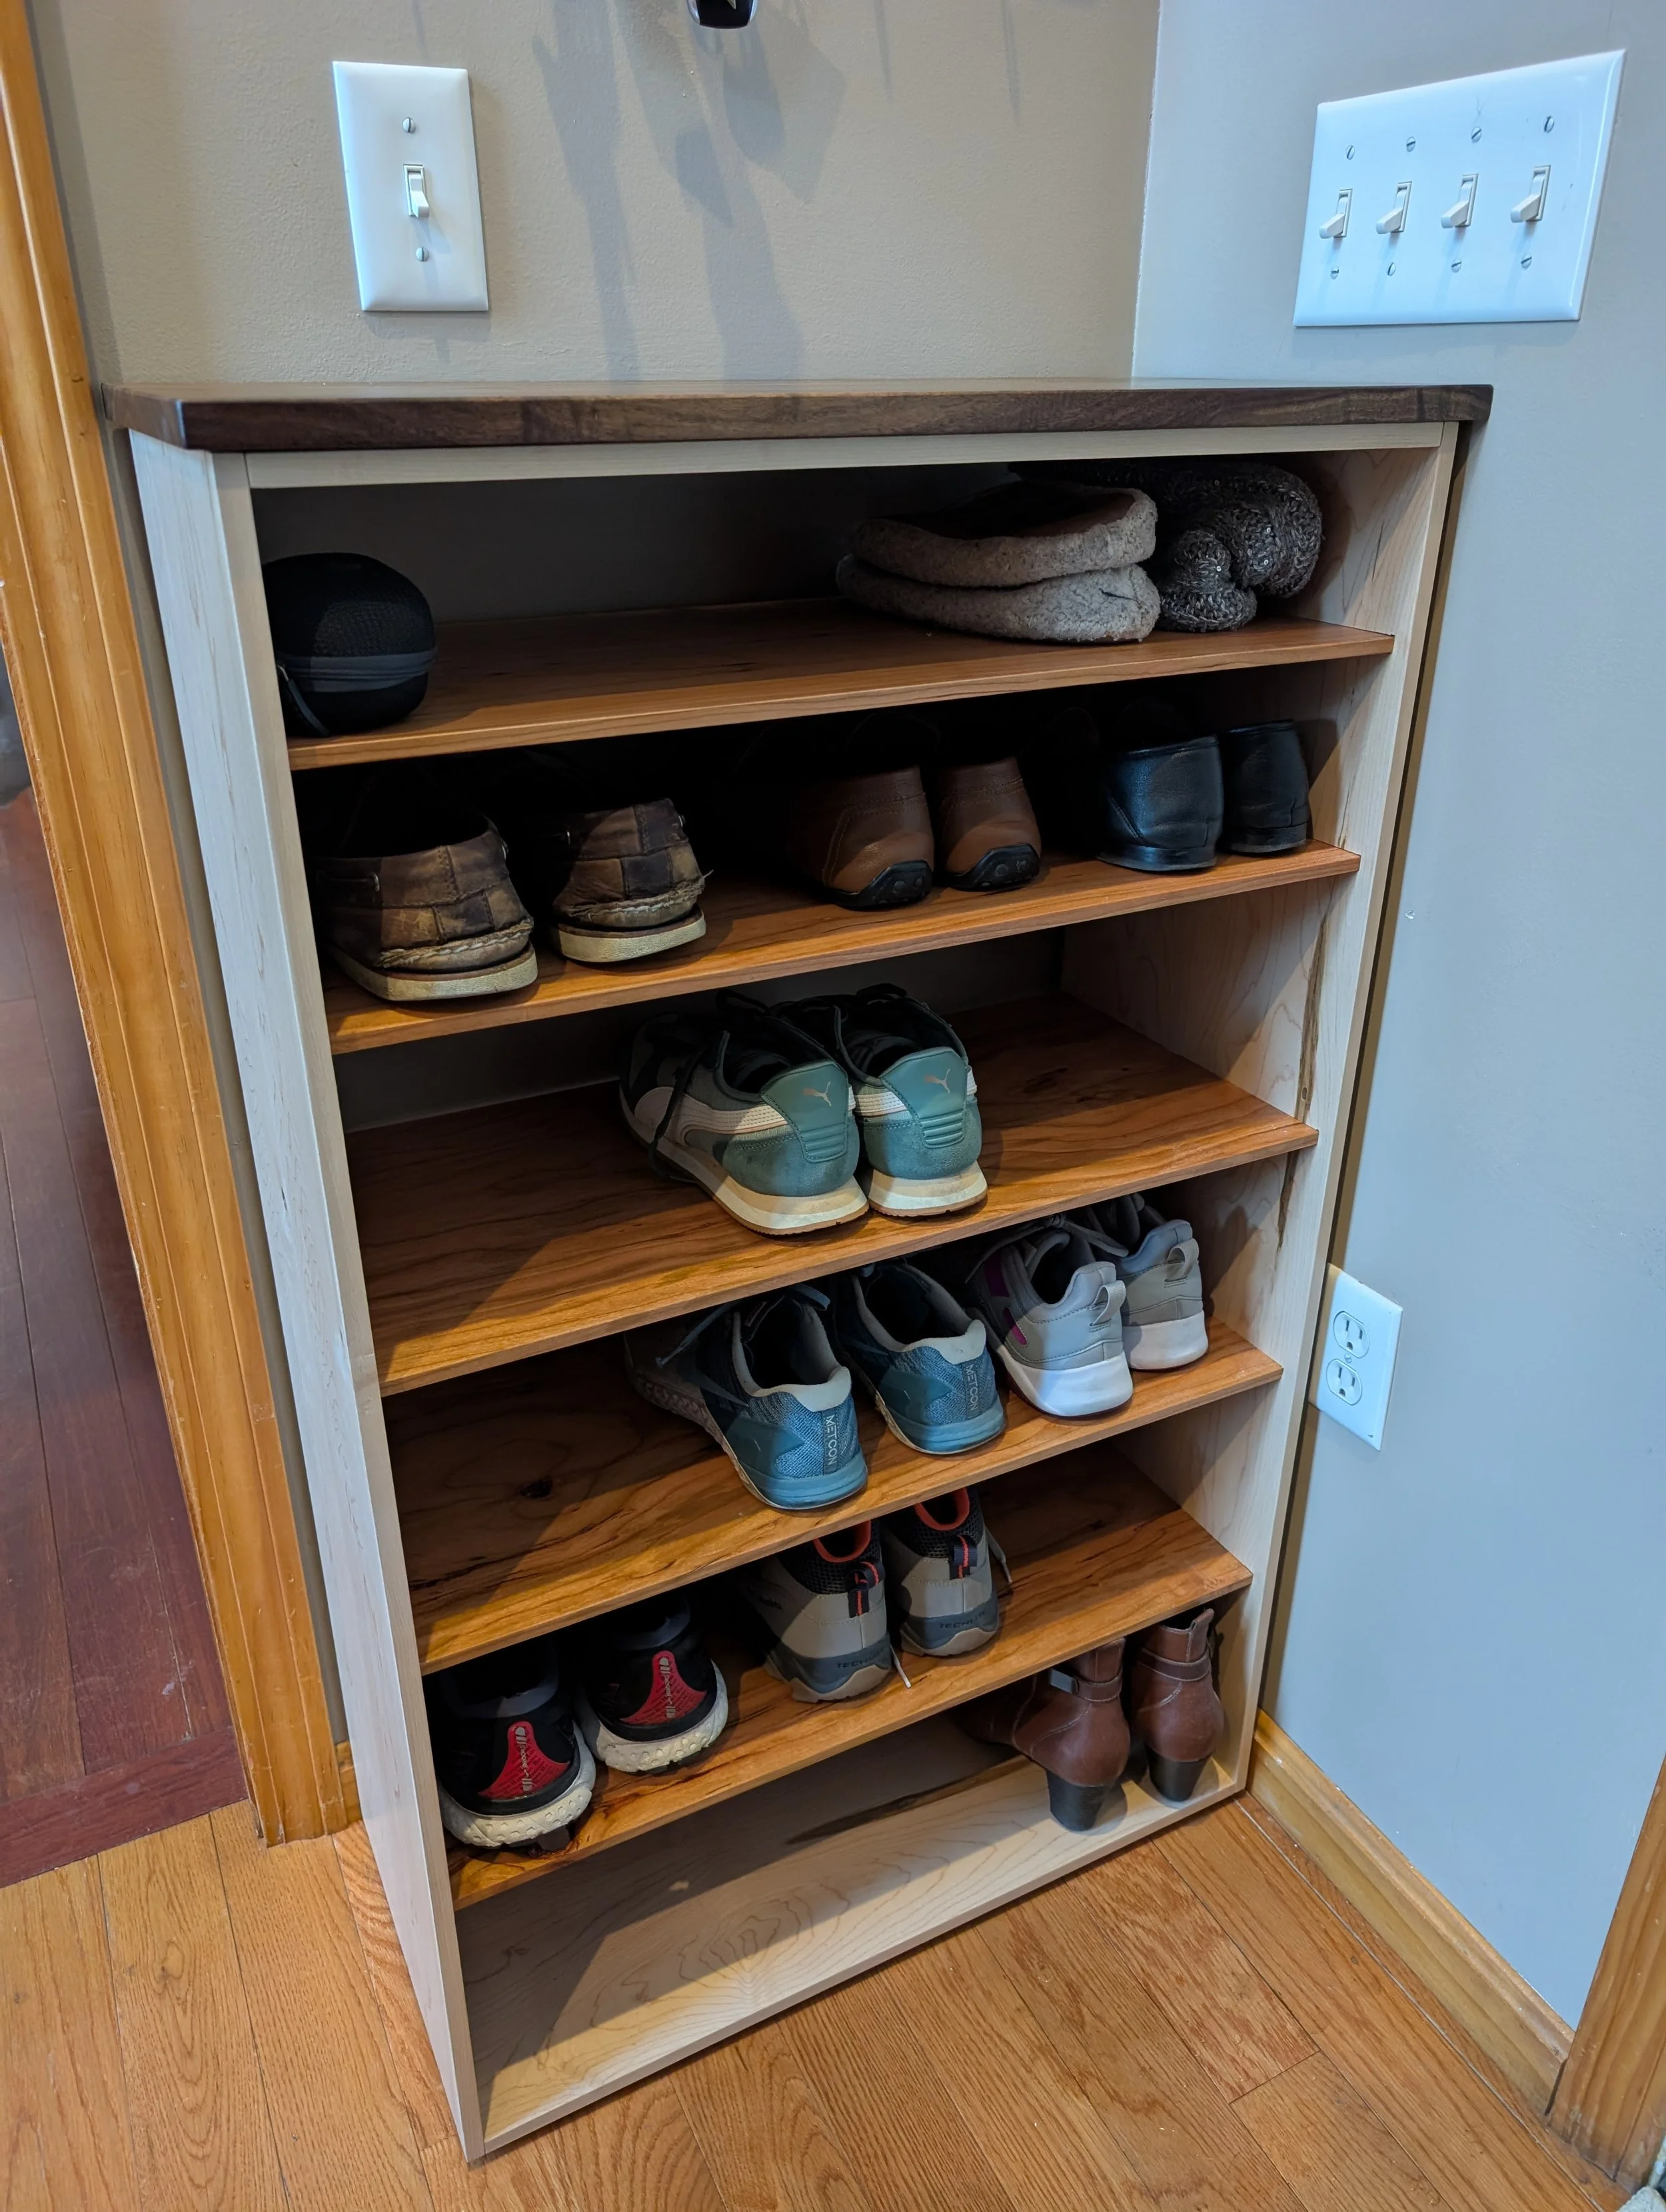
Check out some of the process pics below! More are found here:
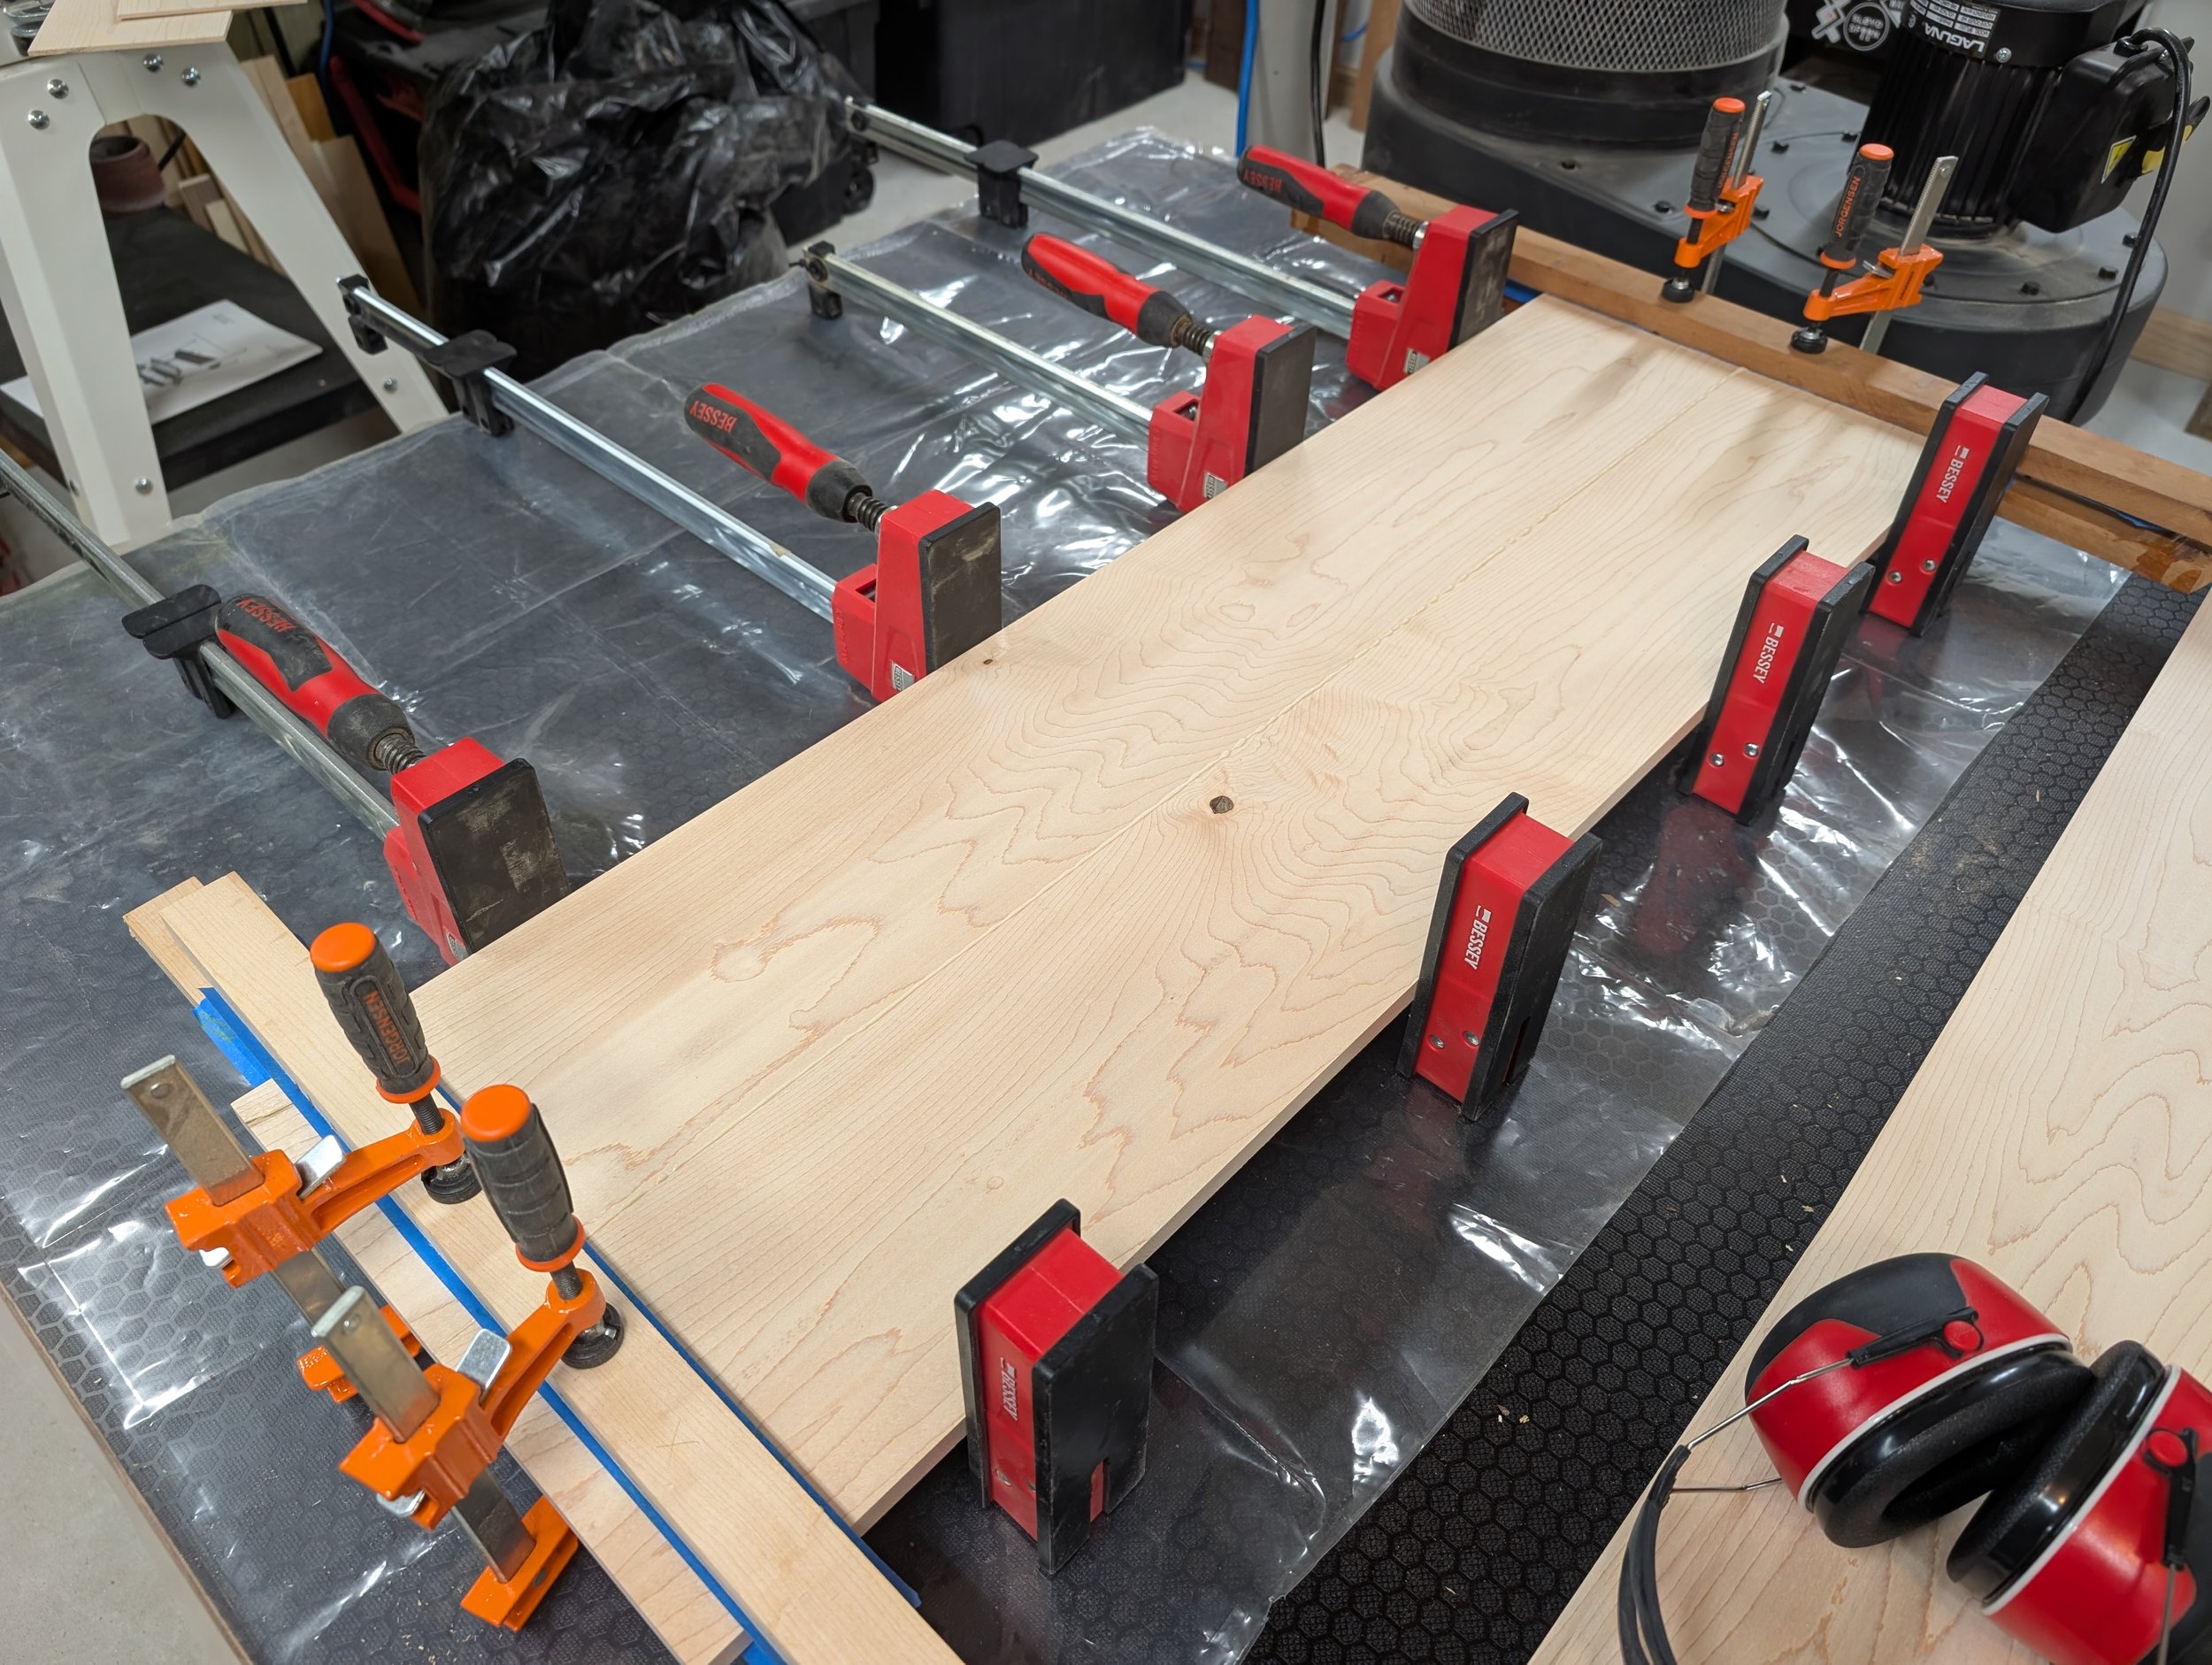
Gluing up the Maple side panels
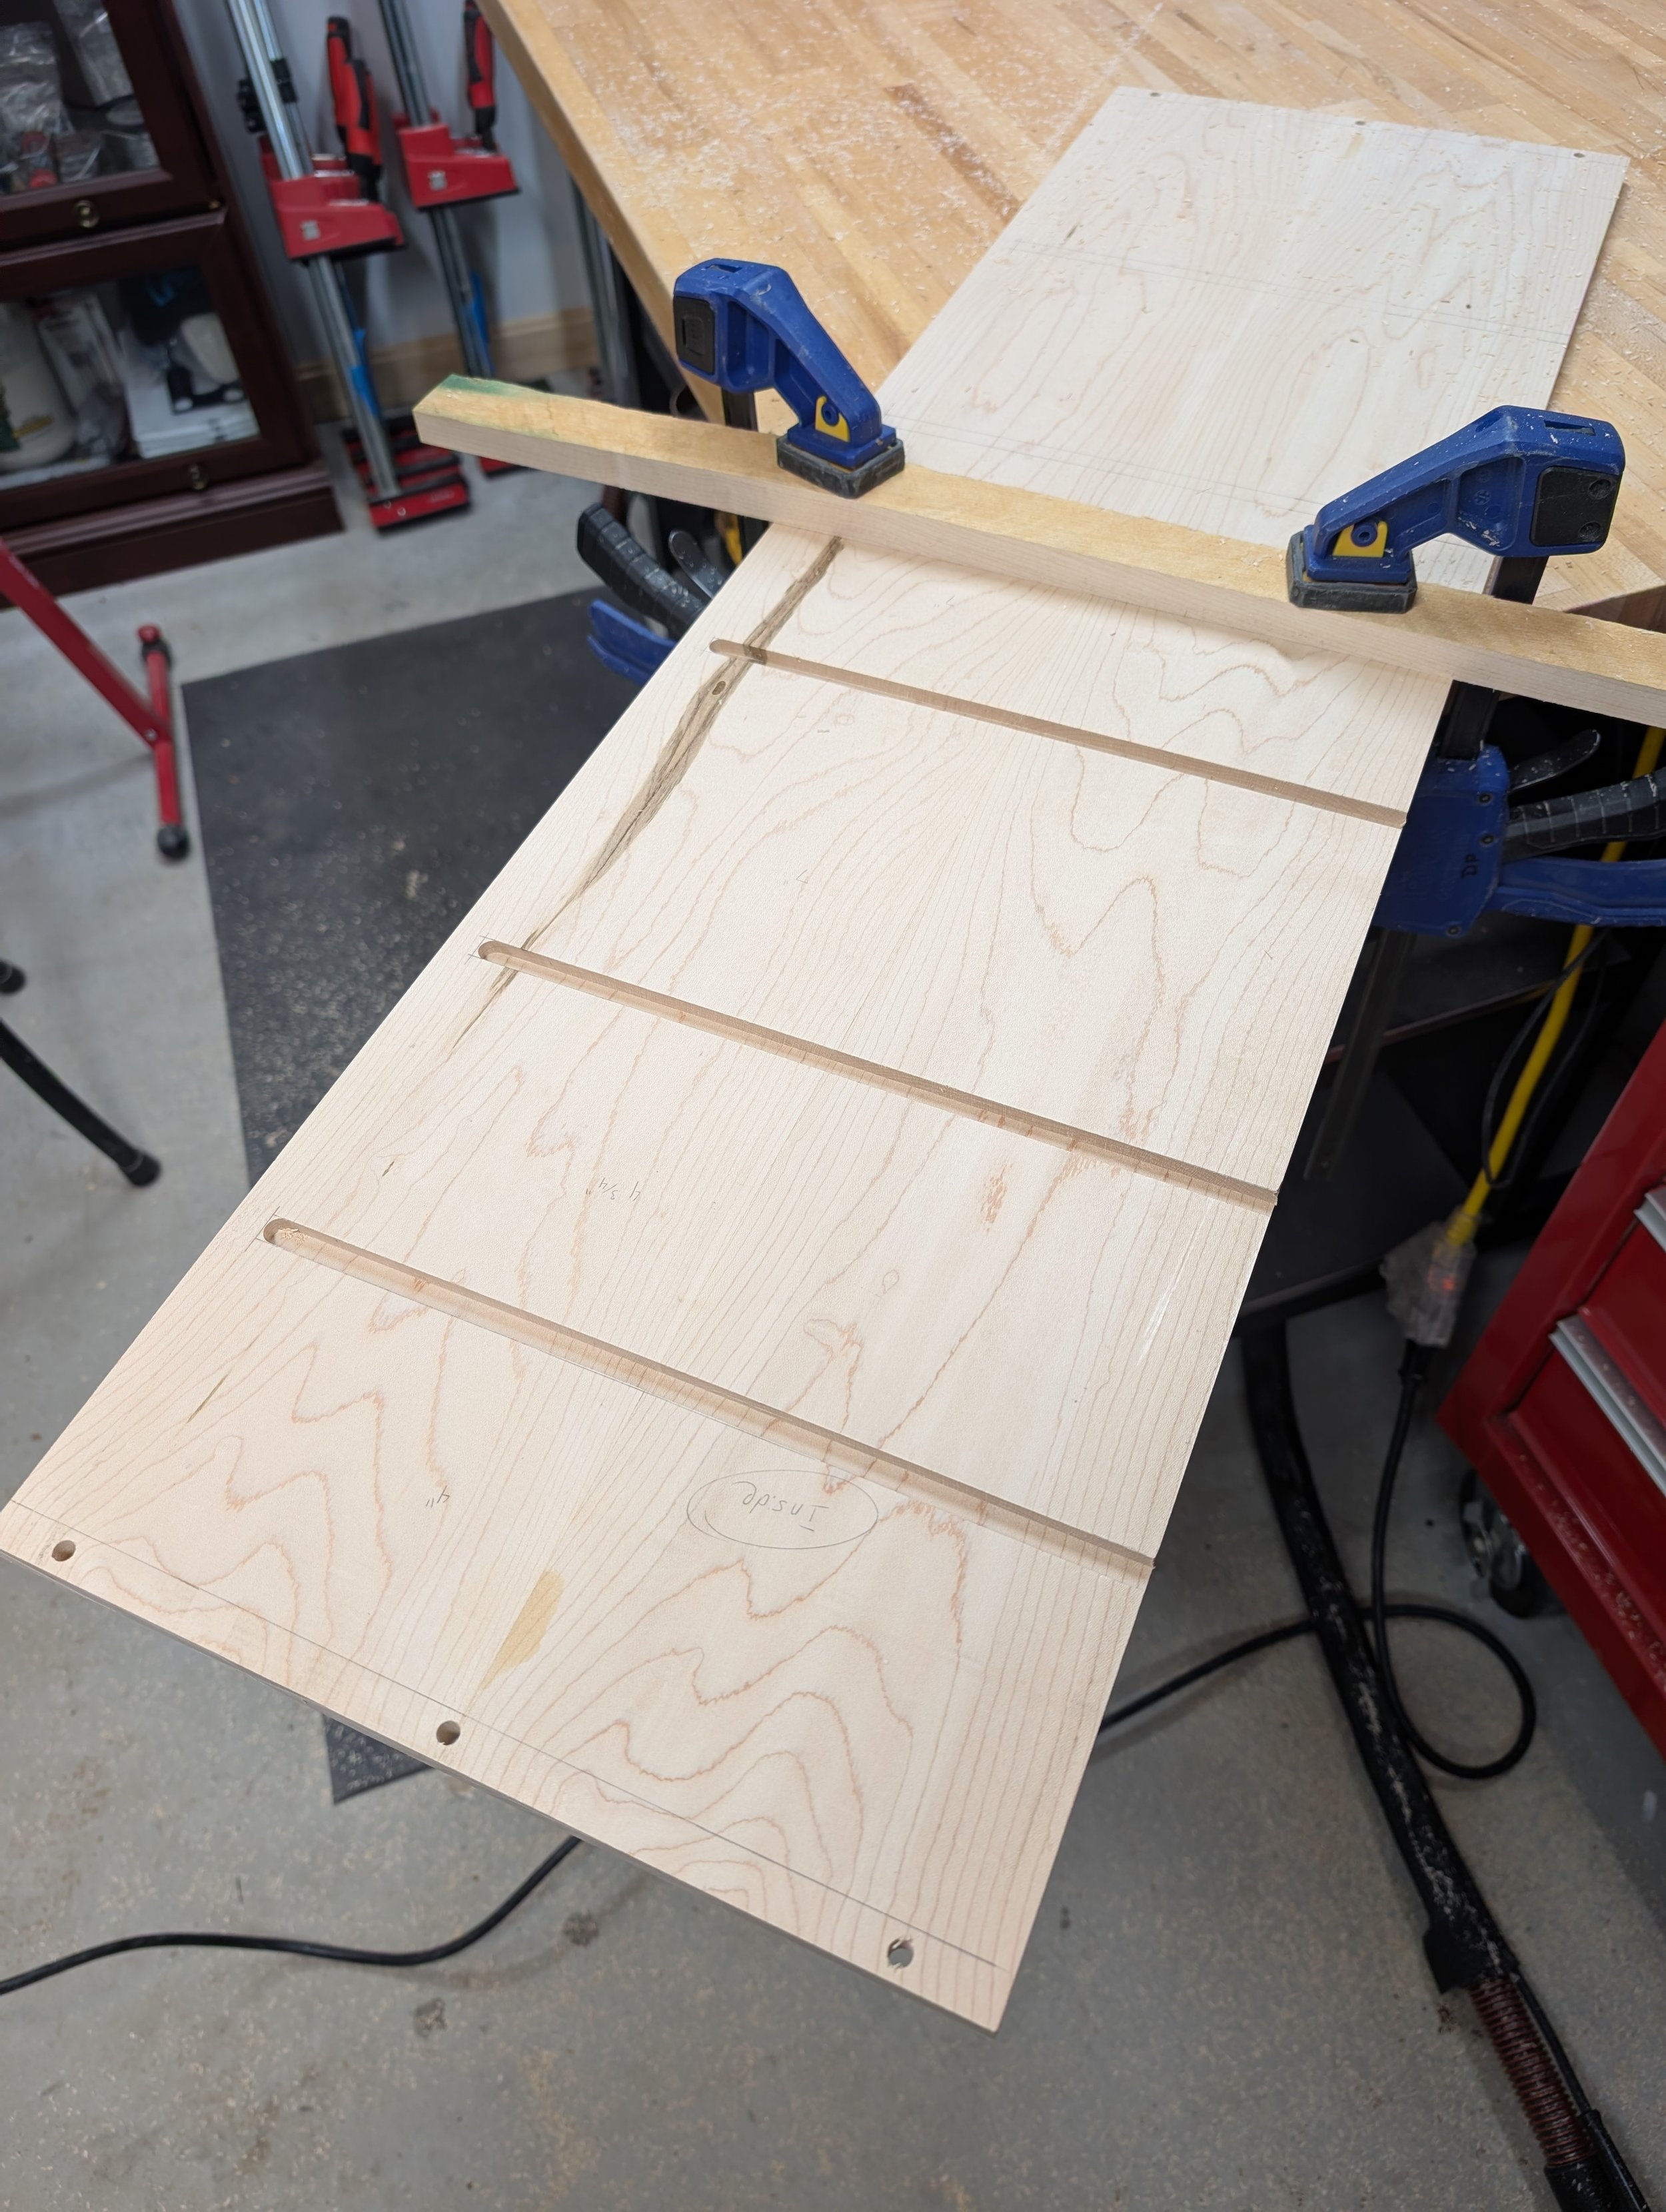
Routed slots in the Maple side panels
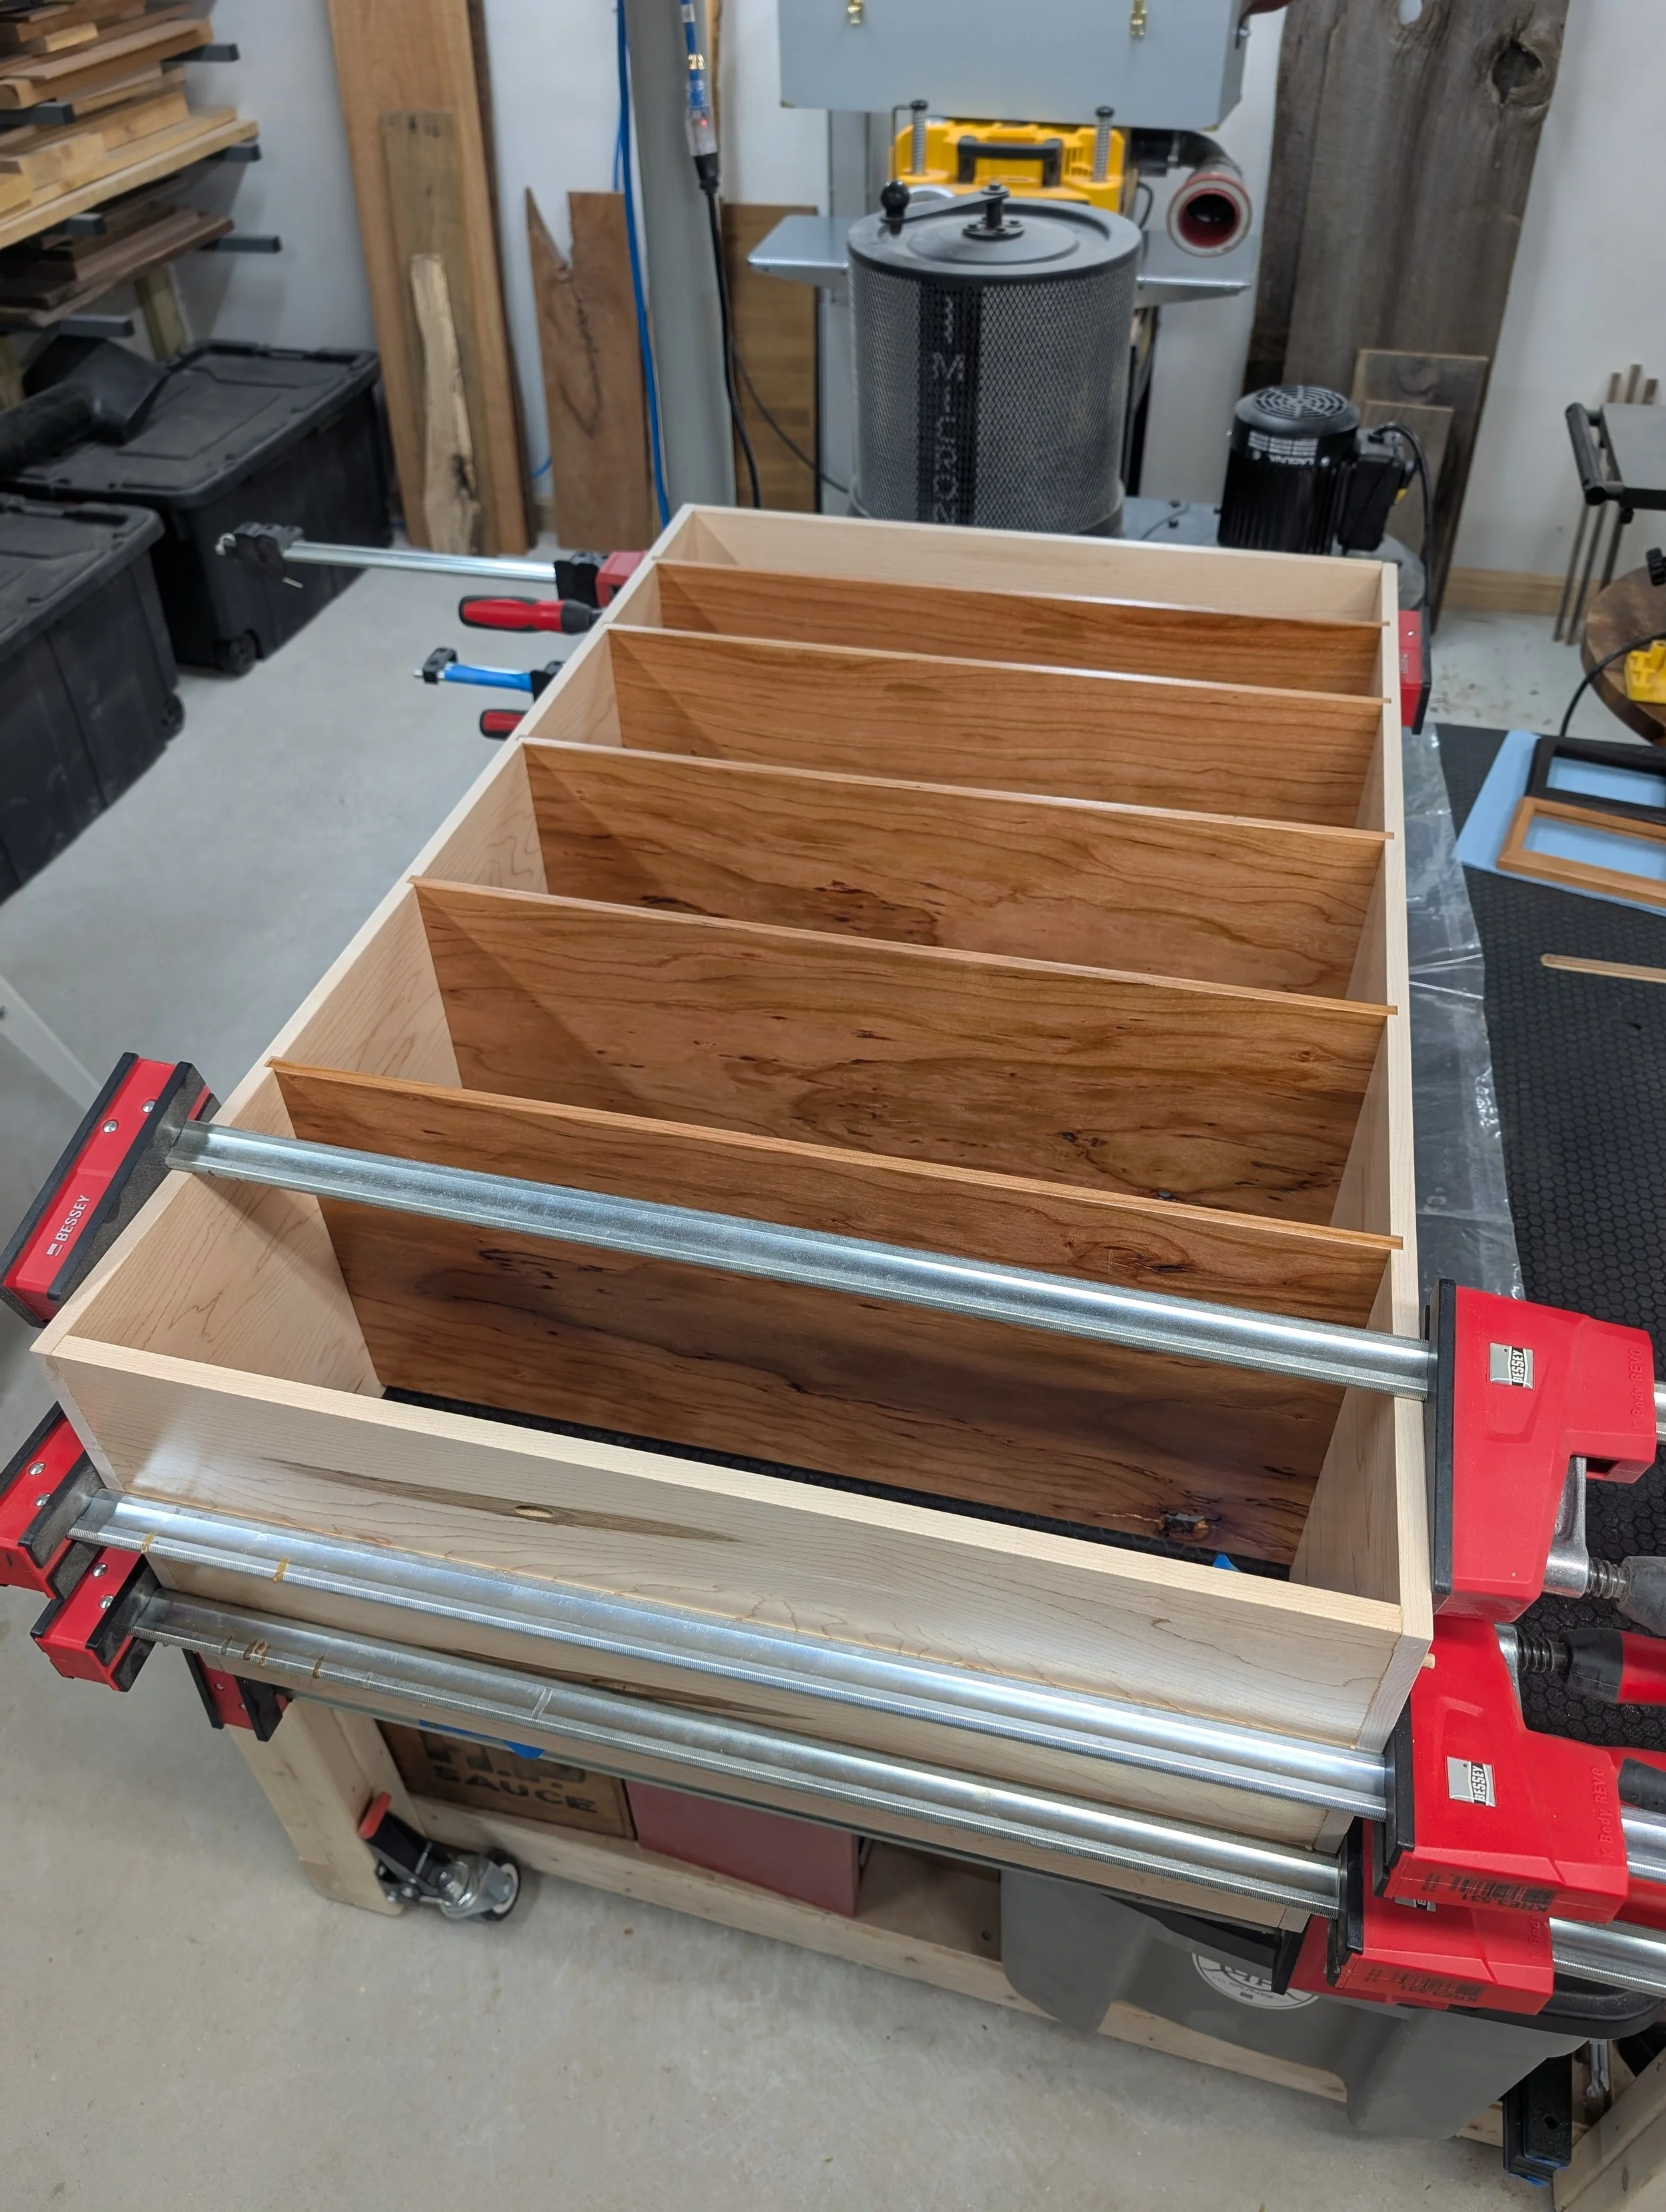
Dry fitting the shelves to ensure they all fit
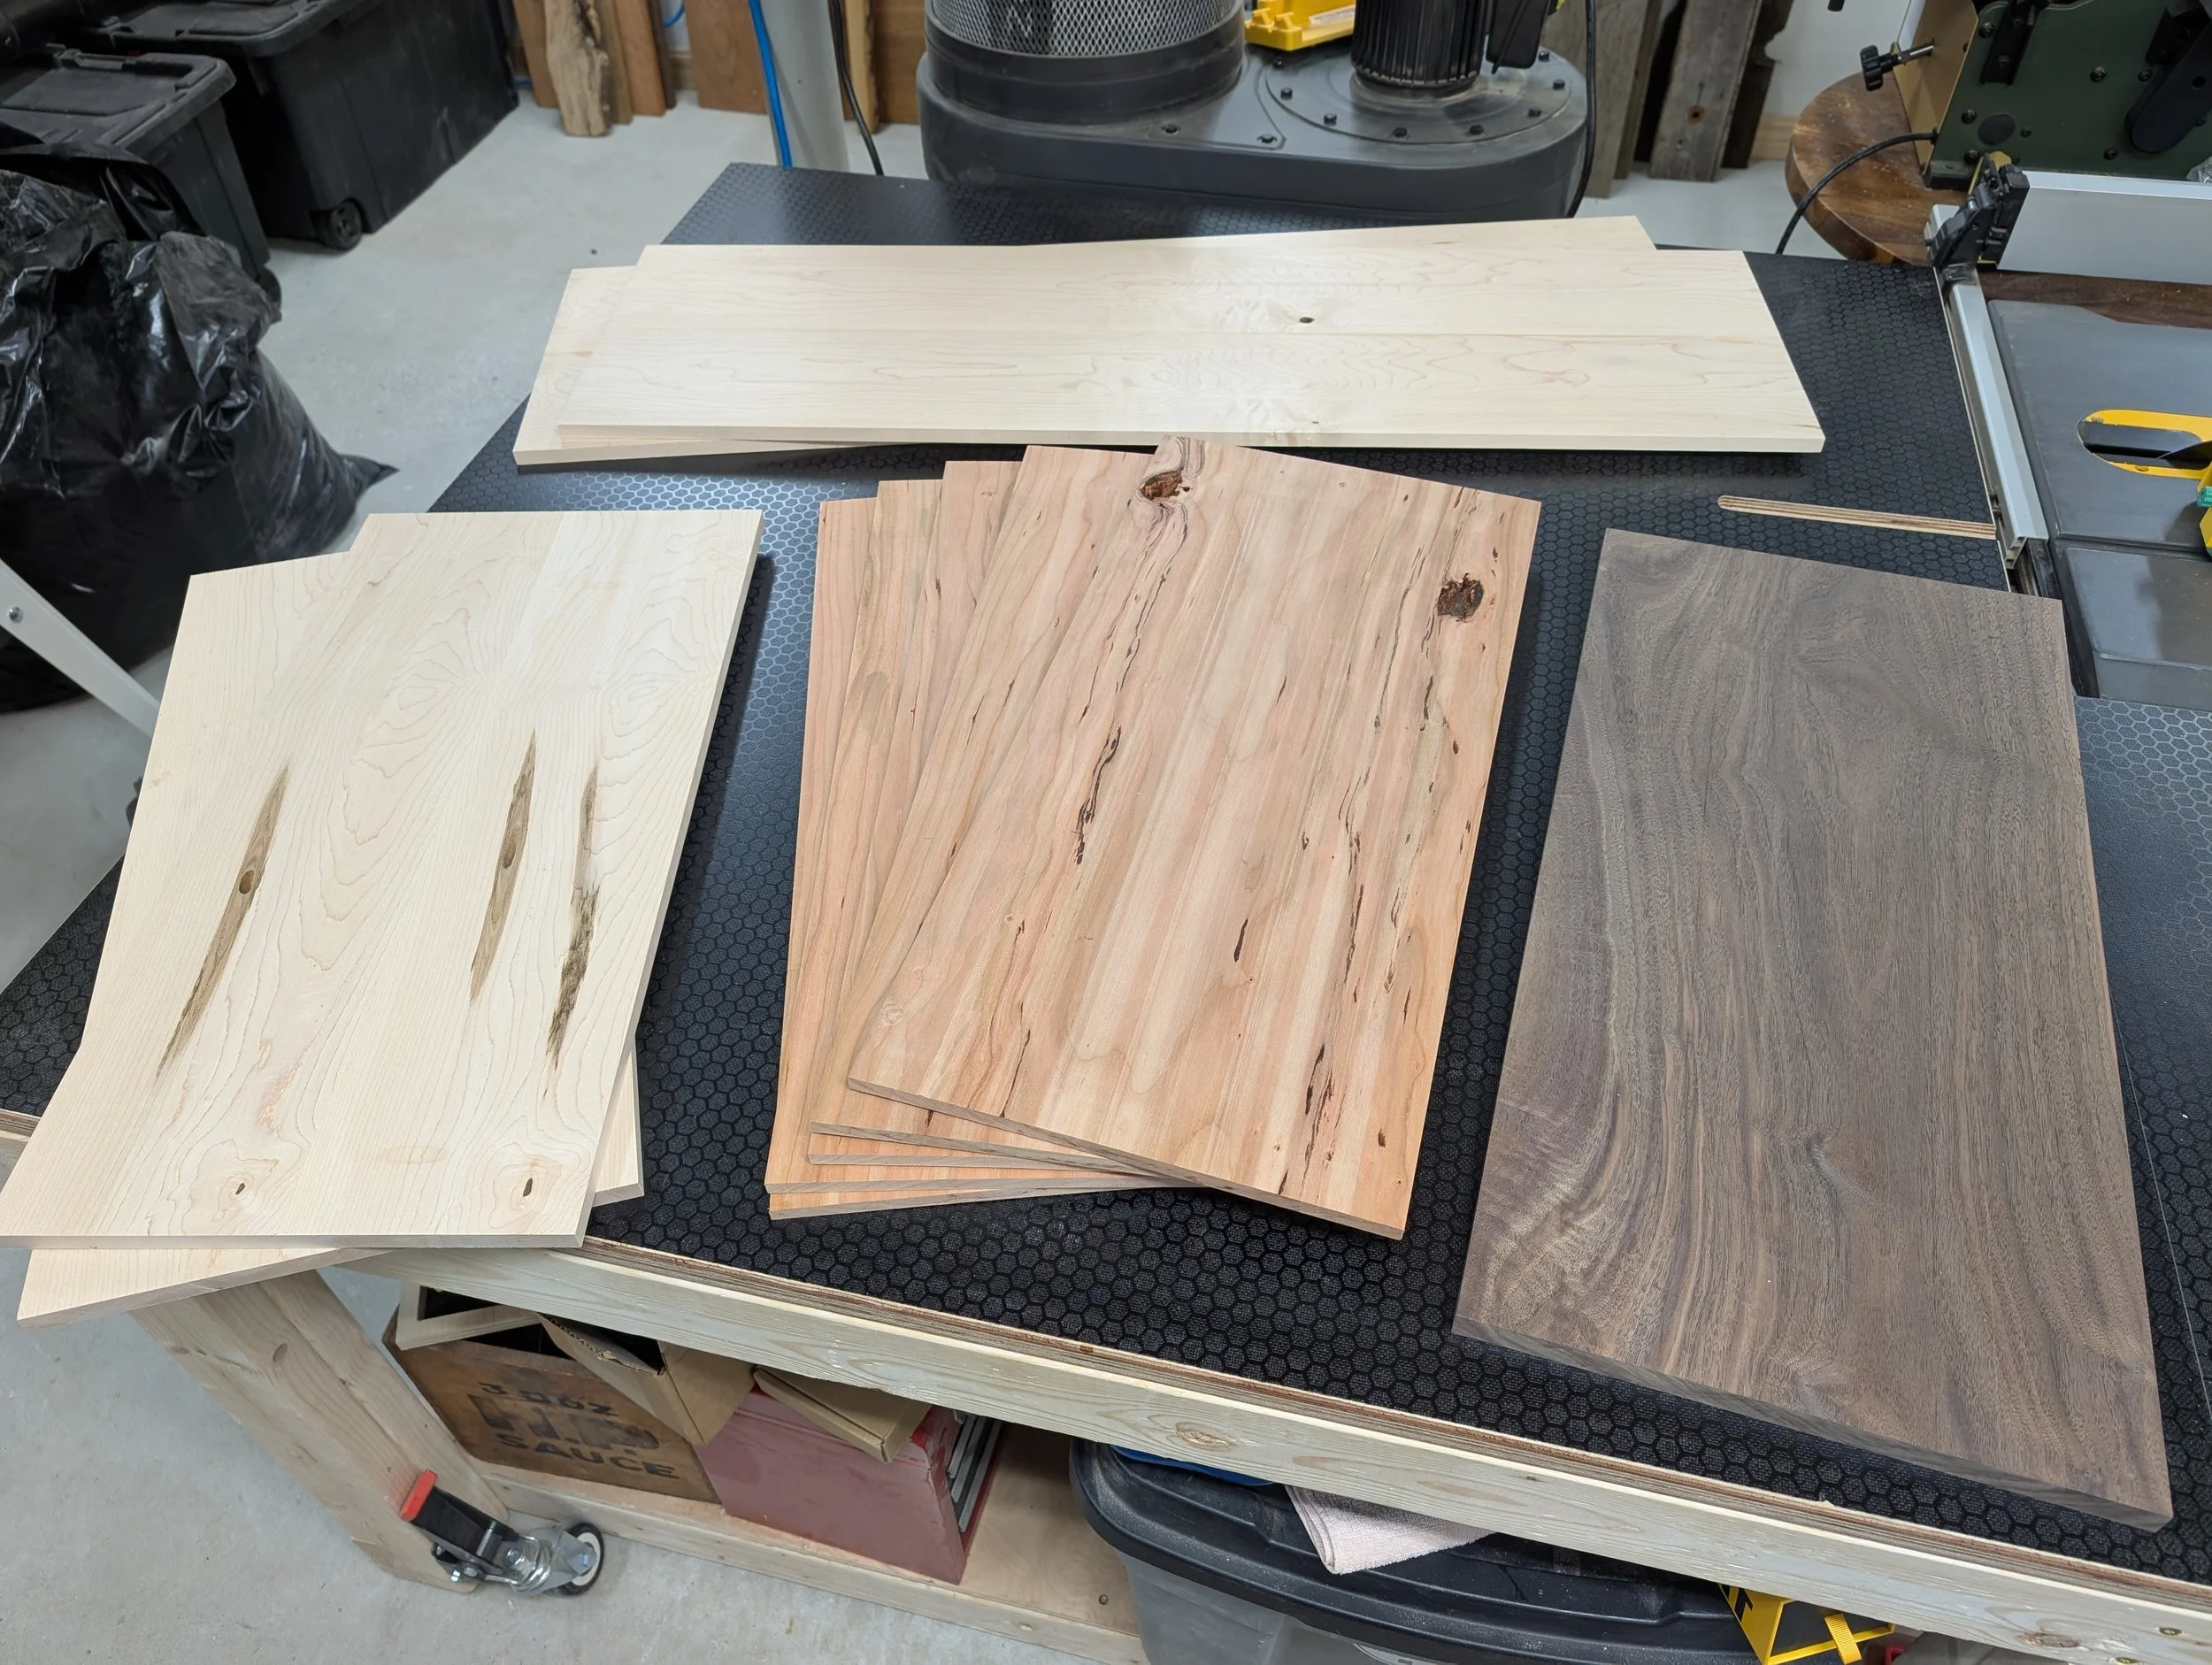
All 10 pieces milled, glued, and ready for finish
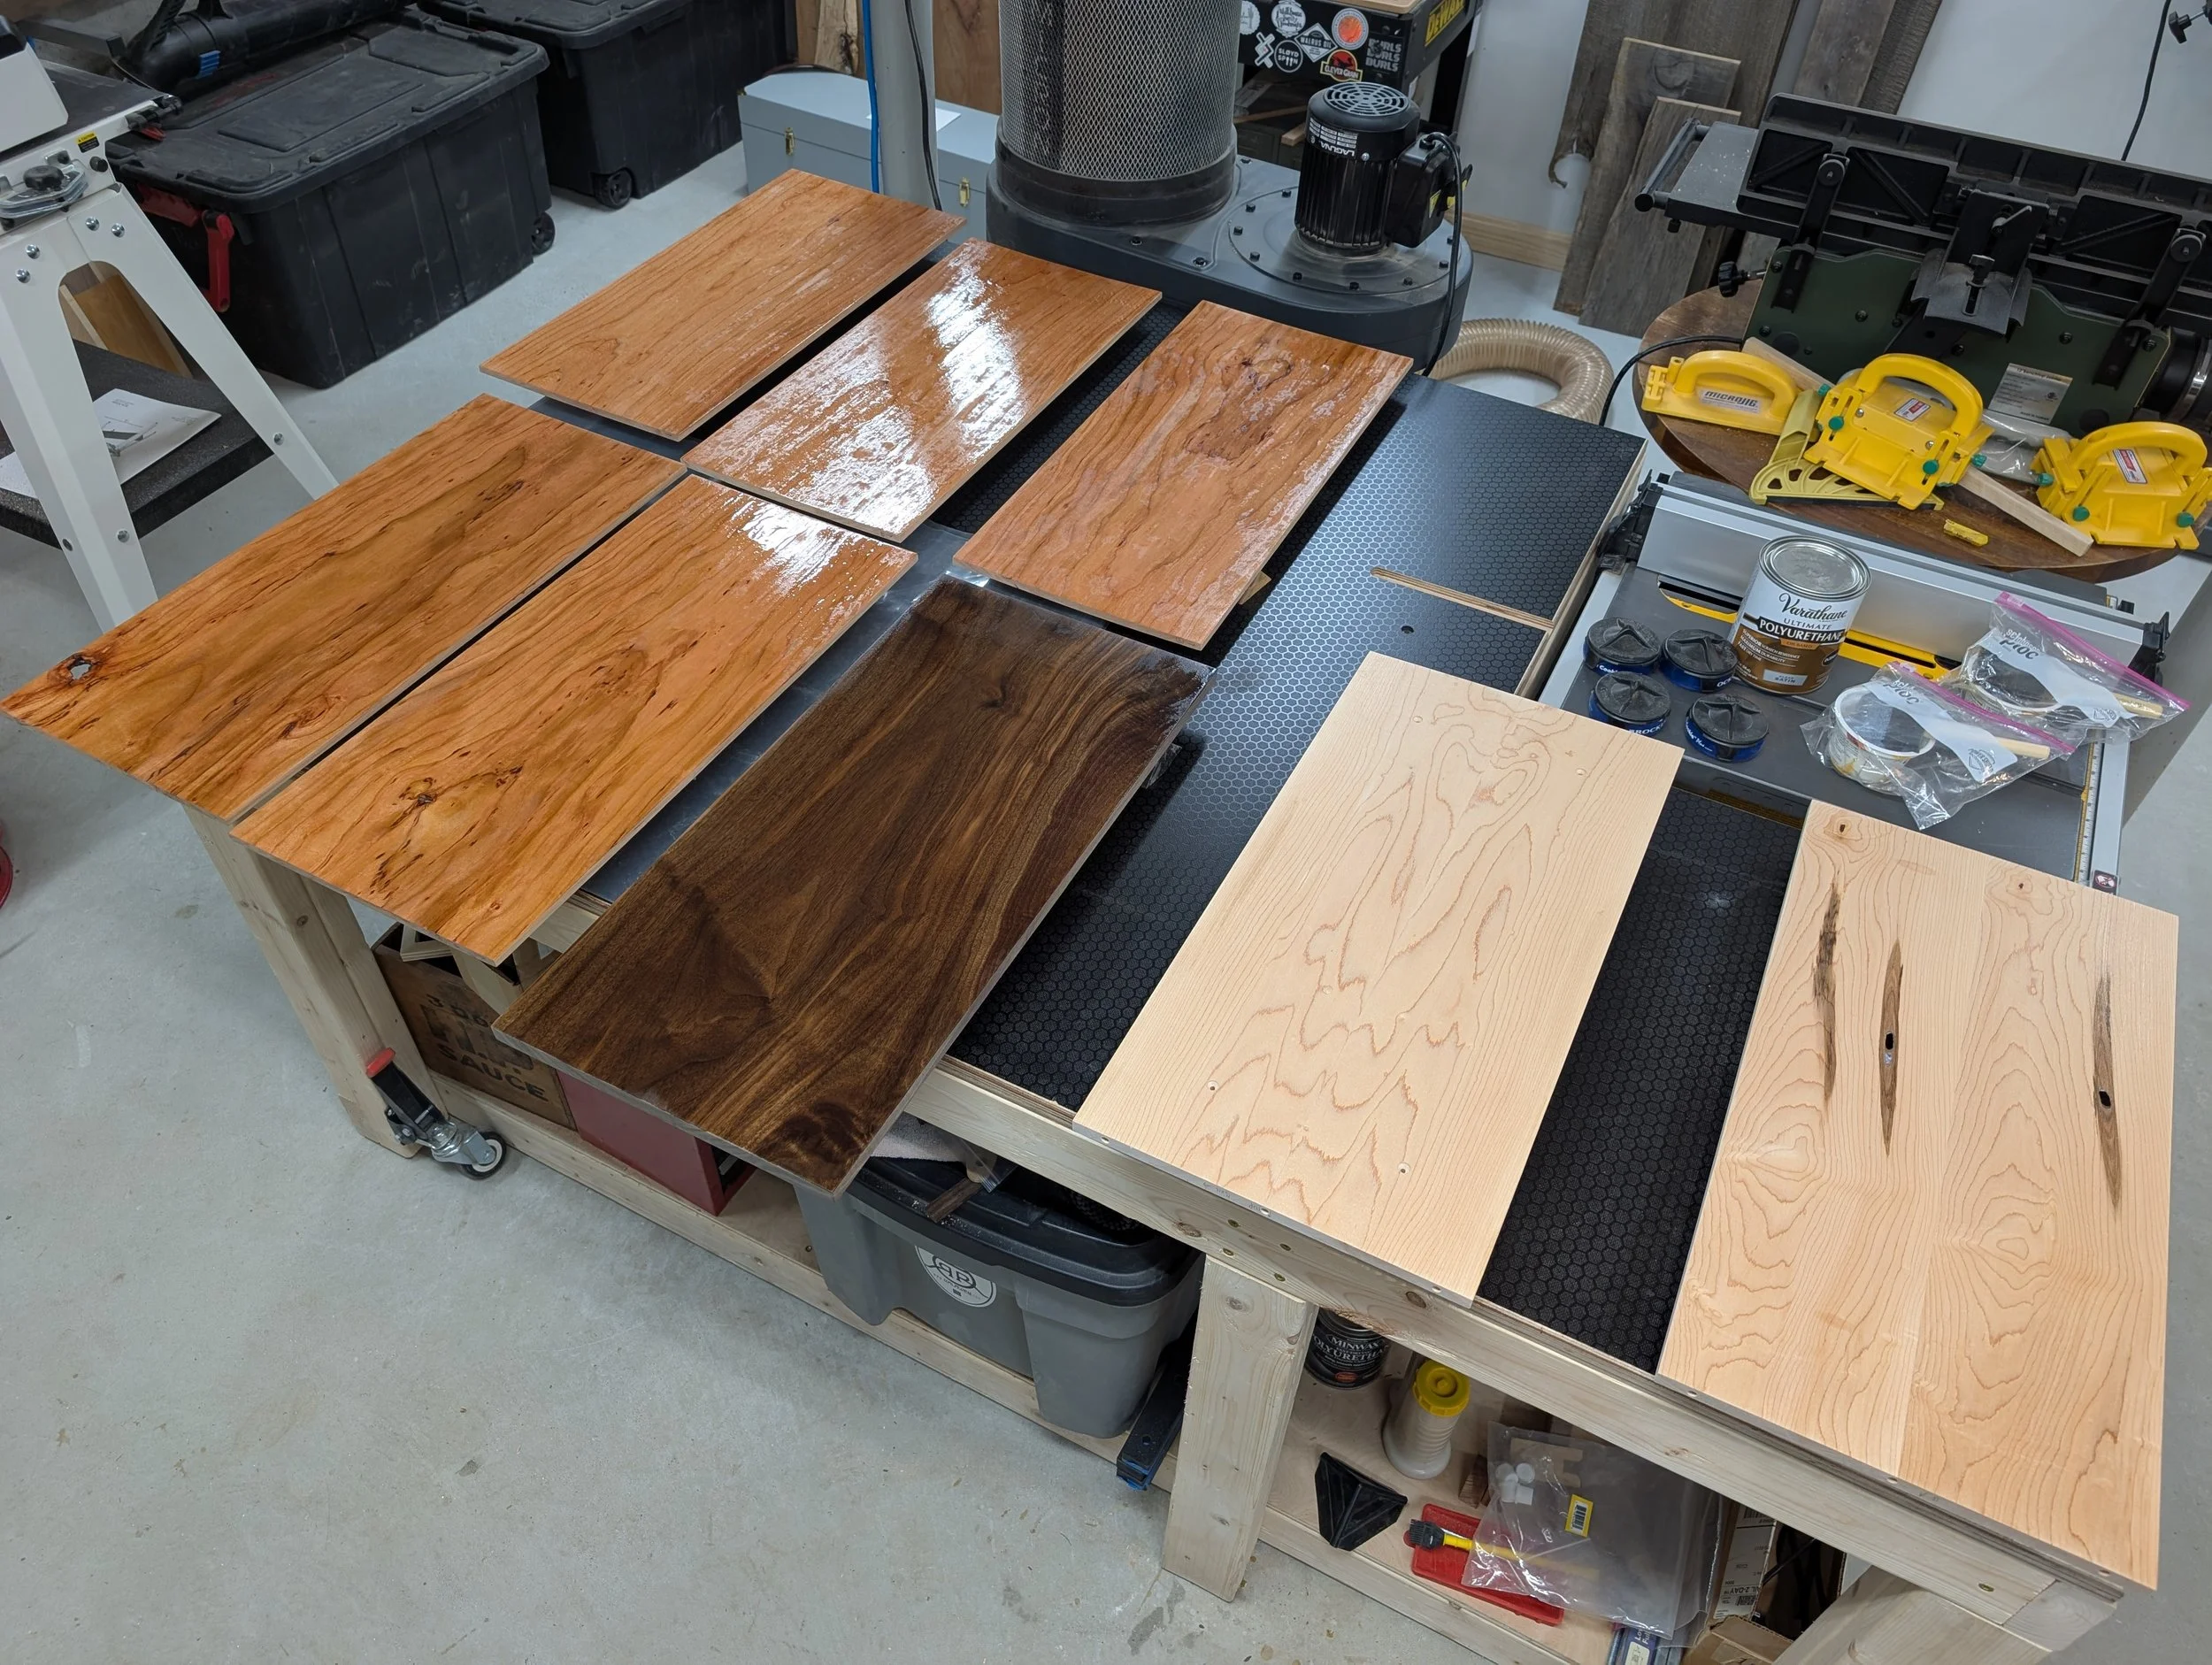
Finishing with a combination of Oil & Water Polyurethanes
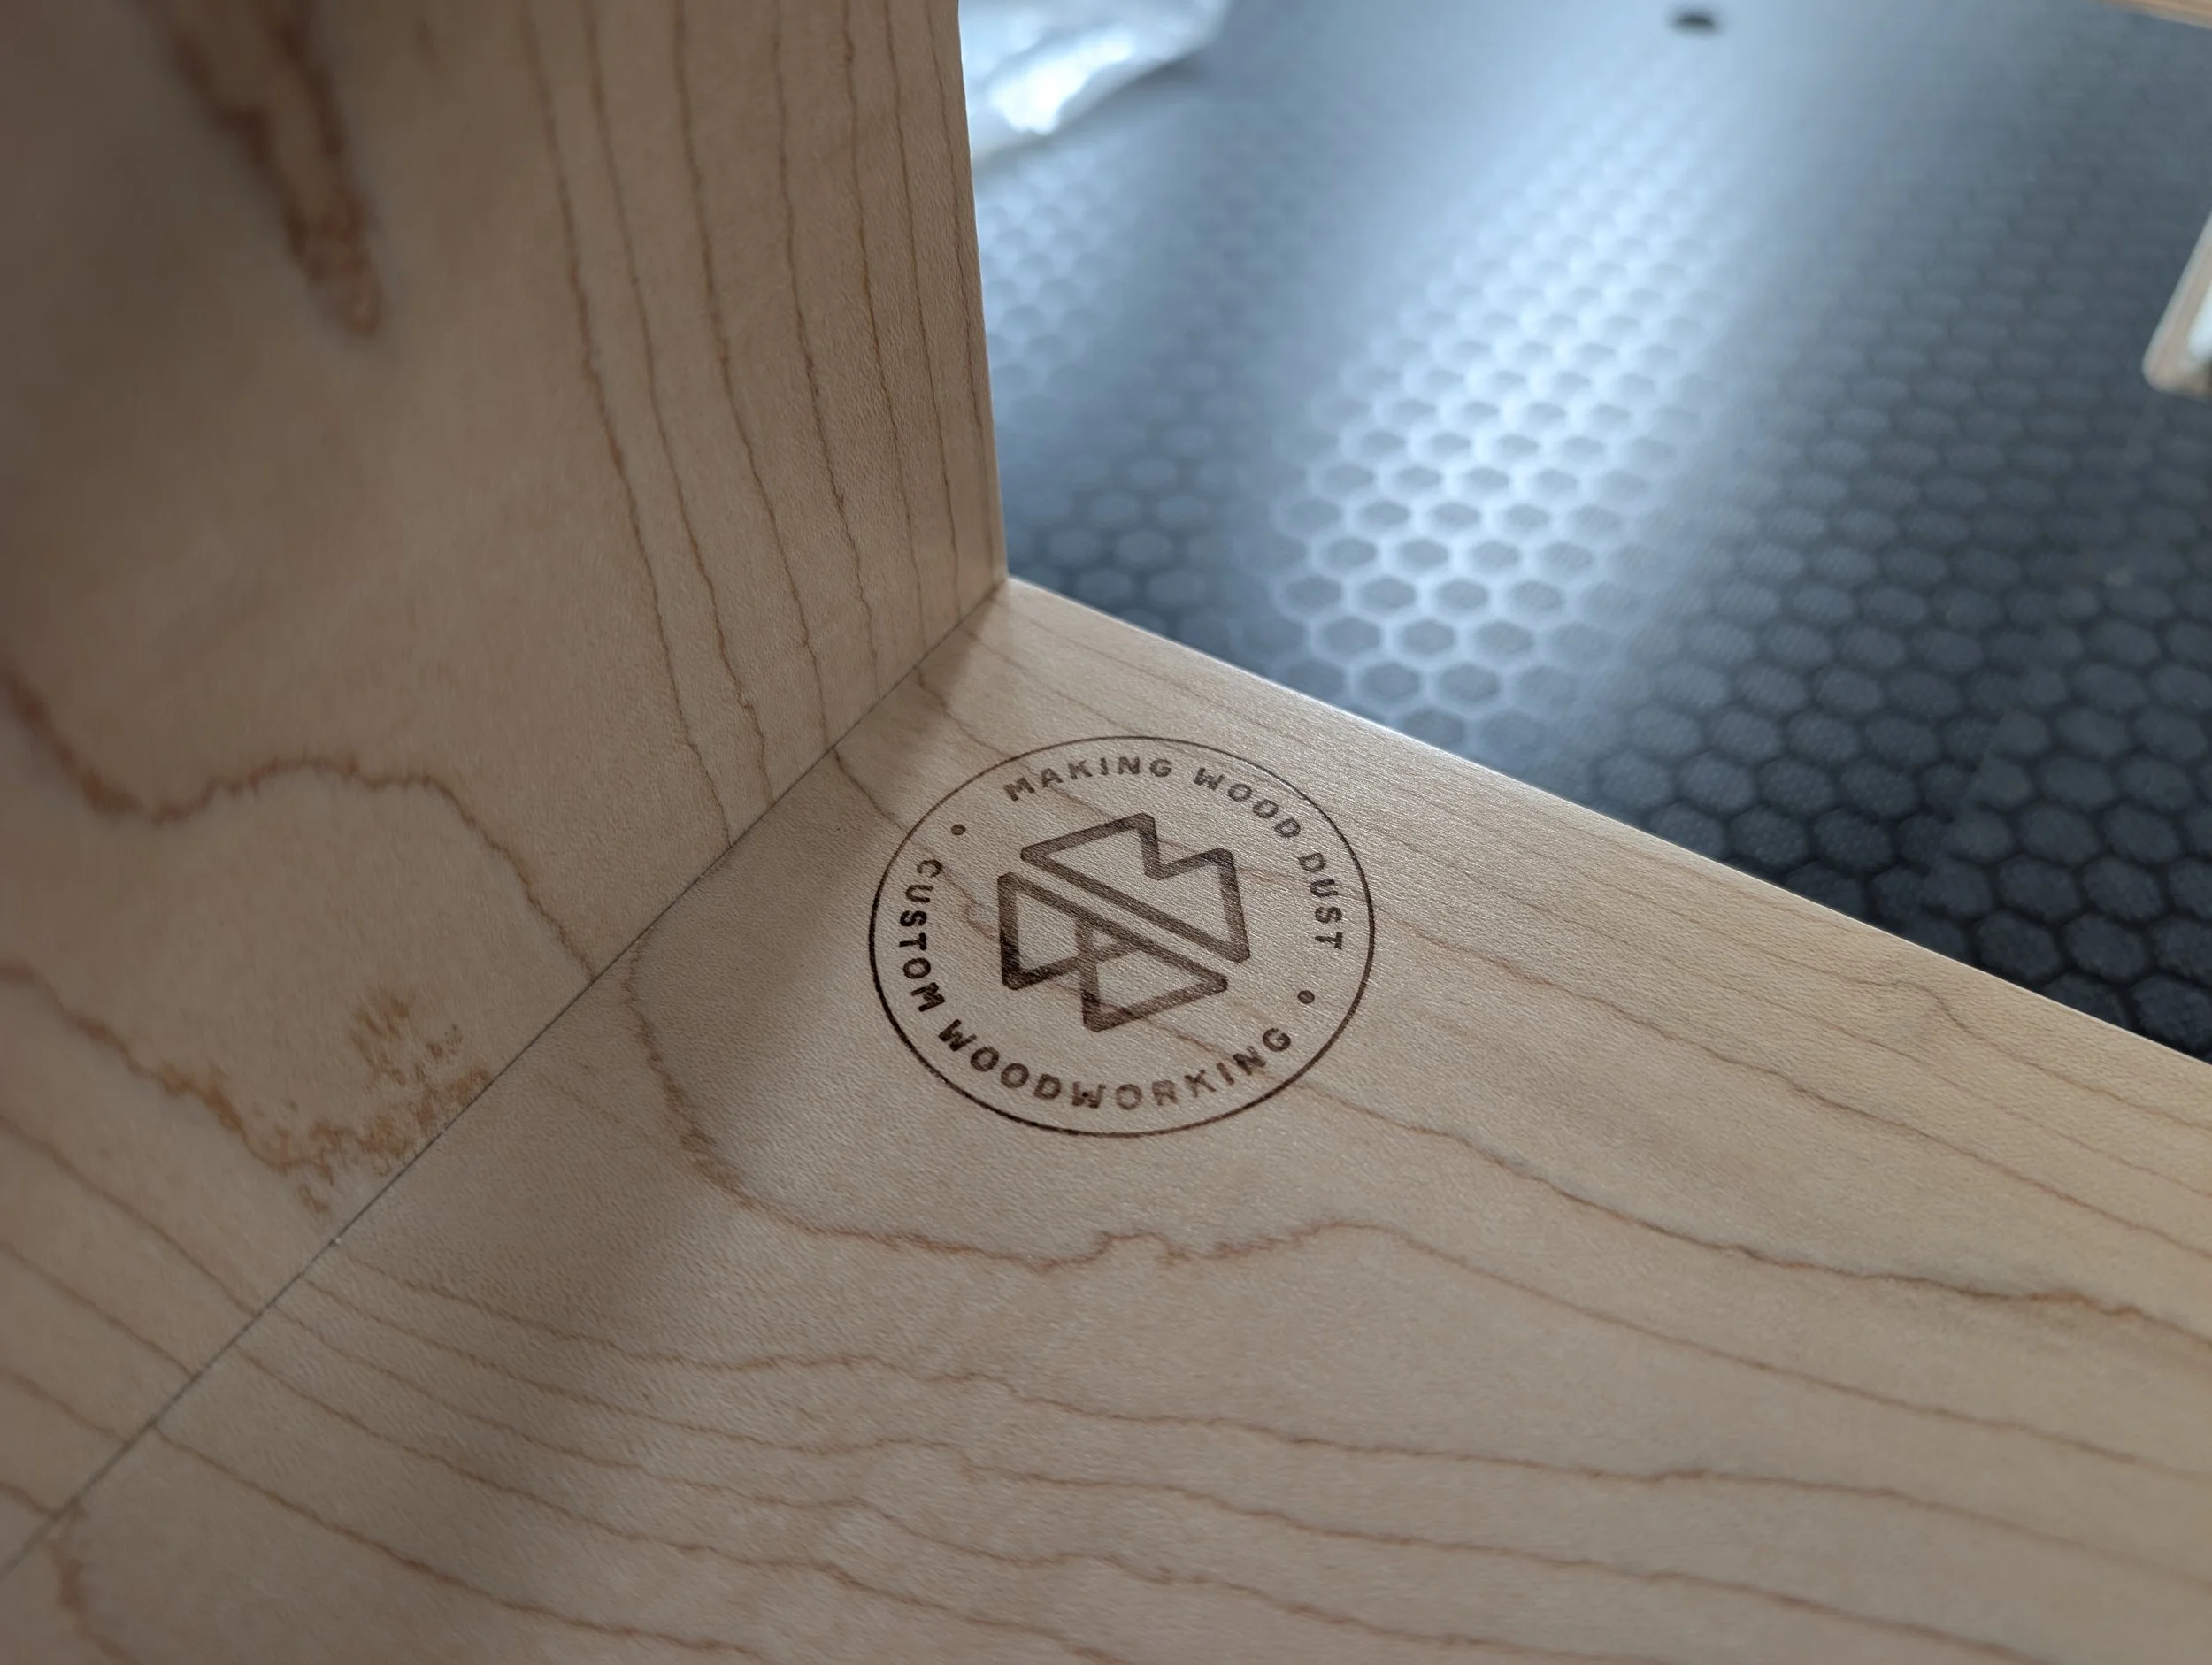
Branding courtesy of Gearheart Industry
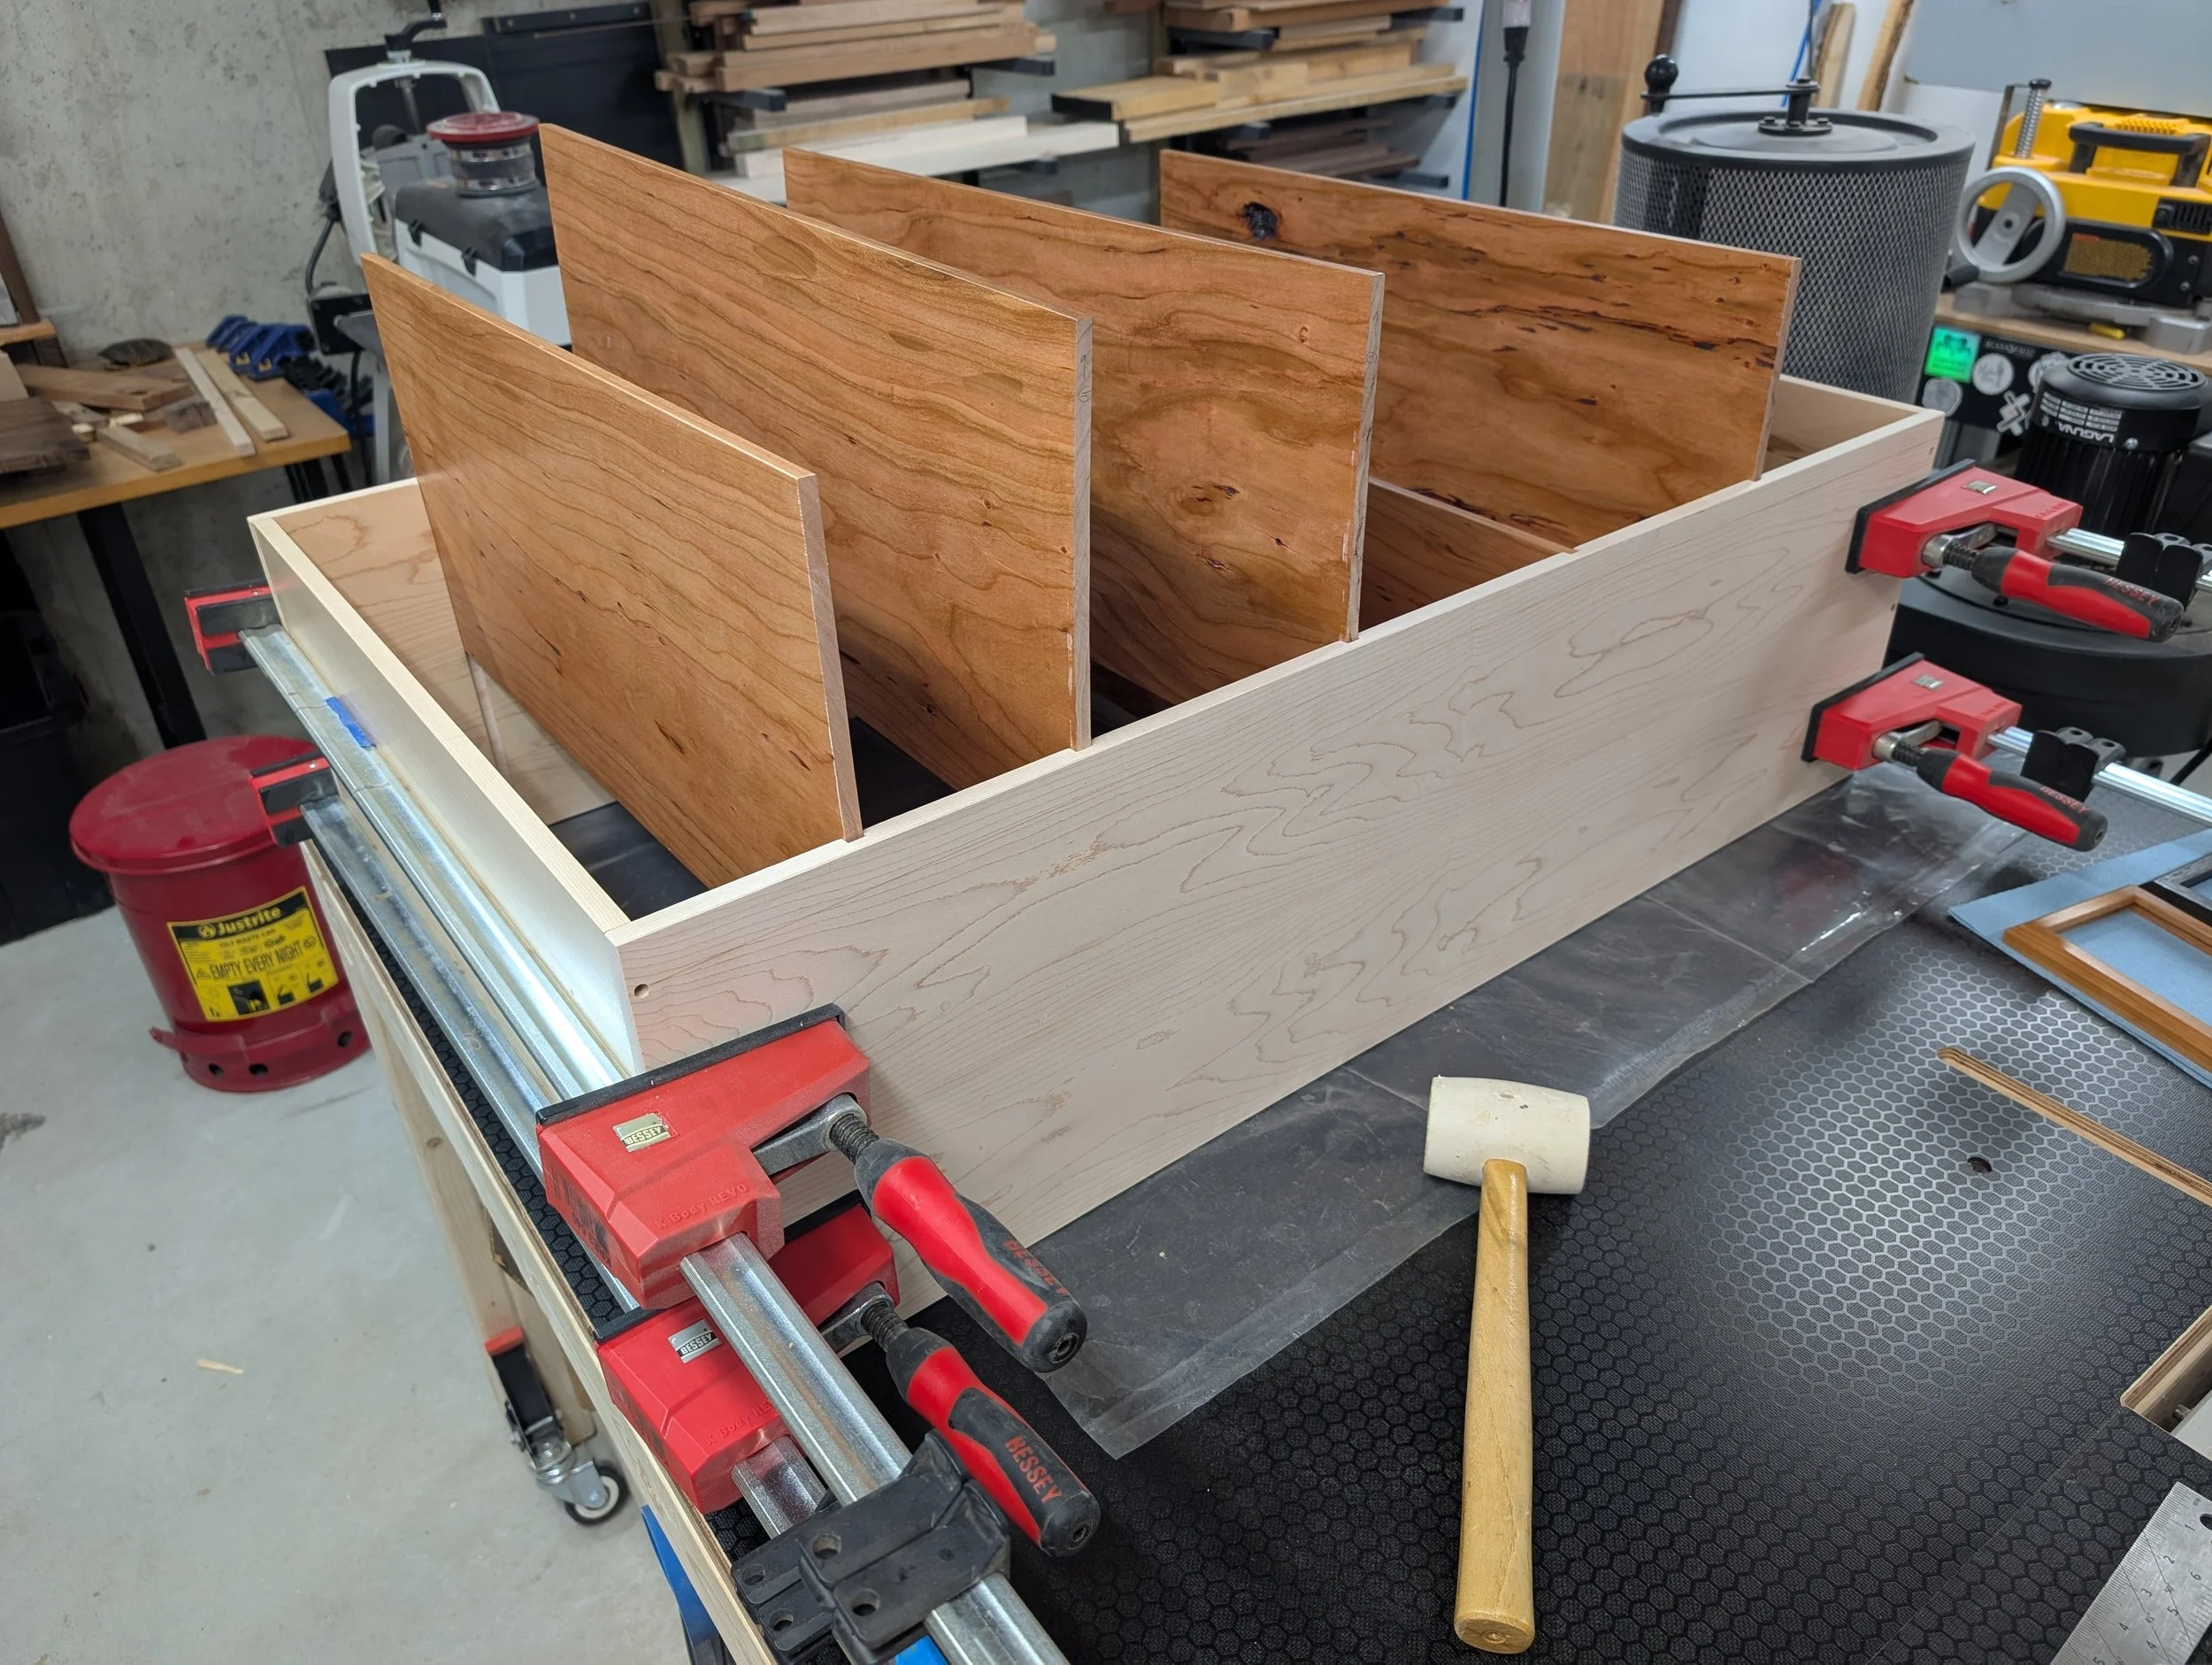
Minor adjustments to ensure all the shelves fit together
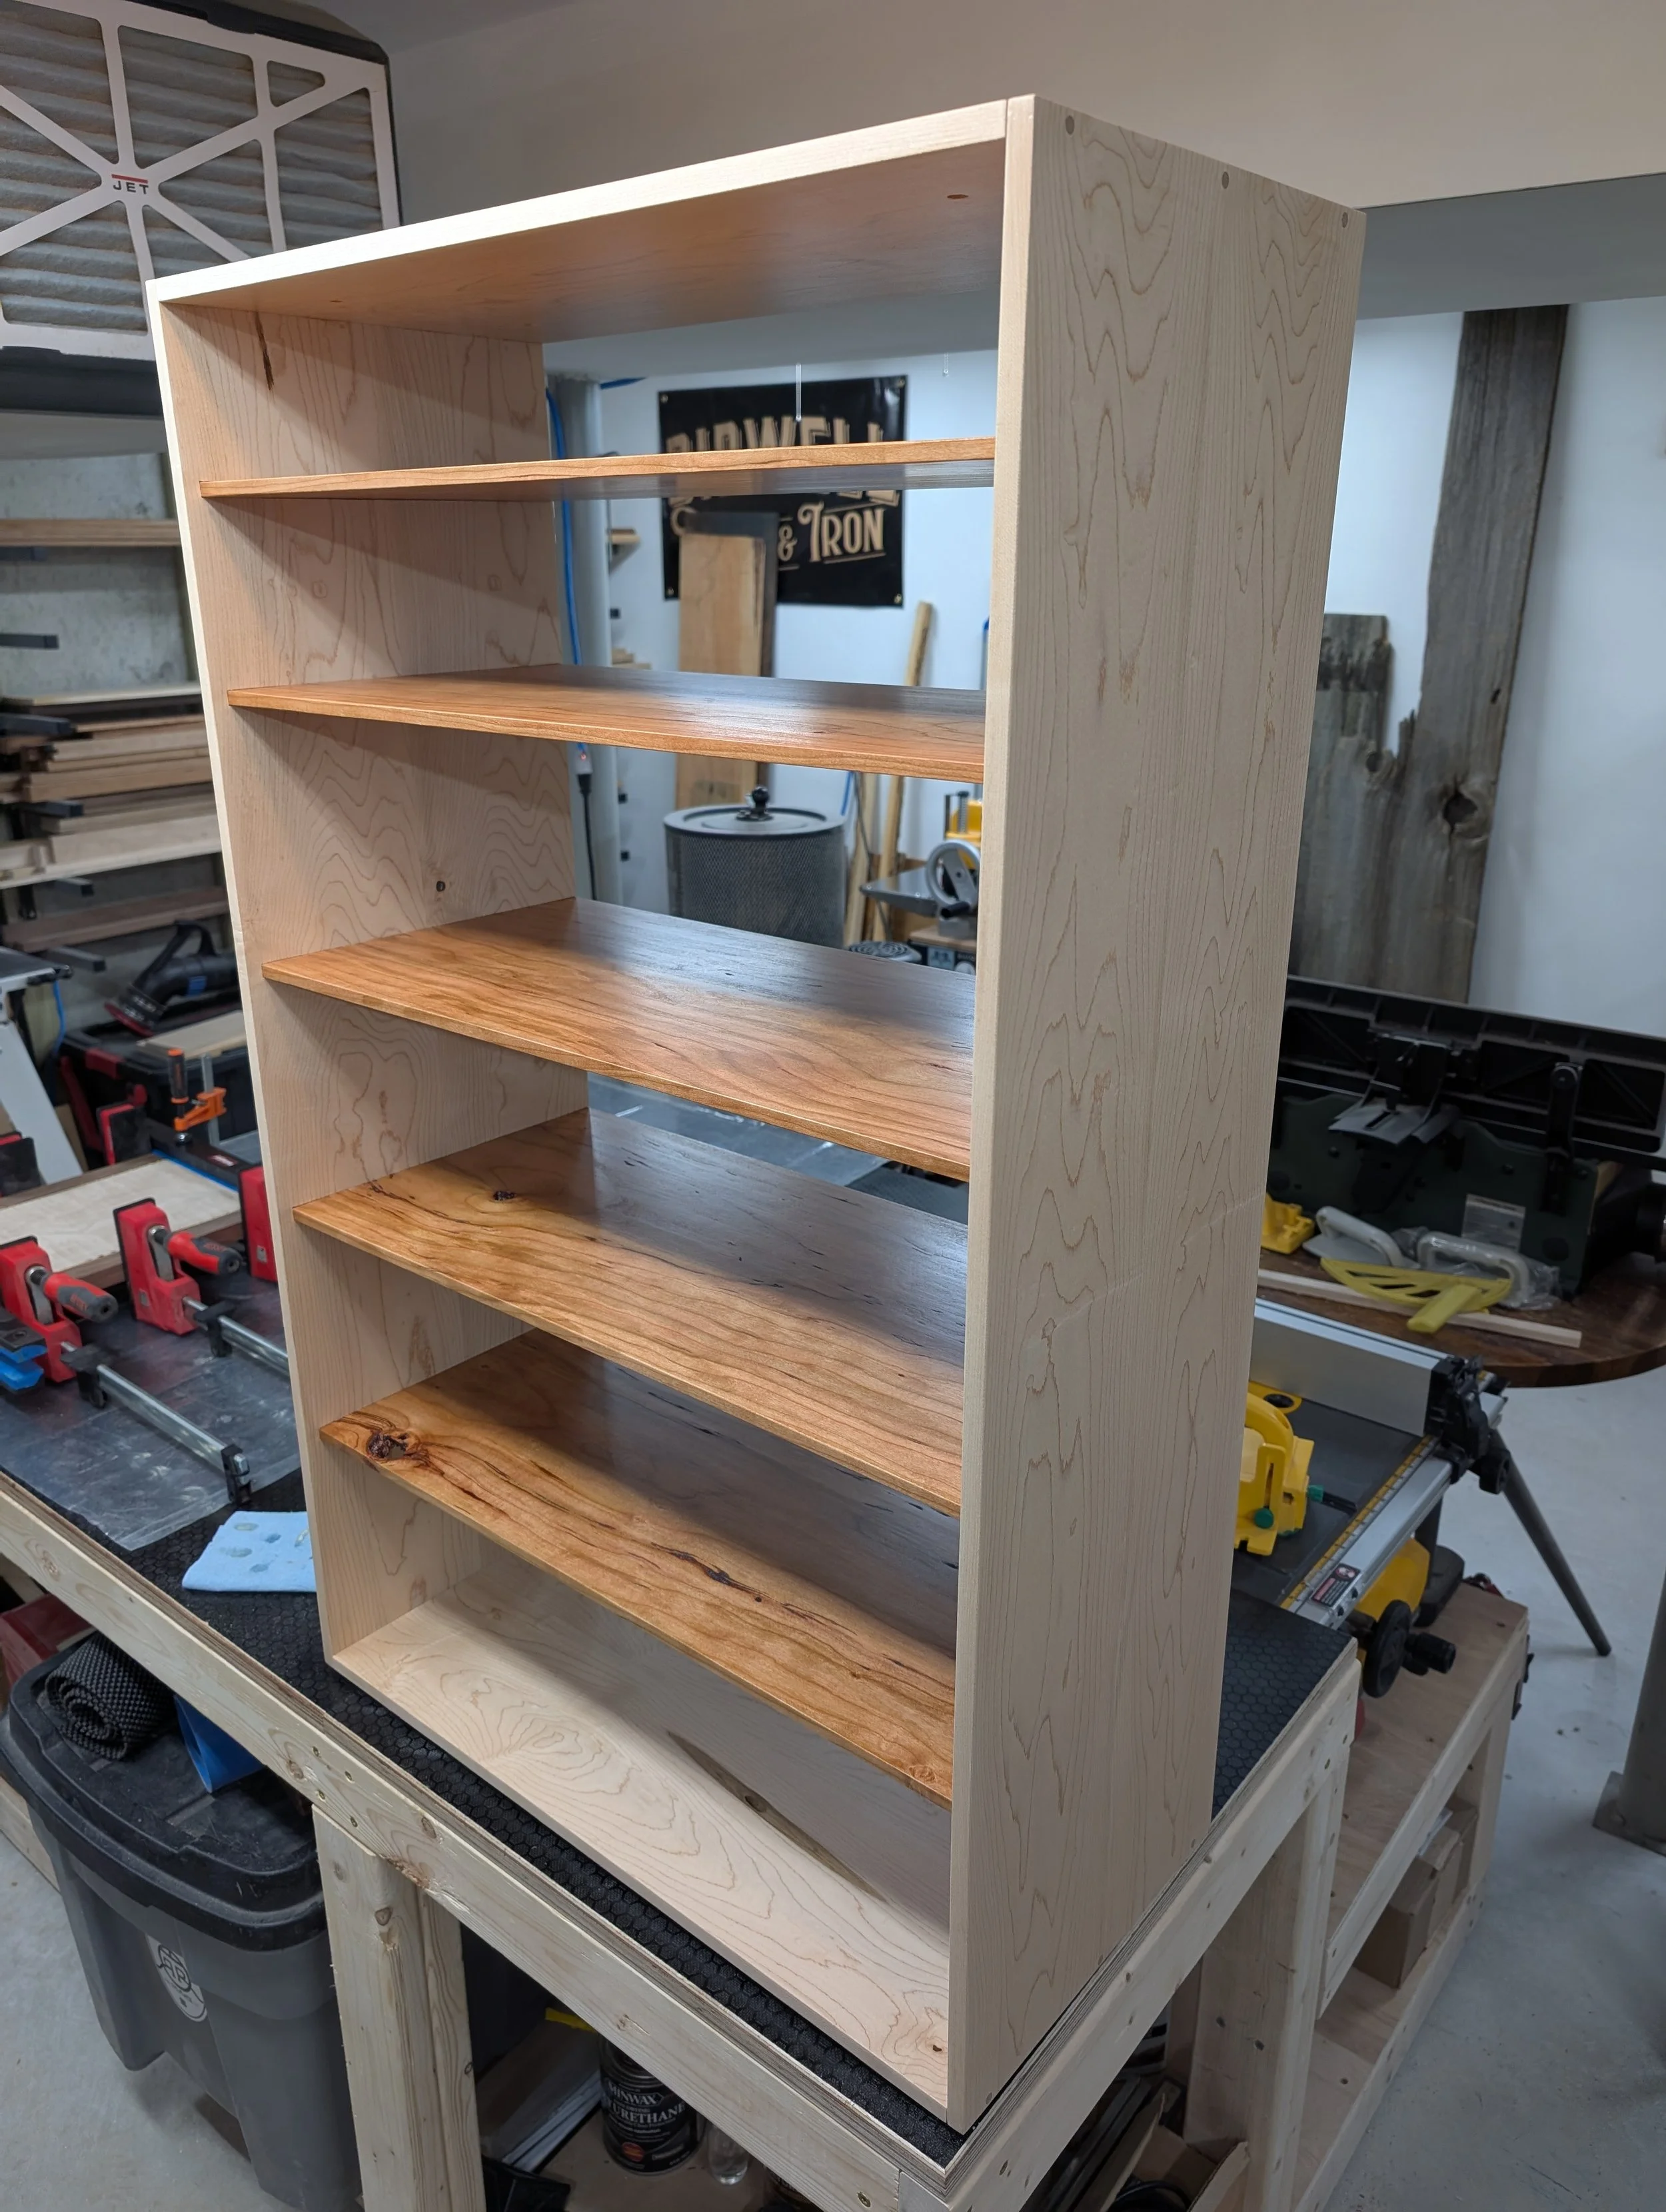
Glued and final finishing touches
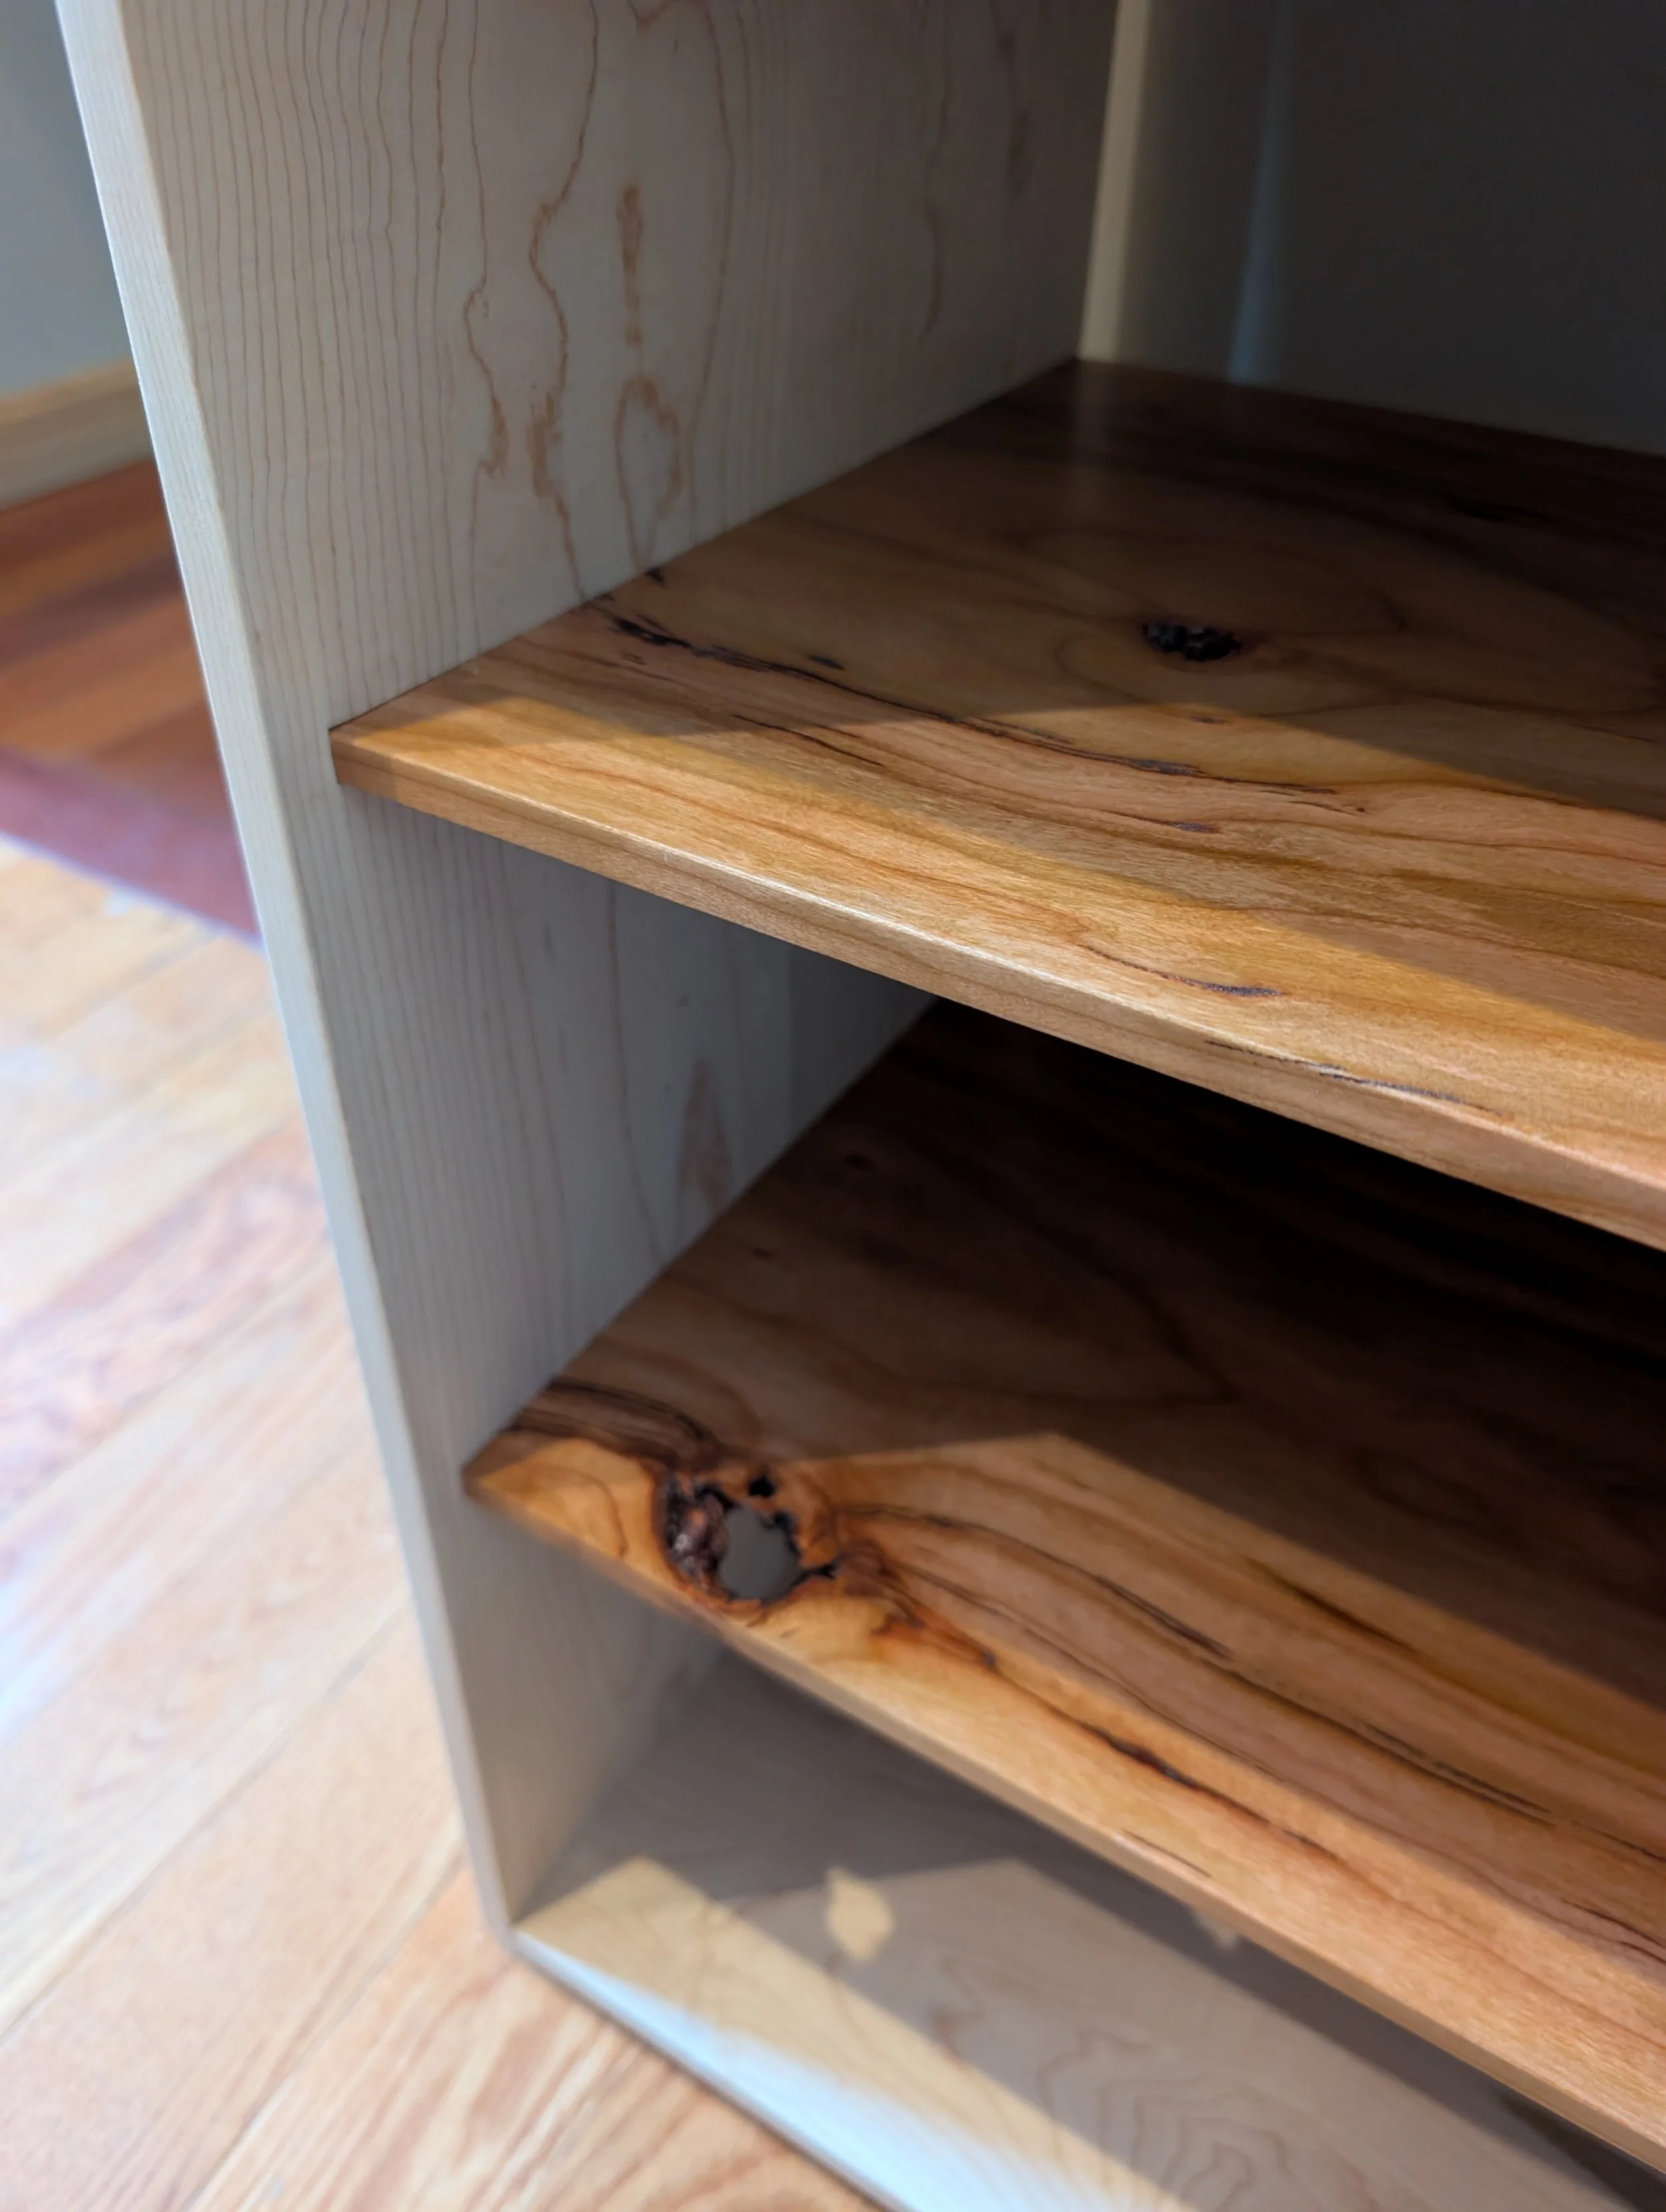
Close-up of the cool knots in the Cherry
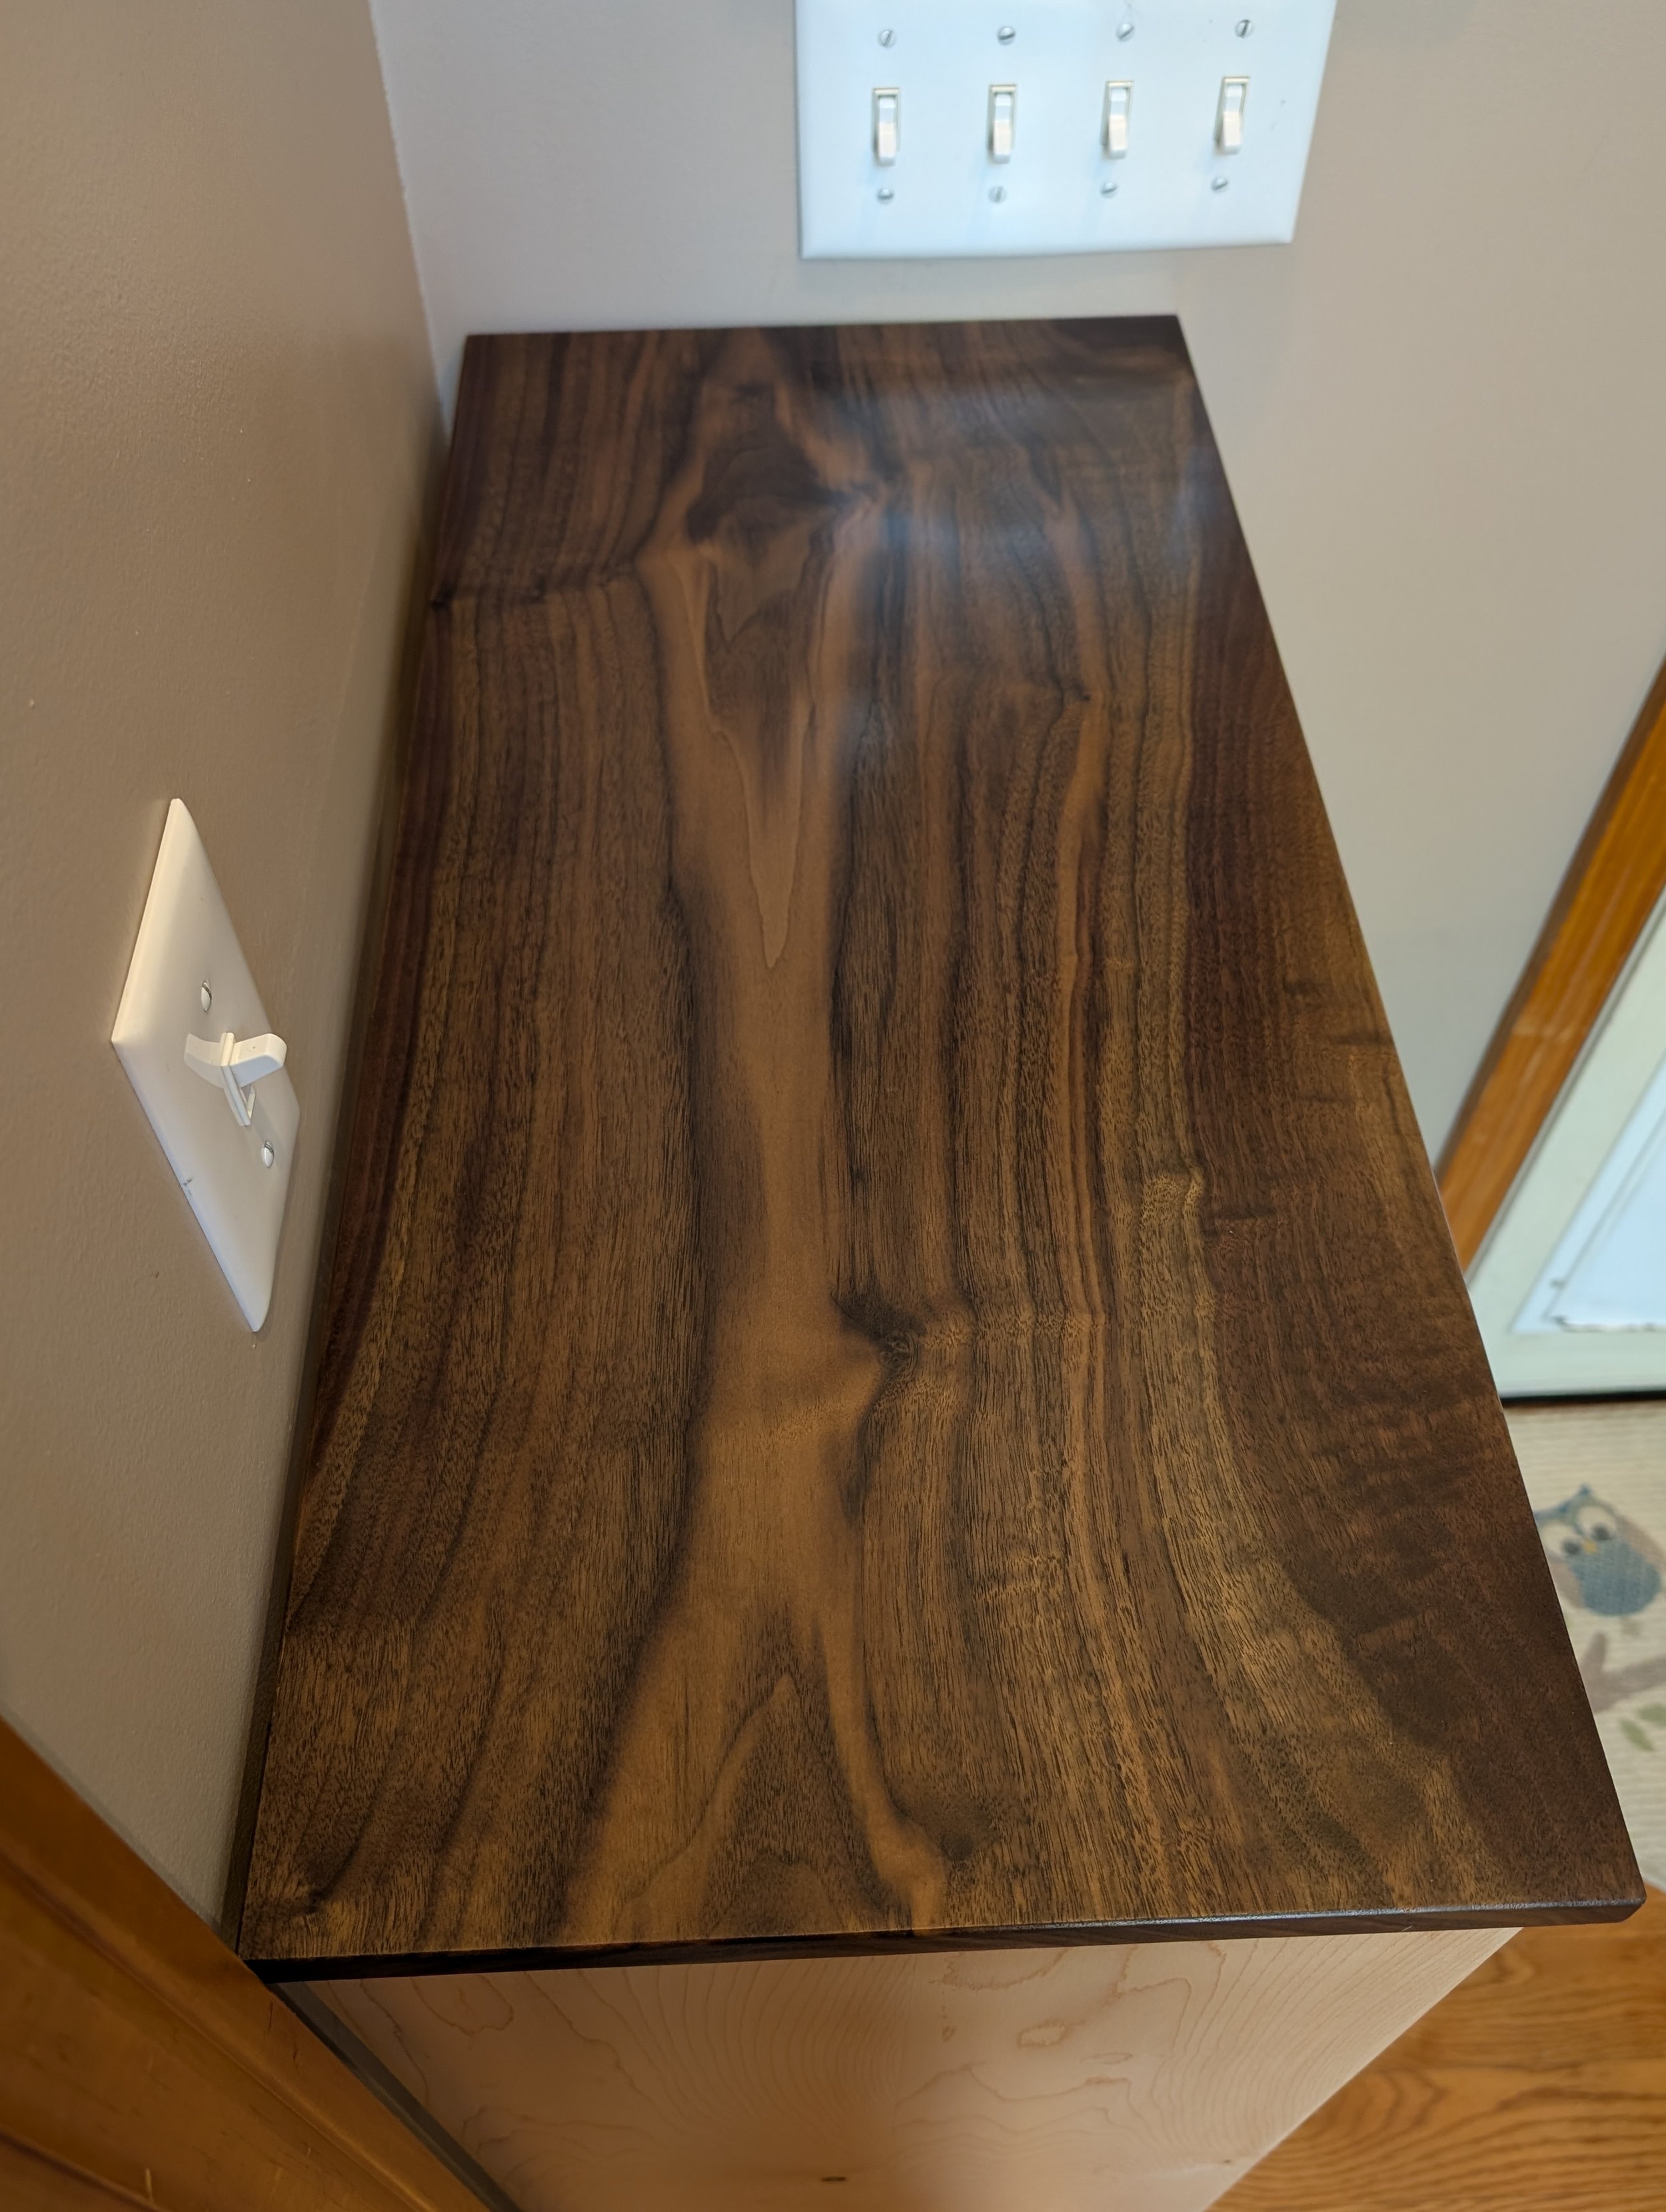
Close-up of the Walnut top
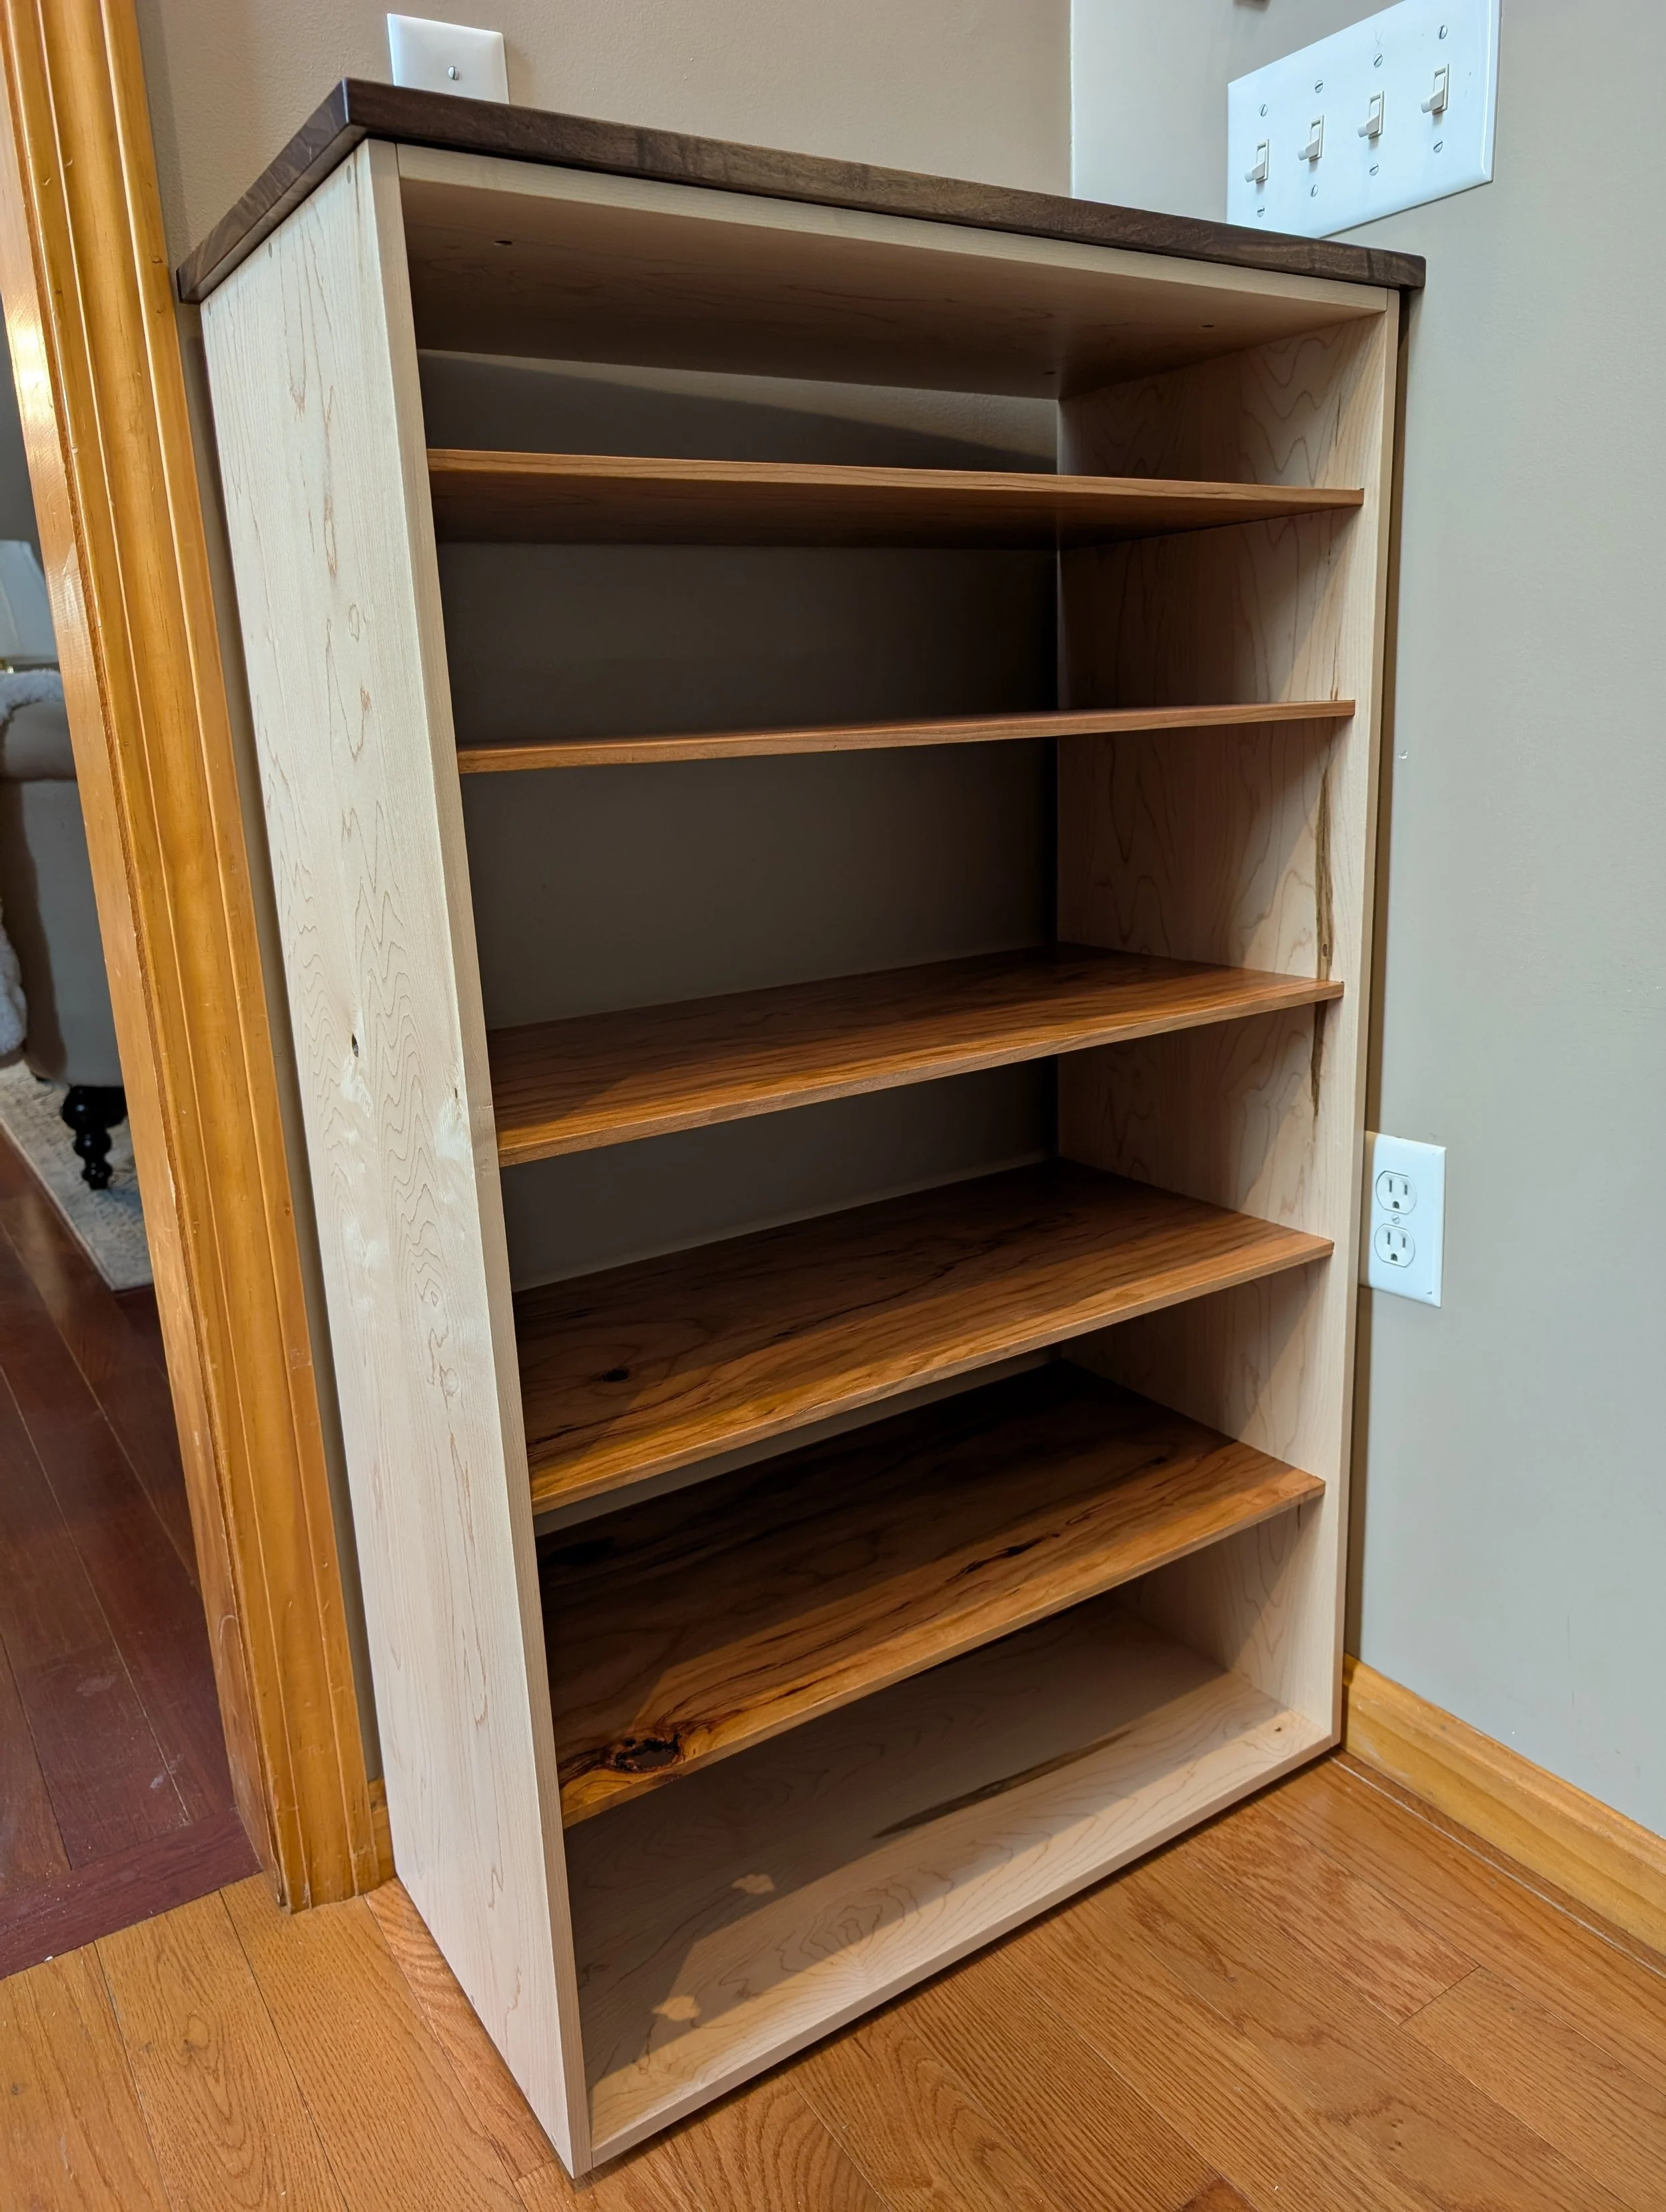
Final product